
Photoshop abstract wallpaper
Today we are going to make cool abstract wallpaper. In this one I’m going to use Standard Photoshop features.
Create a new file (File>New), having 1600×1200 px and 72 dpi.
Using the Rectangle Tool (U), it’s possible to draw the background of the picture to be.
Select for the made layer the next demonstrated parameters by making a mouse click on the processed layer on the layers’ panel. Blending Options>Gradient Overlay
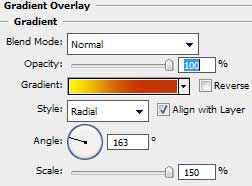

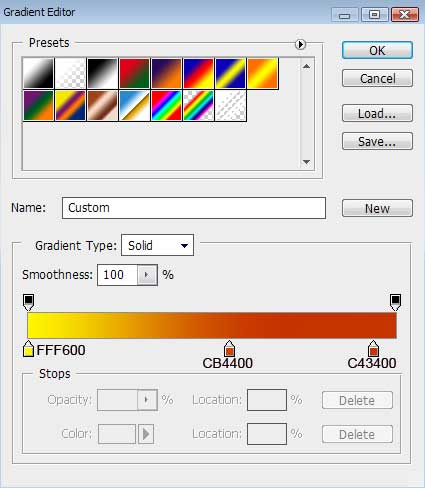
Gradient’s parameters:
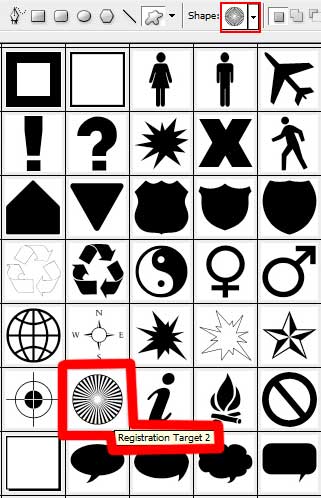
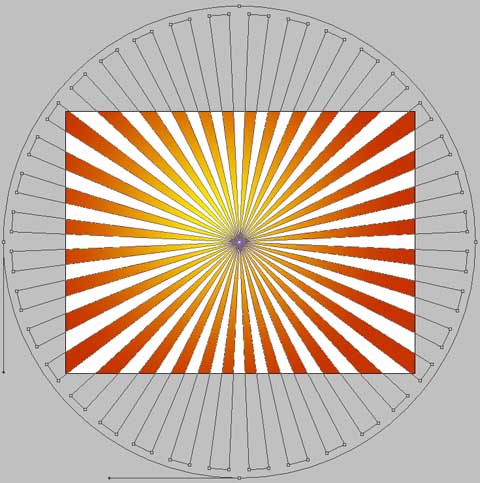
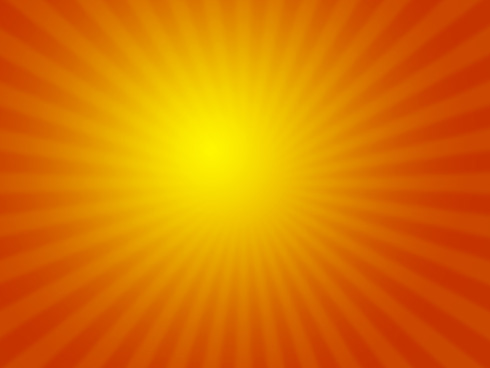
Next we shall draw several rays of white color, applying the Custom Shape Tool (U) and the shape from the next table:
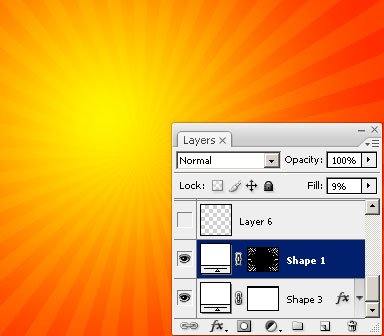
The layer’s parameters: Fill 9%

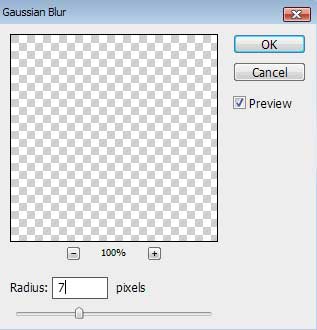
Merge down the layers. It’s necessary for this operation to create a new layer above the previous one (on the layers’ palette) and marking both layers (press CTRL+E) to put them together in a single one. Apply for the new made layer the next option: Filter>Blur>Gaussian Blur
Comments