
How to create Pop Art Style Poster in Photoshop
In this tutorial we’re going to learn how to retouch a portrait and create pop art style background from different shapes. Layered PSD file included. Let’s get started!
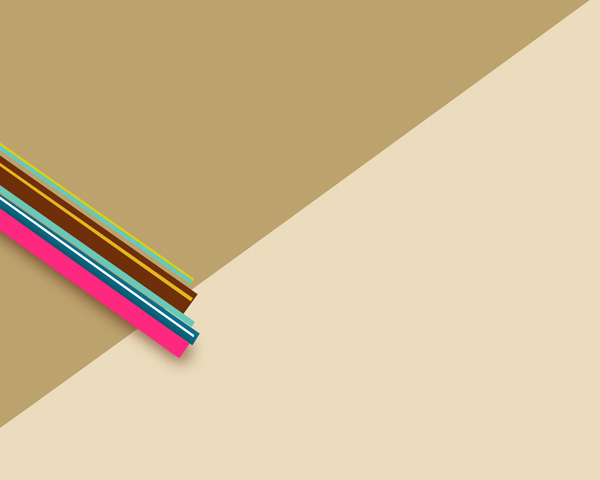
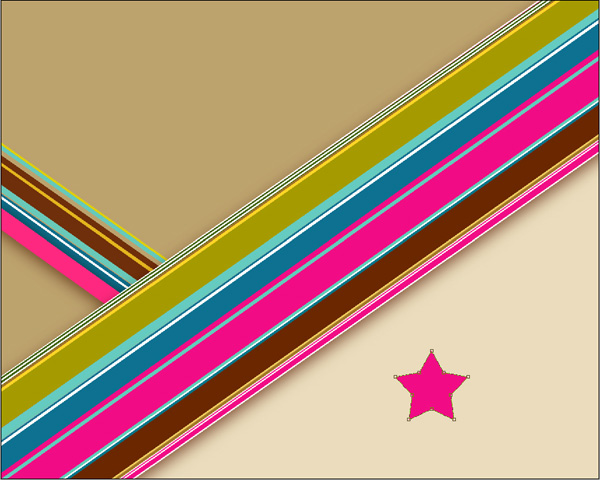
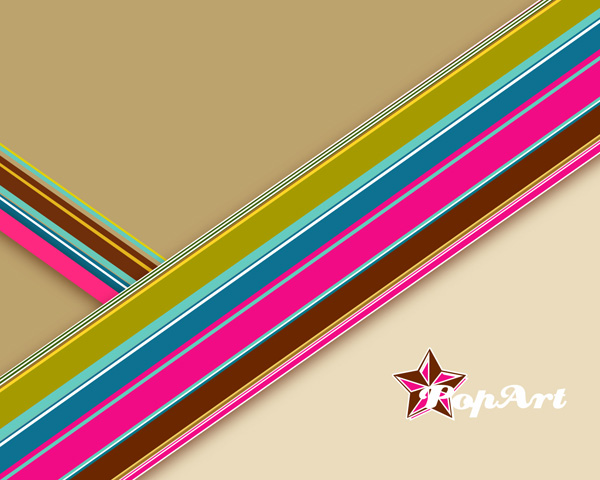
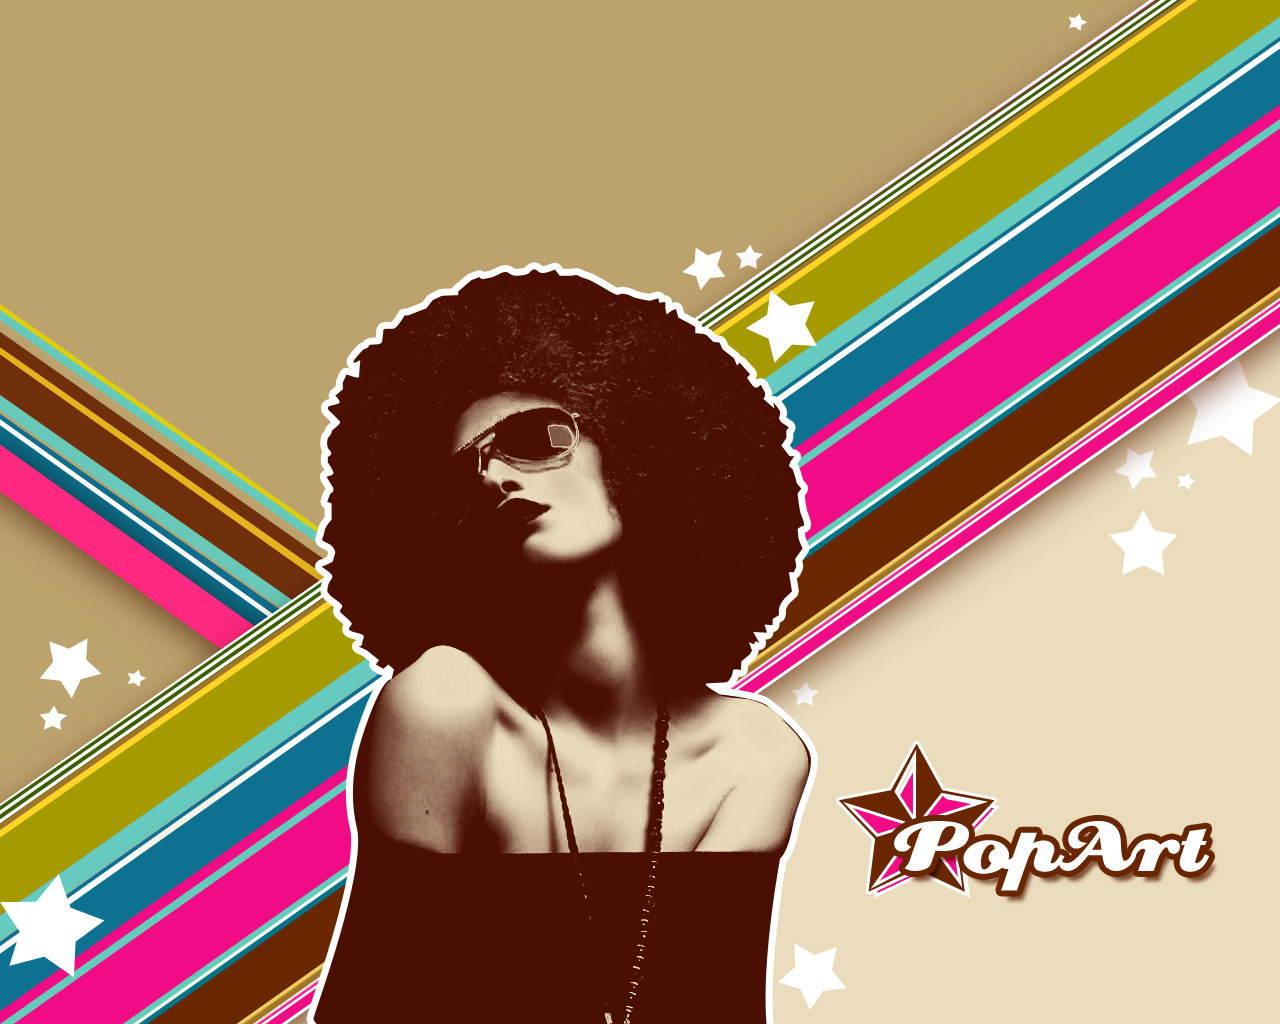
Final Image Preview

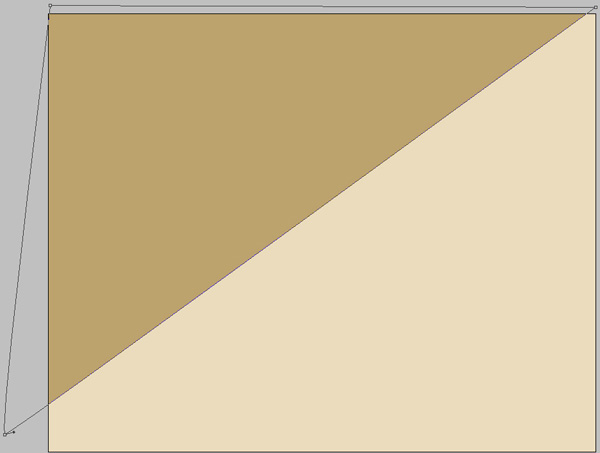
Create a new document (Ctrl+N) in Adobe Photoshop with the size 1280px by 1024px (RGB color mode) at a resolution of 72 pixels/inch. Use the Paint Bucket Tool (G) to fill with #EADCBC color the new background layer.

Next we’ll use the Pen Tool (P), set the drawing mode on Shape Layers in Options bar and represent the next shape on the background. The color is #BCA26D.
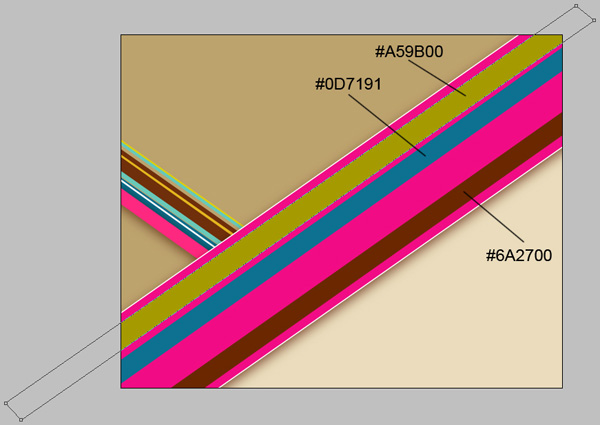
Using the Rectangle Tool (U), try to represent a lot of colored small stripes which must be inclined a little by selecting the Free Transform (Ctrl+T) command.

Applying the same tool, try to add several more stripes.
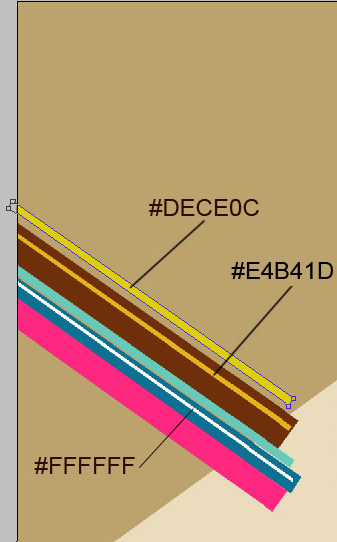
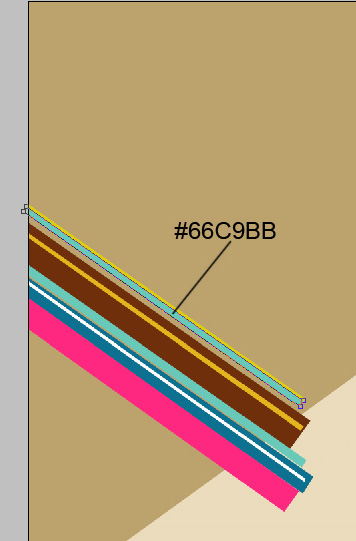
The same Rectangle Tool (U) should be used for representing above the already made top yellow stripe another one that should be inclined too with Free Transform (Ctrl+T) command.

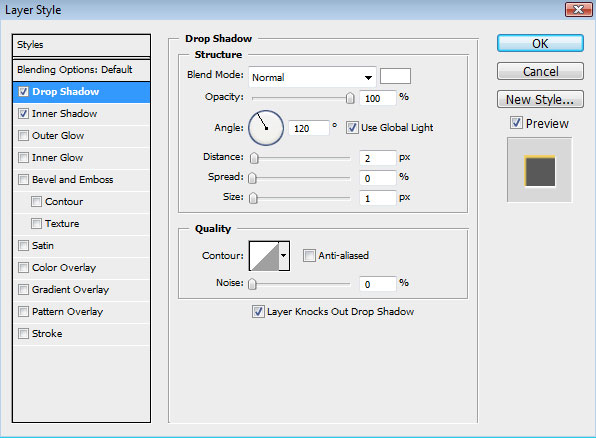
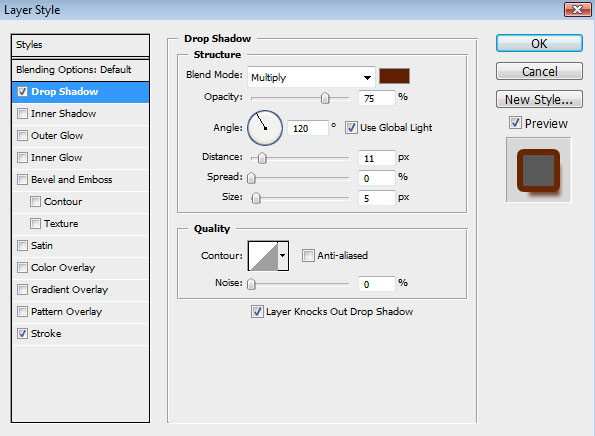
Click Add a layer style icon from bottom part of the Layers panel to select Drop Shadow for the layer containing the pink stripe
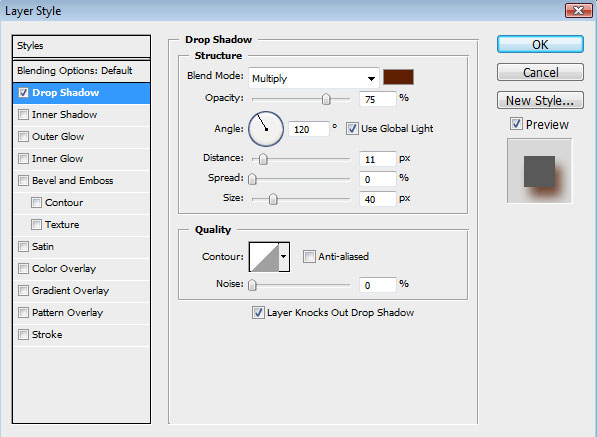
We’ve got the next shadow:
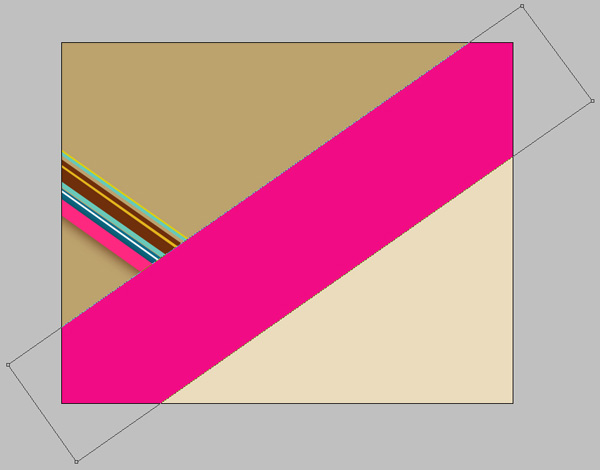
Using the Rectangle Tool (U), we shall represent one more stripe, situated diagonally. The layer’s color in this case is #F10C85. The stripe should be inclined too, applying Free Transform (Ctrl+T) command.
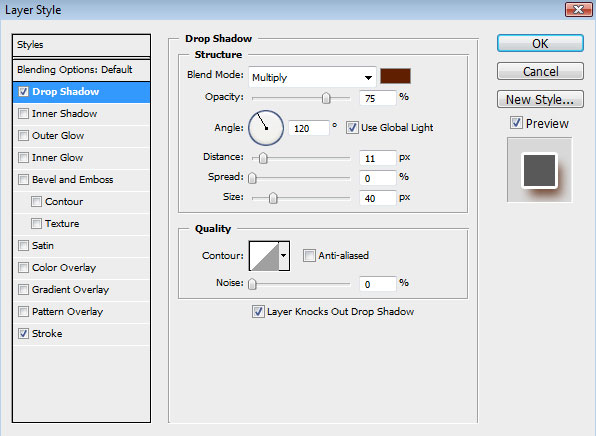
Click Add a layer style icon from bottom part of the Layers panel to select Drop Shadow:
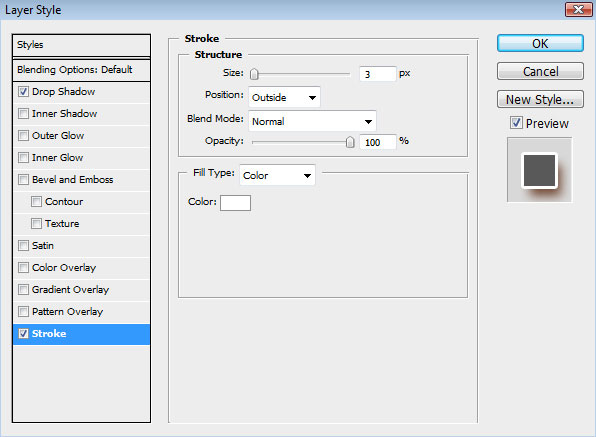
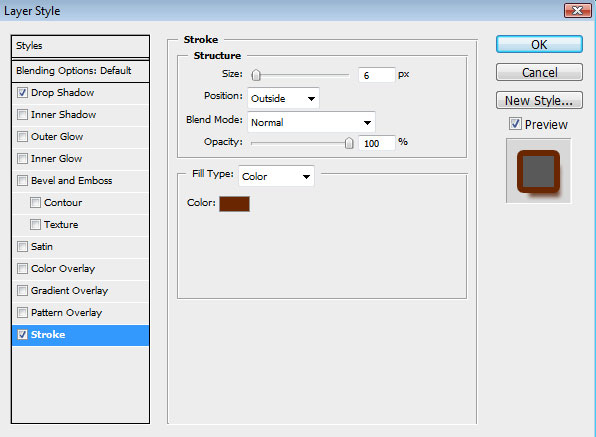
Add Stroke
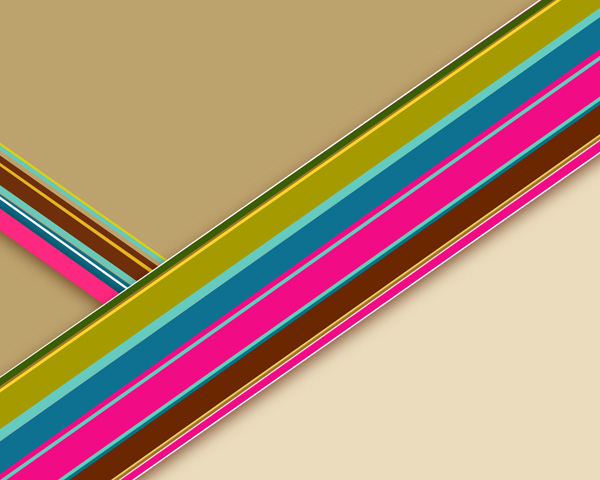
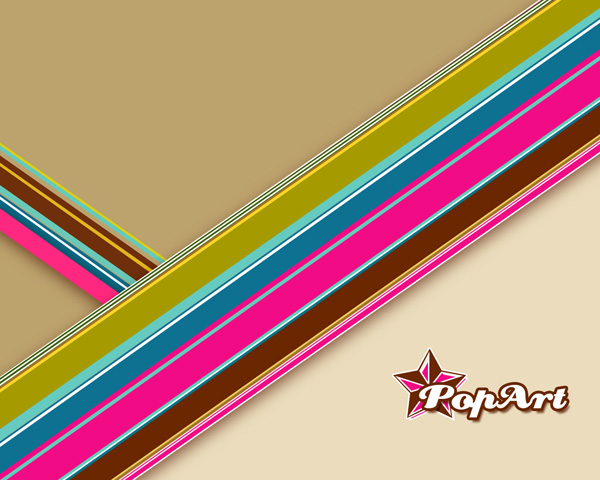
We’ve got the next result:

Try to represent inside the large stripe several thinner stripes, selecting the same tool for drawing them.
Use the Rectangle Tool (U) to draw several thin stripes between the already made ones.
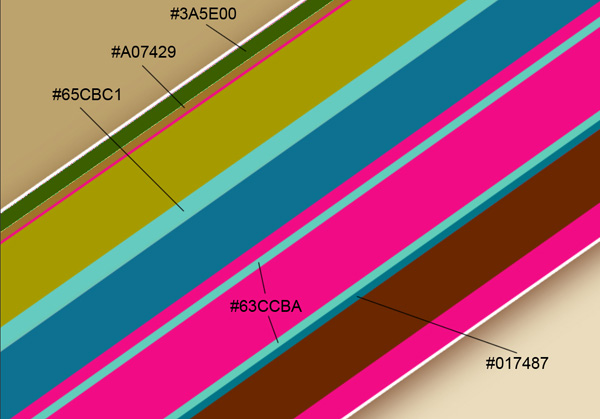
We’ve got the next result:
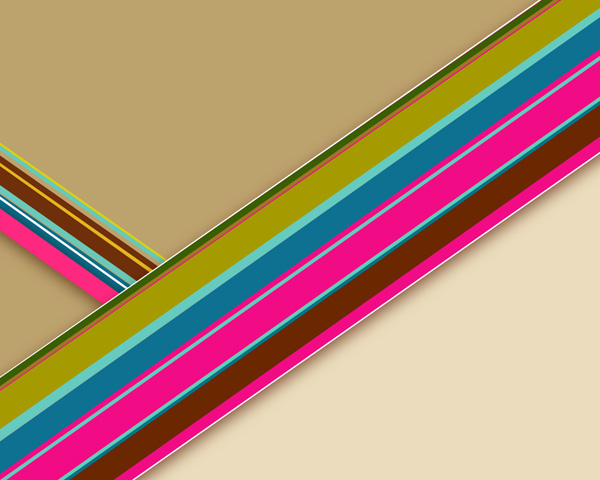
Try to insert on the document several more stripes, as those from below:
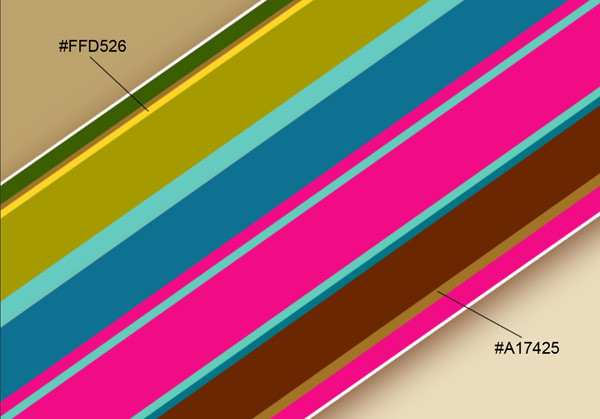
Click Add a layer style icon from bottom part of the Layers panel to select Drop Shadow for the layer containing the stripe with the color #A17425:
Add Inner Shadow
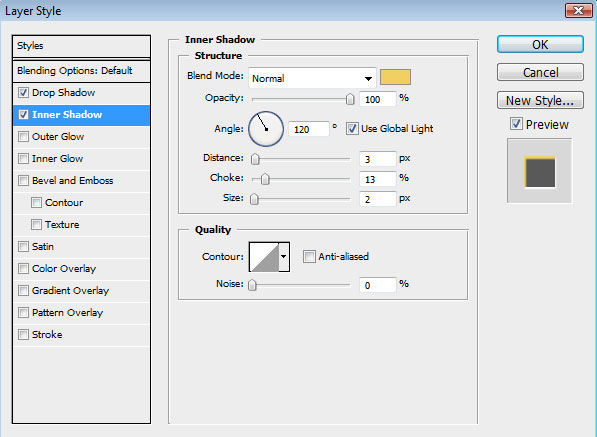
We’ve got the next effect:
We may insert the same way several white stripes, applying the previous method:

We’ve got the next result:

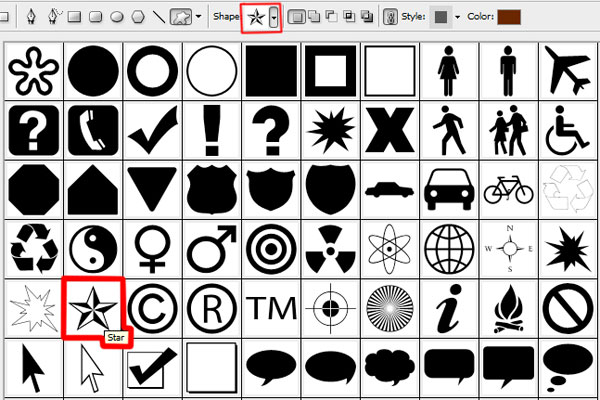
Set the Foreground color to #F10C85. Select the Custom Shape Tool (U) in the Tools bar, in the Options bar click the Shape to open the selection menu. Find 5 Point Star shape at the bottom of the menu, and then double-click a shape thumbnail to select it.
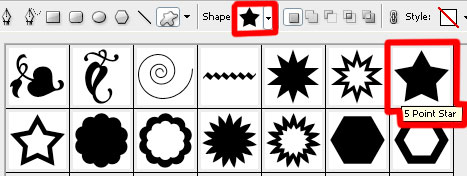
Click and drag to draw the shape
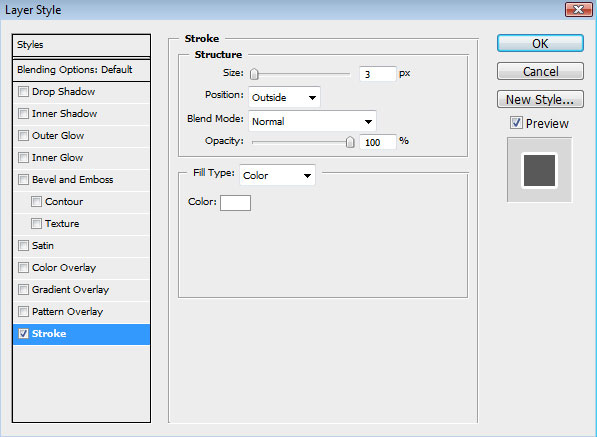
For this layer click on Add a layer style icon from bottom part of the Layers panel and select Stroke:
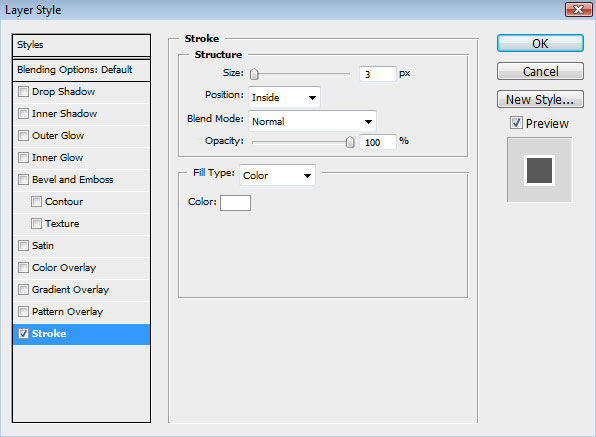
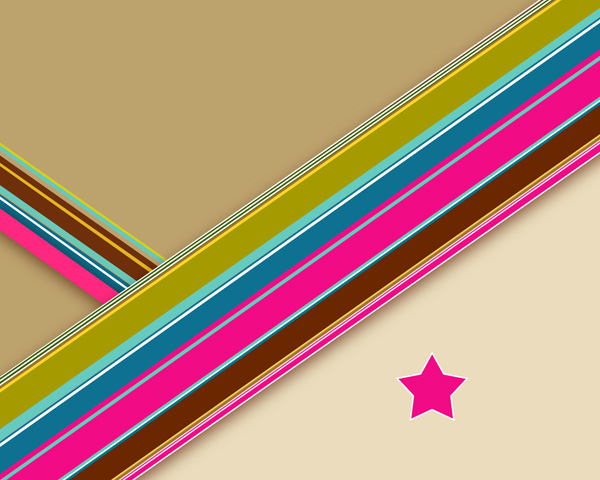
We’ve got the next effect:

Select the last applied Custom Shape Tool (U) to draw a Star shape above the first one, colored this time with #6A2700.
Click and drag to draw the shape:
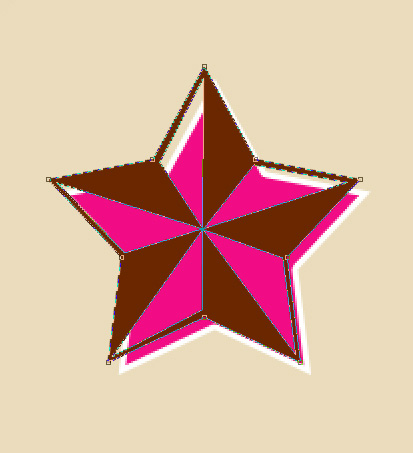
For this layer click on Add a layer style icon from bottom part of the Layers panel and select Stroke:
We’ve got the next result:


Click the Horizontal Type tool (T). Select a font, size and color in the Character panel. I have used Creampuff font.
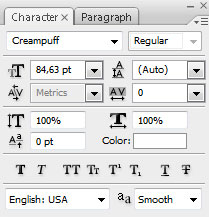
Click in the image and type Pop Art text. Press Enter to apply the text.
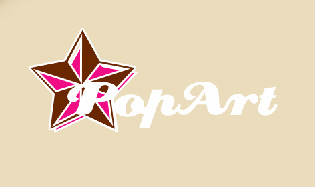
Click on Add a layer style icon from bottom part of the Layers panel and select Drop Shadow:
Add Stroke:
We’ve got the next effect:
Find a stock photo with a model represented on it

Create a new layer and then select the Rectangular Marquee Tool (M) on it. Right click on the picture, choosing the Color Range option. Pick with Eyedropper Tool the brightest zone on the girl’s shoulder and click OK.
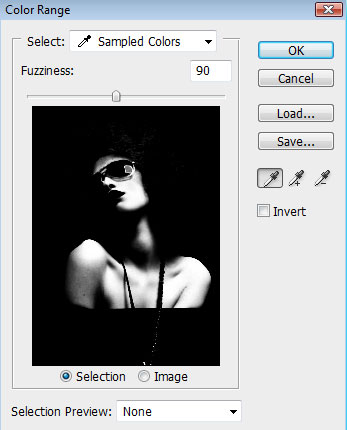
We’ll get the next selection:
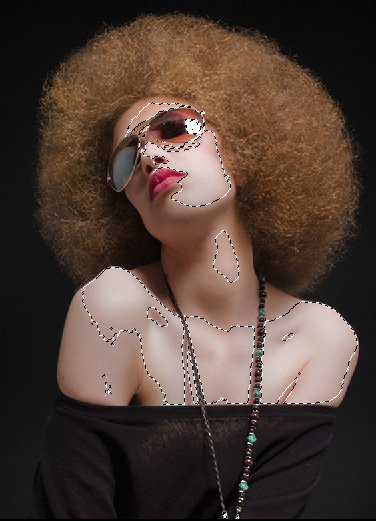
Fill the selection with the color #EADCBC. Press Ctrl+D to deselect.

Make the girl’s layer active and select Pen Tool (P), set the drawing mode on Paths in Options bar and represent the next path. Right click on image and select Make Selection with Feather Radius – 0px.

Fill the selection with color: #490F02. Don’t press Ctrl+D to Deselect. Now we need to choice Select>Inverse and press Delete to cut the background around girl. Now you can press Ctrl+D to deselect. Merge Down both layers into a single one (CTRL+E).

For this layer click on Add a layer style icon from bottom part of the Layers panel and select Stroke:
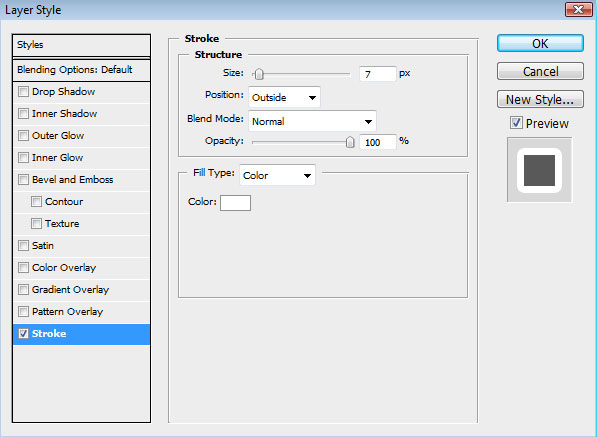
We’ve got the next effect:
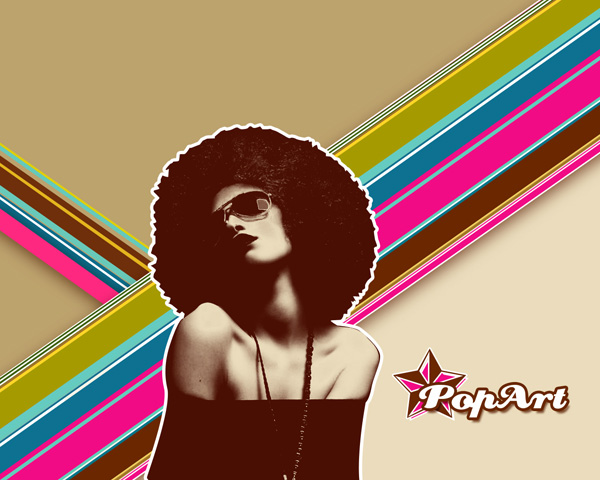
Select again the Custom Shape Tool (U) for drawing a lot of small white stars of different sizes. Turn around the new stars, selecting the Free Transform (Ctrl+T) command for this operation. Several of the layers containing the new stars should be placed lower than the layers containing the colored stripes, the same way shown below:
Finished!
View full size here.
Download free Layered PSD file.
Comments