
Road to the White House
In this tutorial we will show you how to quickly and easily create this picture that could be used as a wallpaper, web banner, flyer. We will use USA election as idea.
Create a new file (File>New) that must have 1280×1024 px and 72 dpi.

Next we should represent the background of the picture we want to get on the final stage, applying the Rectangle Tool (U).

Make a mouse click on the processed layer on the layers’ panel for applying the next demonstrated parameters on the layer. Blending Options>Gradient Overlay

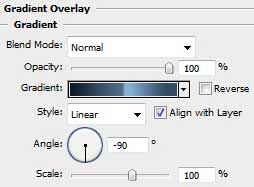
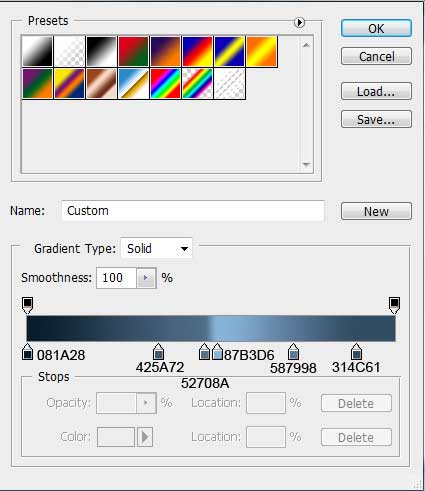
Gradient’s parameters:

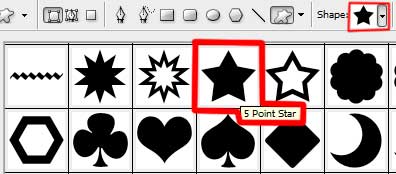
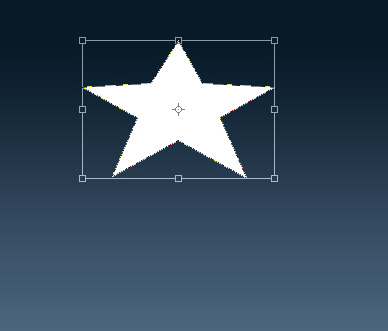
Select on this stage the Custom Shape Tool (U) to draw a white small star. Mark out the inside star’s tops and choose the Convert Point Tool (selecting also the SHIFT button). Then press CTRL+T and Maintain aspect ratio solution. We have to press the tops uniformly, moving them to the central element’s part. Situate the new element the same way as below:
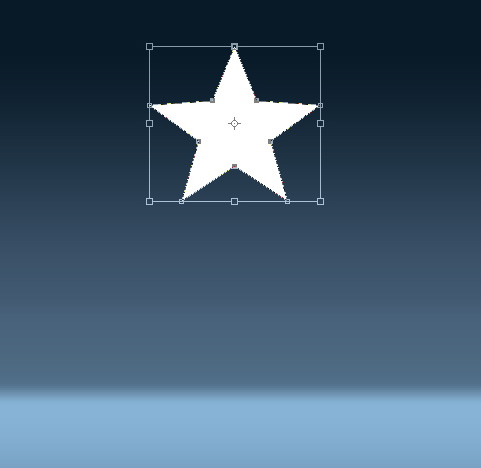
The star’s inclination and its sizes should be changed with Free Transform option.
Make four copies of the star’s layer and apply again the Free Transform option to change the sizes of the copied stars.

Comments