
The Orange Sky
This lesson will explain to you in all details the process of creation of a collage. By means of simple actions we will create a fantastic landscape from several simple pictures.
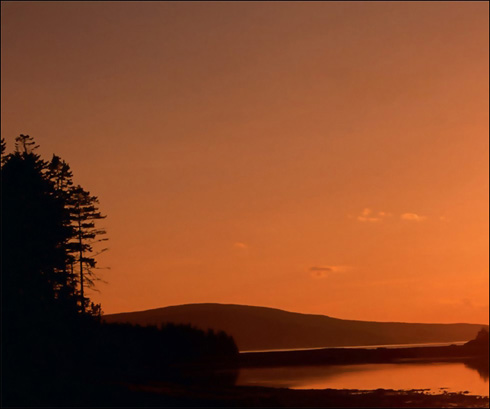
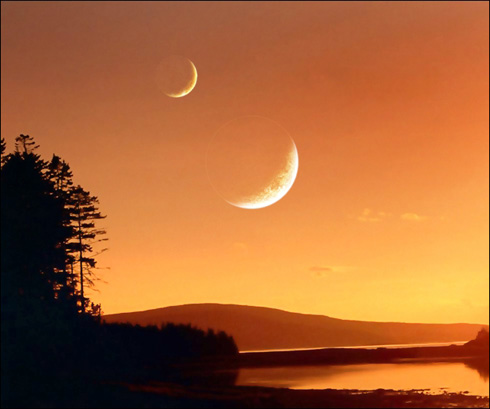
Let’s find a suitable photo for a background. I used a photo with the pure sky in which the orange shade predominates. Just that is necessary!
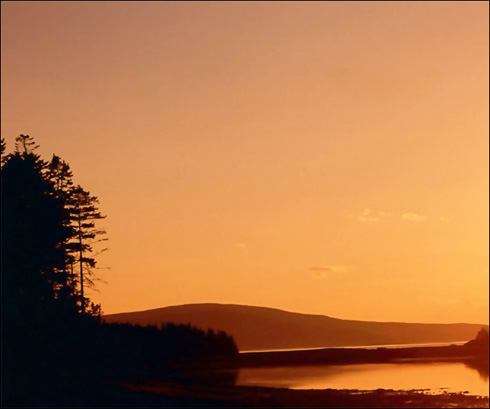
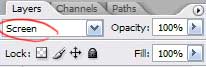
Now we make the duplicate of a layer, and we will change Blending Mode on Screen.
Merge Down the layers.


We choose Dodge Tool (Highlights, 50%), and clarify the horizon.
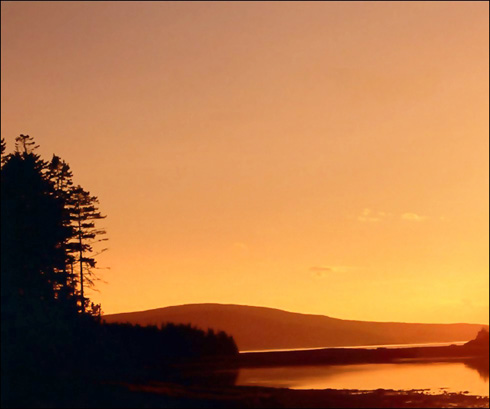
Then we take Burn Tool (Midtones, 50%) and black out the top part of a firmament.
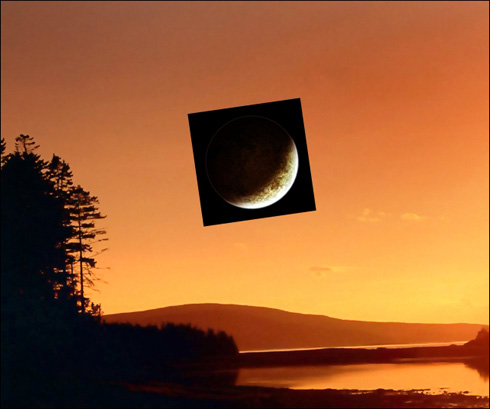
The sky it is too empty. We will insert on the new layer a planet (http://ap123.deviantart.com/). We’ll adjust its size and arrange in the necessary place.
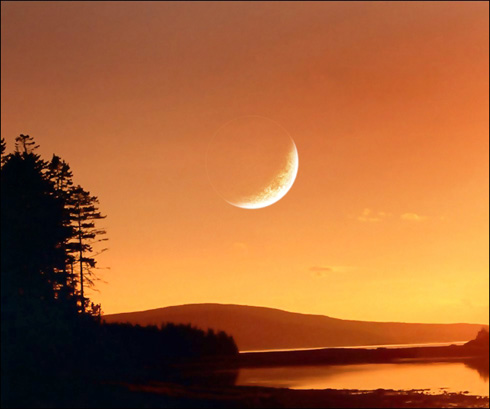
Let’s change the Blending Mode of a layer on Screen to make planet’s background transparent.
One heavenly body, let at be the moon – is too stereotyped. We will make our collage more interesting, and we will add on the sky one more “body”, but smaller.
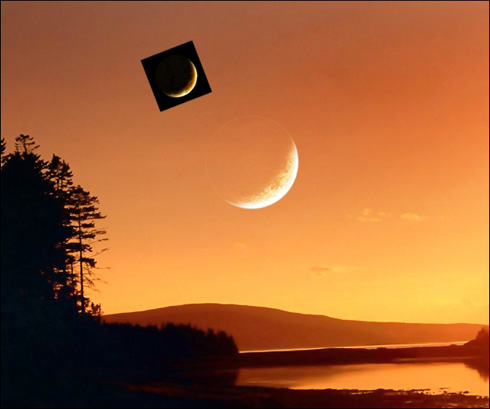
Let’s change and its Blending Mode on Screen too.

We choose a hard brush with a shade more darkly than background, and we paint over planets inside that planets did not seem like glass.

Then by means of Eraser Tool we will mop up accurate the dark edges of a planet.

To add a tree, I used brushes Tree Silhouette with ready trees (http://xsy.deviantart.com/art/Tree-Silhouette-29527352). You can make it with any other way convenient to you.
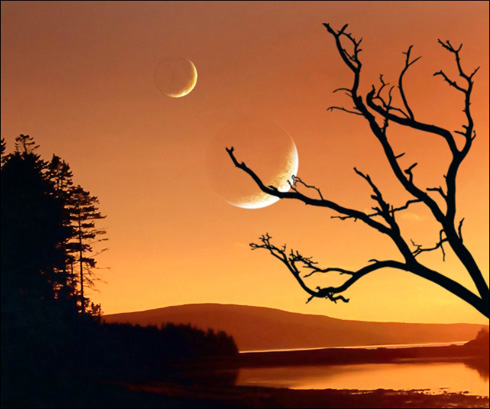
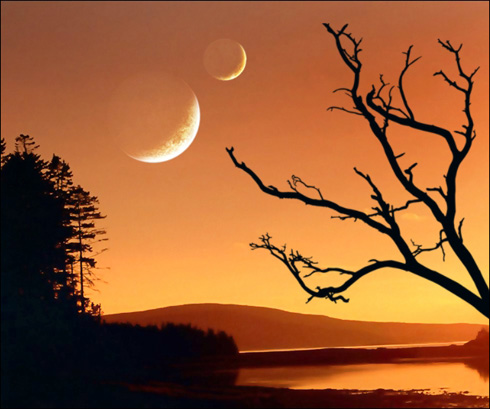
Branches must not cover the planet. So we have to change a few arrangement of the last on the canvas. We will displace them a little more to the left.
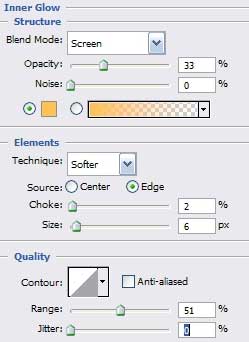
We enter into Blending Options of the layer and changed them as it is shown on picture.
Page: 1 2
Comments