
Soccer goals design
This tutorial teaches you how to design a fantastic soccer wallpaper by following this step-by-step guide.
For the beginning we need to create a new file (File>New) with 1280×1024 px and 72 dpi.
Fill the layer with black color, applying the Paint Bucket Tool (G).

Next we’ll choose the Rectangular Marquee Tool (M) on a new layer and represent a kind of element like the next one.
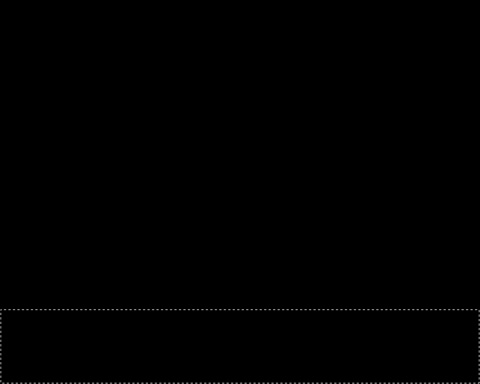
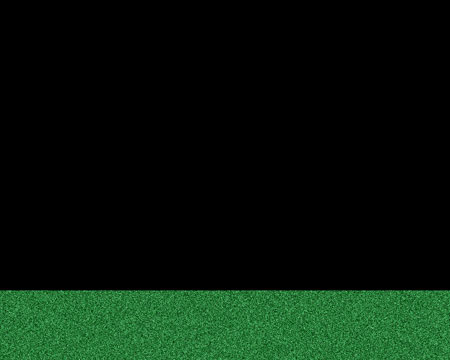
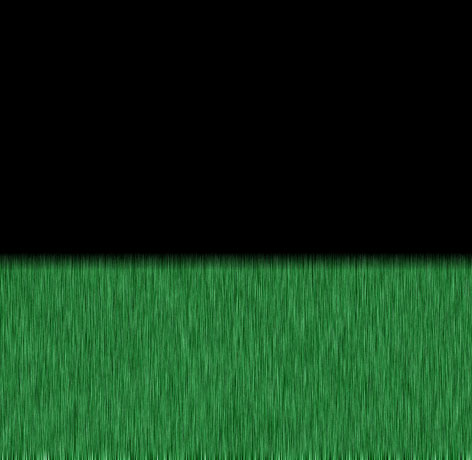
This zone must be filled with green color #197B30


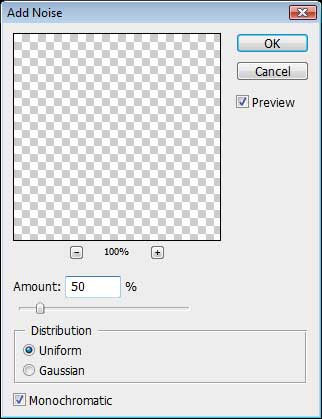
Next we’ll select the next option out of the menu’s panel: Filter>Noise>Add Noise…
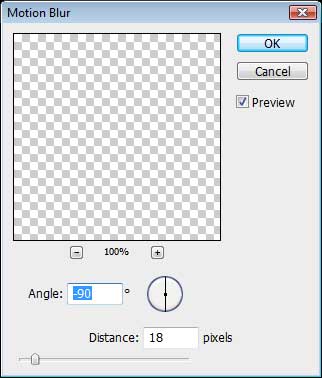
We need to apply for this layer one more filter, like the next one: Filter>Blur>Motion Blur
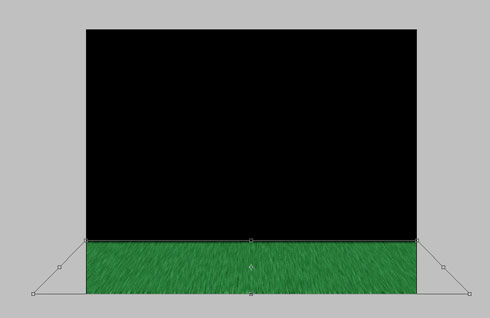
Using the transformation function, Free Transform, (right click on the image), stretch out the got texture the same way as you may see below. Select with the right click the Perspective option out of the same transformation.
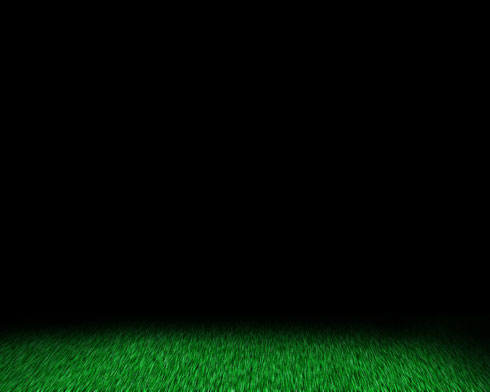
Choose next the Curves selection and represent a kind of curve like the next one:
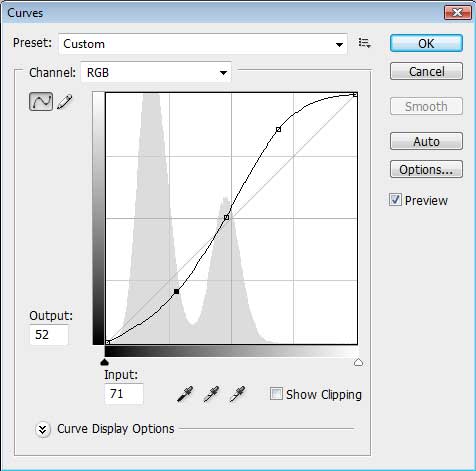
The layer got a more intensive color.
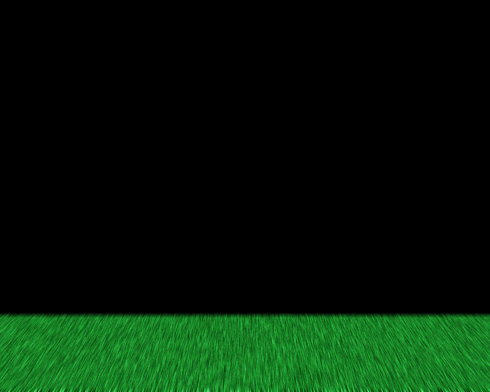
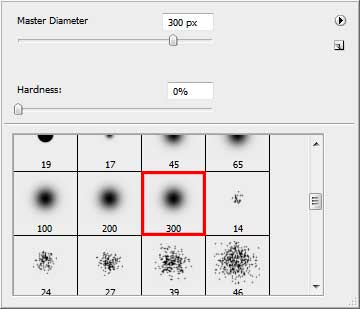
Create a new layer and choose the Brush Tool (B) of black color to represent a semicircle, as it is demonstrated next image:
Comments