
Website Design Studio
Learn how to create a professional website design studio. A step by step guide to creating a professional web layout.
Begin your work by creating a new file (File>New), having 800×600 px and 72 dpi.
Next we shall select the Rectangle Tool (U) to create the background of the web site page to be.
Set the next parameters for the layer by clicking on this layer on the layers’ palette.
Blending Options>Gradient Overlay
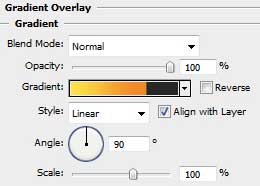

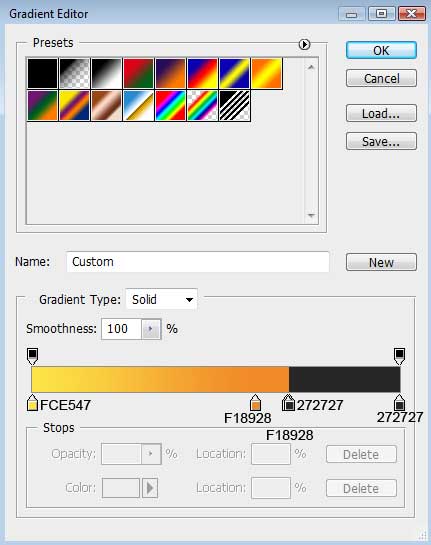
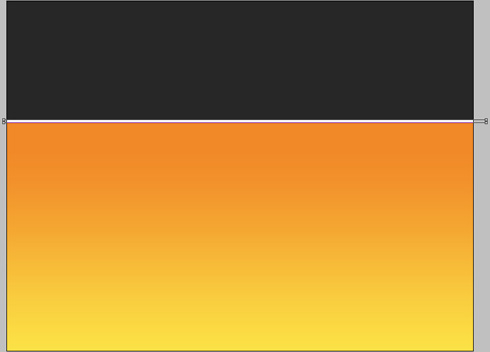
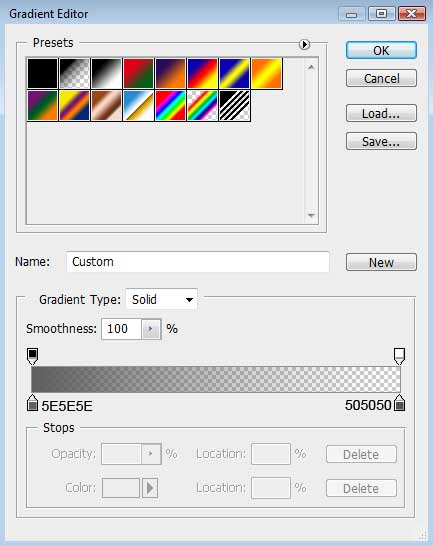
Gradient’s parameters:

Choose the previous tool to represent a thin stripe of white color.
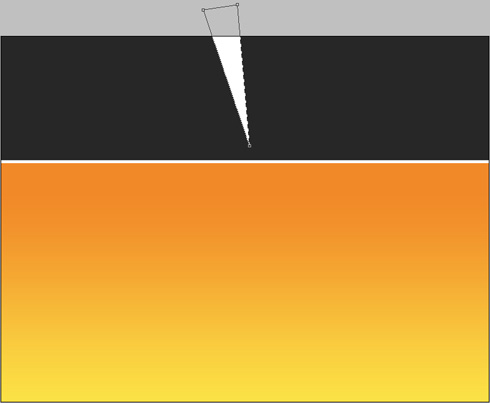
Select then the Pen Tool (P) to draw a ray like the next one:
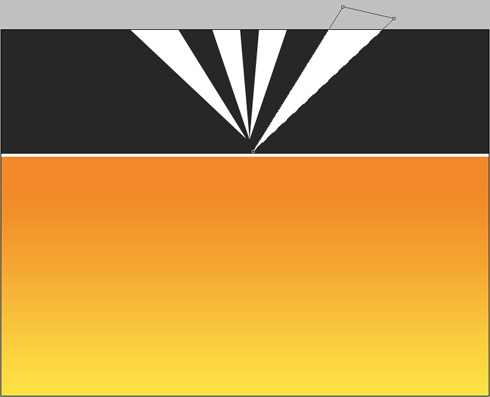
Use the same tool to draw several more rays:
Set for the layers the same parameters shown below: Fill 0%
Blending Options>Gradient Overlay 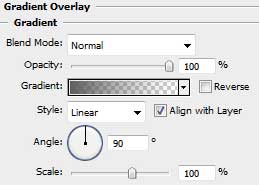
Gradient’s parameters:

Now we should use the Rounded Rectangle Tool (U) (radius of 35 px) to represent the body, applying the white color also:

Comments