
RSS Feed Design
This tutorial shows you a quick and easy way to create a unique RSS design for using on a website, icon or any other purpose you may have.
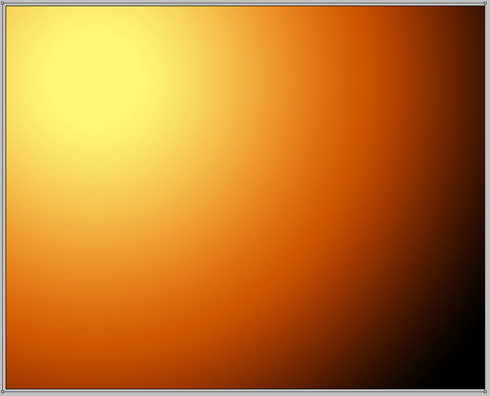
Begin your work by creating a new file (File>New) of 1280×1024 px and 72 dpi.
Select the next indicated parameters by clicking on the layer we work with on the layers’ palette.
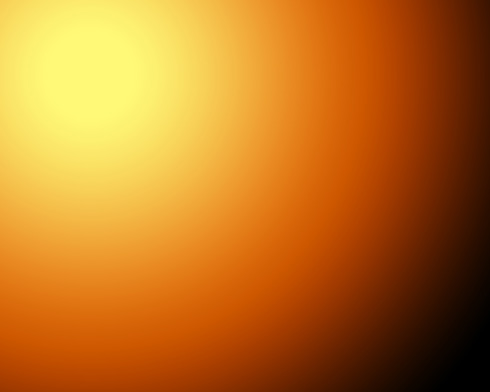
Blending Options>Gradient Overlay
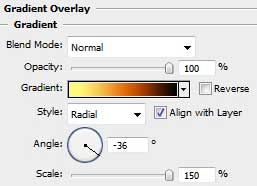
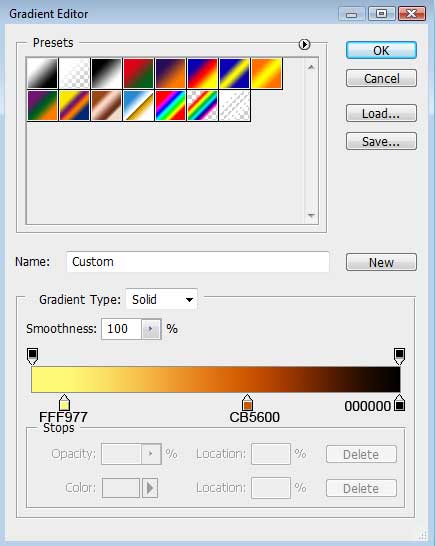
Gradient’s parameters:

Using the previous tool, try to make the next layer belonging to the picture.
The layer’s parameters: Blending Options>Gradient Overlay
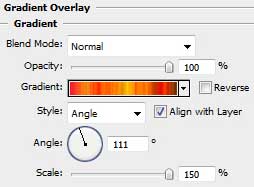
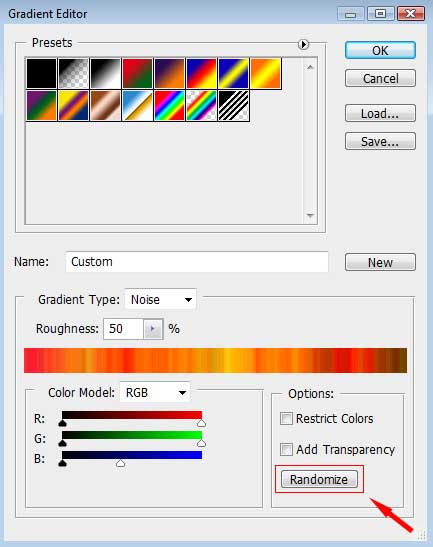
Gradient’s parameters.
Make a click on Randomize option to get the appropriate color.
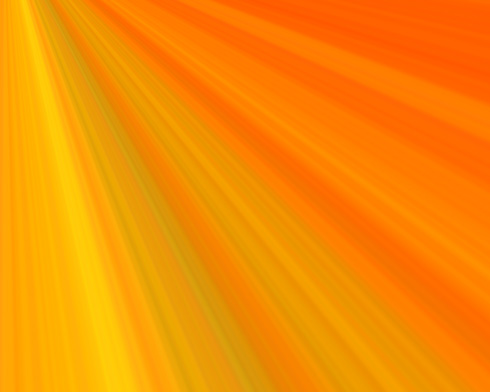
Next we should create a new layer situated upper than the previous one. Put together the rays’ layer and the new one (press Ctrl button to mark out the necessary layers and then press Ctrl+E). Next set for the new layer that we’ve got the combination of buttons Ctrl+Shift+U

On the same layer we should apply the next selection: Blending mode-Vivid Light

Comments