
Paintball Club Wallpaper
Learn how to create nice paintball club wallpaper with night effects.
Firstly we’ll create a new file (File>New) of 1280×1024 px and 72 dpi.
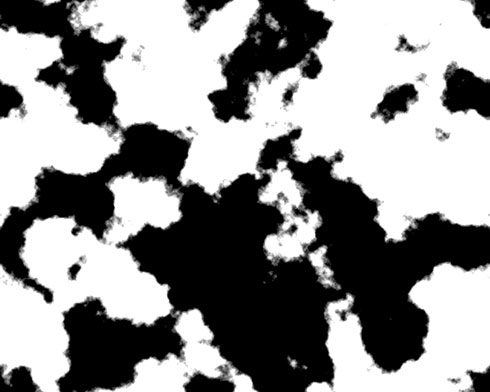
By default Foreground color – black and background color – white. Then select out of the menu the solution Filter>Render>Clouds.

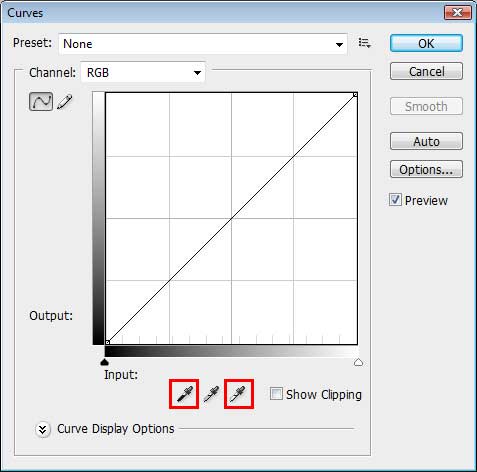
Next we’ll press the combination of buttons Ctrl+M. We’ll get the dialog box where applying the eyedropper, is possible to obtain a contrast on the edges.
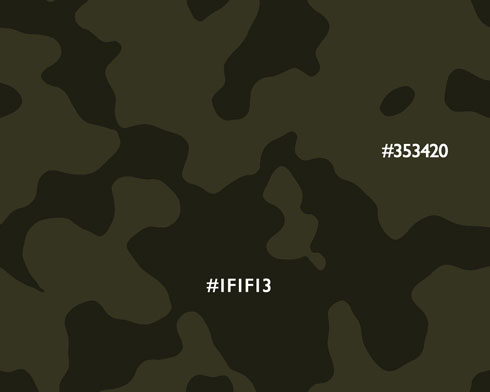
We must get the picture from below:

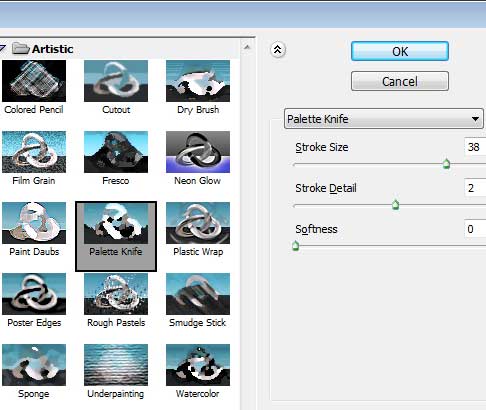
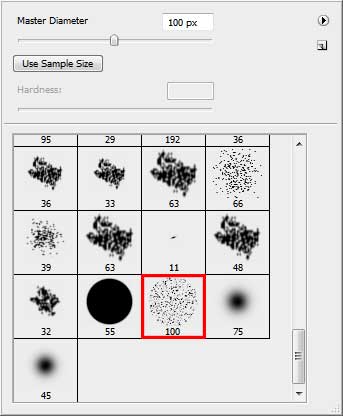
Next we’ll select the next option Filter> Filter Gallery… and set the adjustments as it is represented next table:
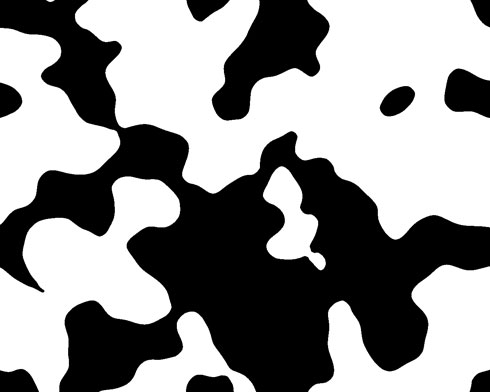
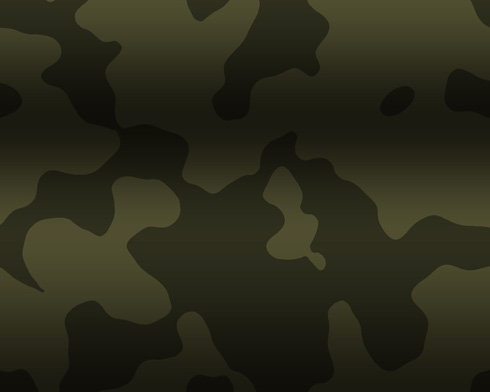
Applying this filter may transform the picture, getting the camouflage ornament.
Choose next the Paint Bucket Tool (G) to fill the spots with two colors, demonstrated below.
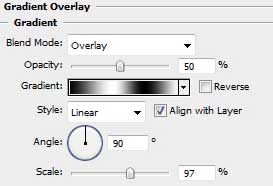
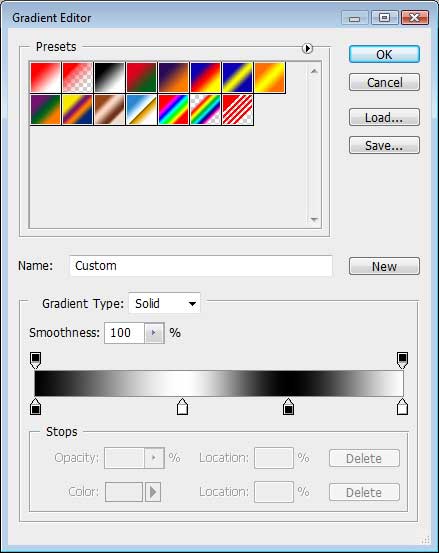
Next select the Rectangle Tool (U) to stretch out the figure on the whole canvas. Choose after that the Blending Options>Gradient Overlay (by making a mouse click on this layer on the layer’s palette) and set the next demonstrated solutions.
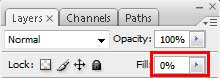
Set the layer’s Fill 0% also on the layers’ palette.
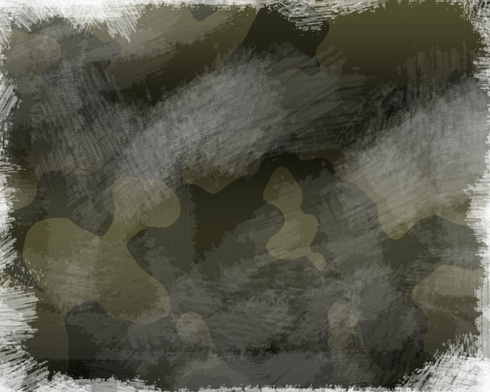
We’ll get the shadows:
Create next a new layer on which we should apply the Brush Tool (B) to represent a texture like the next one:
Comments