Categories

Partners
 
  • Photoshop Templates

  • Website Templates

  • Web Templates

  • Flash Web Sites

  • WordPress Templates

  • Free Ringtones

  • Free Stock Photos and Images

  • Photoshop

  • St. Louis LASIK | LASIK info

  • Load Cells

  • osCommerce Templates

  • Web Hosting


  • Website Templates
    Search


    Advanced Search


    Ford Mustang GT500 - Abstract design
    Published  08/9/2008 | Designing
       
    Ford Mustang GT500 - Abstract design - part 1


    Learn in this tutorial how to design an awesome wallpaper with Ford Mustang GT 500.

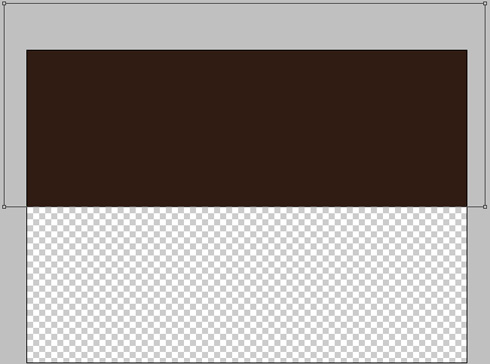
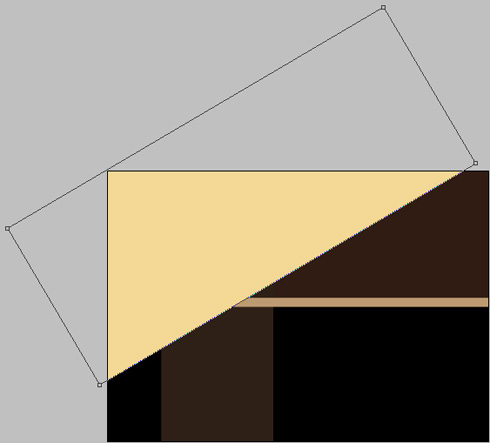
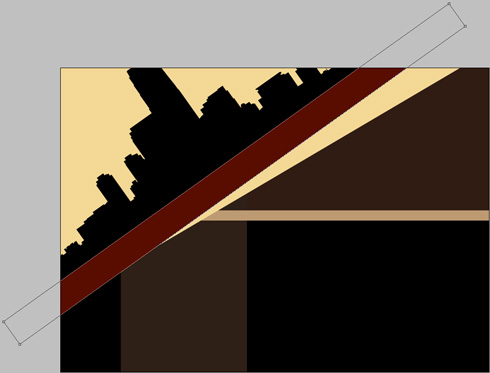
    Begin your work by creating a new file (File>New) of 1280x1024 px and 72 dpi. Using the Rectangle Tool (U), try to make the first background’s element of the picture we want to get in the end. The element’s color is #301C13

    Create Ford Mustang GT 500 - Abstract design in Photoshop CS3

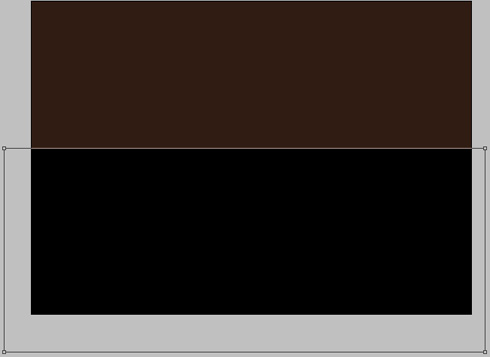
    Applying the same tool, try to make the second element of the background, this time of black color.

    Create Ford Mustang GT 500 - Abstract design in Photoshop CS3

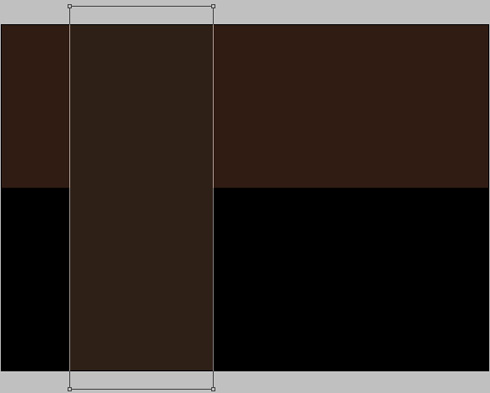
    Using the Rectangle Tool (U) continue representing the next element of the background, having the color #2E2017

    Create Ford Mustang GT 500 - Abstract design in Photoshop CS3

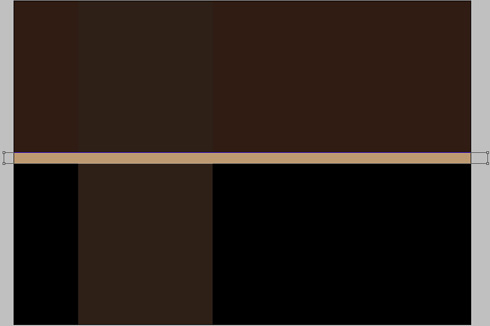
    Select one more time the mentioned above instrument to create a horizontal line, colored with #BD9A72.

    Create Ford Mustang GT 500 - Abstract design in Photoshop CS3

    Select the Rectangle Tool (U) to make another element of the picture to be. The flatness may be inclined, applying Free Transform selection. The color is #F3D895

    Create Ford Mustang GT 500 - Abstract design in Photoshop CS3

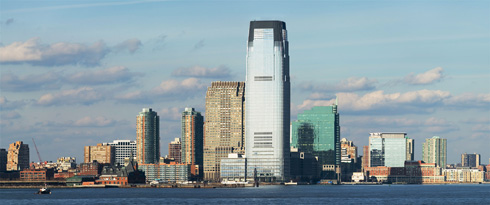
    Next we should find in Internet a photo, having represented on it a city.

    Create Ford Mustang GT 500 - Abstract design in Photoshop CS3

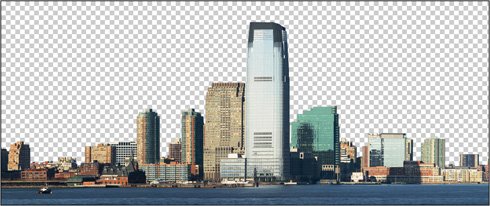
    Cut out the city’s elements.

    Create Ford Mustang GT 500 - Abstract design in Photoshop CS3

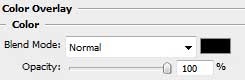
    Select the next demonstrated parameters for the city’s layer by making a mouse click on this layer on the layers’ palette. Blending Options>Color Overlay

    Create Ford Mustang GT 500 - Abstract design in Photoshop CS3 

    Create Ford Mustang GT 500 - Abstract design in Photoshop CS3

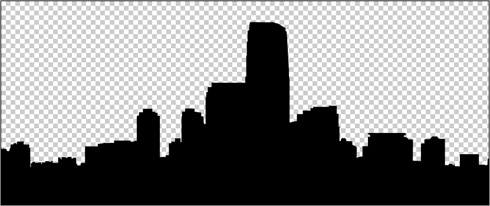
    Insert the city’s silhouette on the left top corner of the picture. The silhouette’s layer must be inclined with Free Transform selection.

    Create Ford Mustang GT 500 - Abstract design in Photoshop CS3

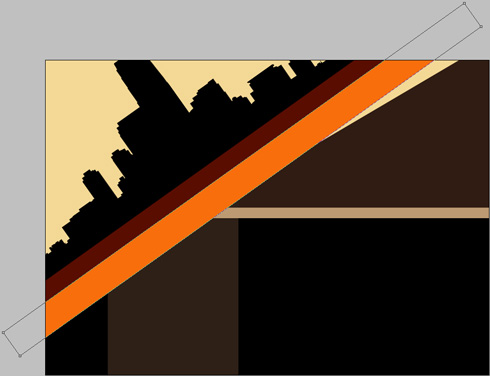
    Applying the well-known Rectangle Tool (U), we should represent now a small line along the diagonal. The layer’s color is #590D00. It may be inclined with the same Free Transform solution.

    Create Ford Mustang GT 500 - Abstract design in Photoshop CS3

    Using the same tool and the same method, try to make the next inclined line, having the color #F86E0C

    Create Ford Mustang GT 500 - Abstract design in Photoshop CS3

    Next we shall create one more line in an inclined position also, choosing the color for it #23120A

    Create Ford Mustang GT 500 - Abstract design in Photoshop CS3

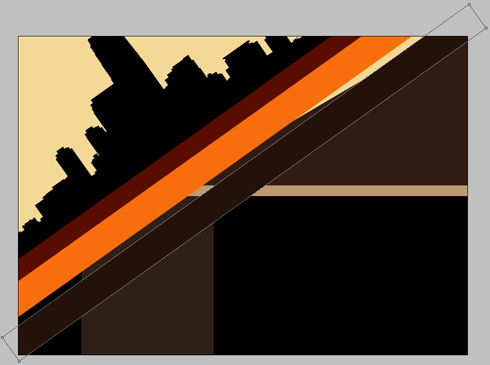
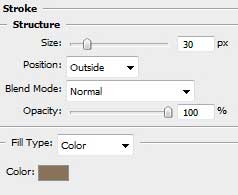
    The layer’s parameters: Blending Options>Stroke

    Create Ford Mustang GT 500 - Abstract design in Photoshop CS3 

    Create Ford Mustang GT 500 - Abstract design in Photoshop CS3

    Create Ford Mustang GT 500 - Abstract design in Photoshop CS3 Ford Mustang GT500 - Abstract design
    Learn in this tutorial how to design an awesome wallpaper with Ford Mustang GT500.


    PSDTUTS+ Photoshop Tutorials and More