
Galactic nebula
This tutorial will teach you the very basics of space art. You will learn to create stars, space and galactic nebula.
Create a new file (File>New) of 1280×1024 px and 72 dpi. Select then the Paint Bucket Tool (G) to fill the new file with black color.

Make a copy of this earlier made layer (Ctrl+J) and apply on it the Filter>Render>Lens Flare. Set the next parameters demonstrated below:
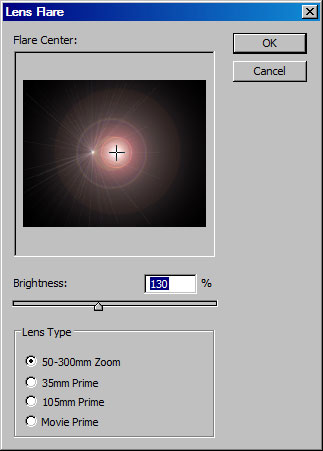
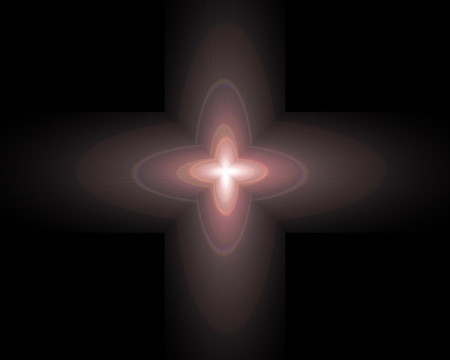
We’ll get the same thing from next image:

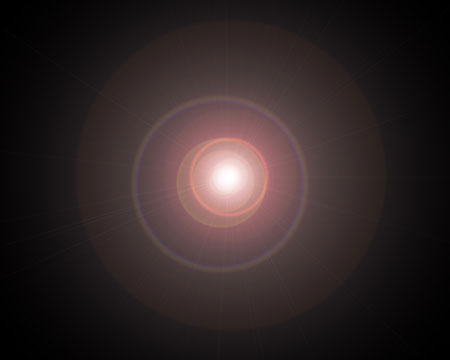
Choosing the Free Transform selection (Ctrl+T), it’s possible to get narrow this layer as in the next picture it is demonstrated.
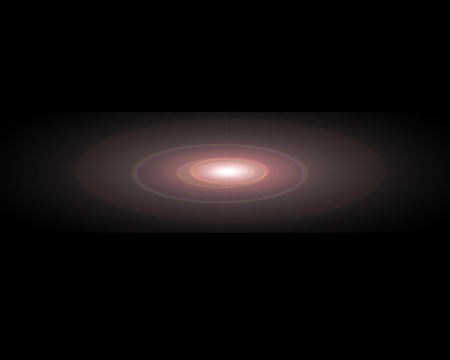
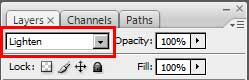
Make a copy of this layer and turn it over. Set the next Blending Mode options for the layer:
We’ll get a kind of element like the next one.
Put together both layers and set for them the Filter>Distort>Polar Coordinates. Set also the next parameters introduced in the table:
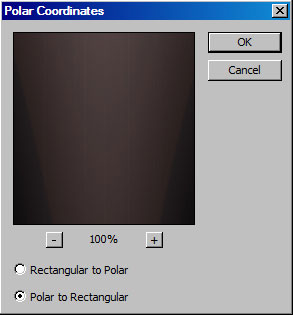
We’ll get an ornament like this one:
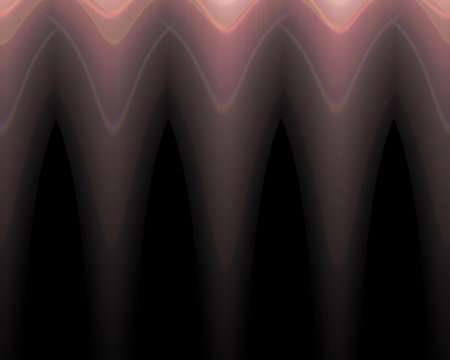
Next we’ll use one more filter’s option: Filter>Distort>Twirl, having the next parameters for it:

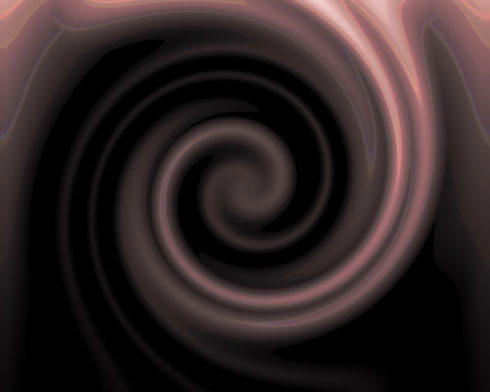
This is the picture we should get. Then we need to press Ctrl+F.
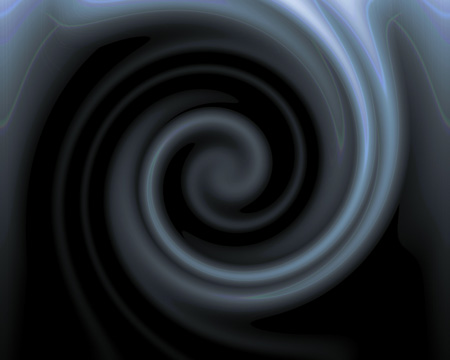
Change the color for the new layer we’ve got, applying Ctrl+U. Set the next values for the Hue/Saturation option.
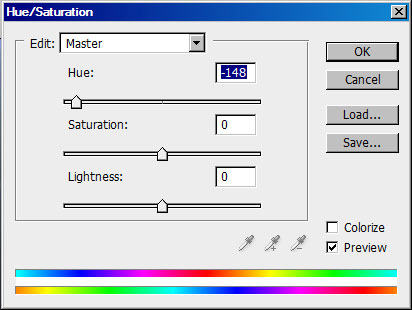
We’ll get the next color:
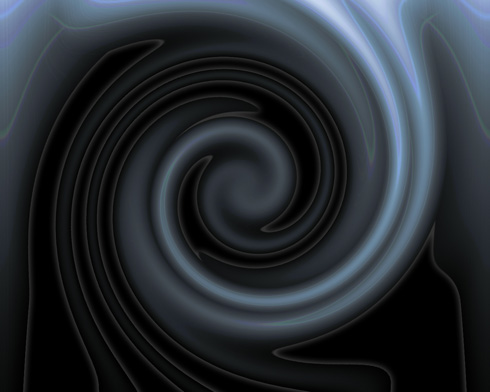
Select for this layer Blending Options>Outer Glow. The menu may be selected by making a mouse click on the layer we need on the layers’ palette.
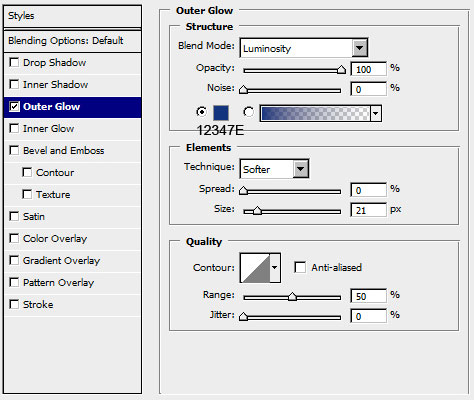
Try to get this picture:
Page: 1 2
Comments