
Happy Halloween Ideas
Today, I’m going to show you how to create Halloween illustration using simple tools and techniques like Pen Tool, Brush Tool, Layer Style, etc. in Adobe Photoshop. Layered PSD file included. Let’s get started!
Final Image Preview

Start working by creating a new document (Ctrl+N) in Adobe Photoshop with the size 1280px by 1024px (RGB color mode) at a resolution of 72 pixels/inch. Use the Paint Bucket Tool (G) to fill with black color the new background layer.

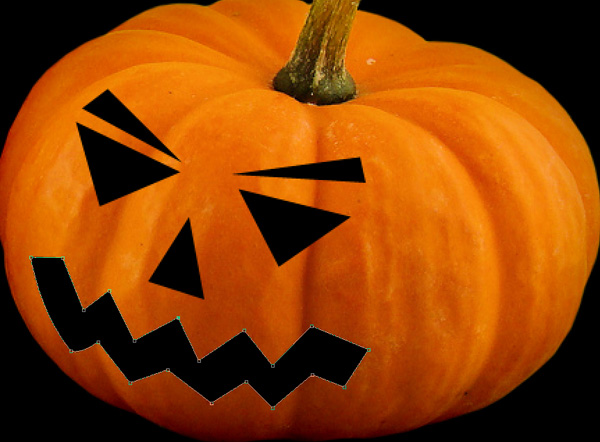
Find a stock photo with a pumpkin and remove the background using your favorite tools like Pen Tool (P), Magic Wand Tool (W), Magnetic Lasso (L) or even a simple Filter>Extract.
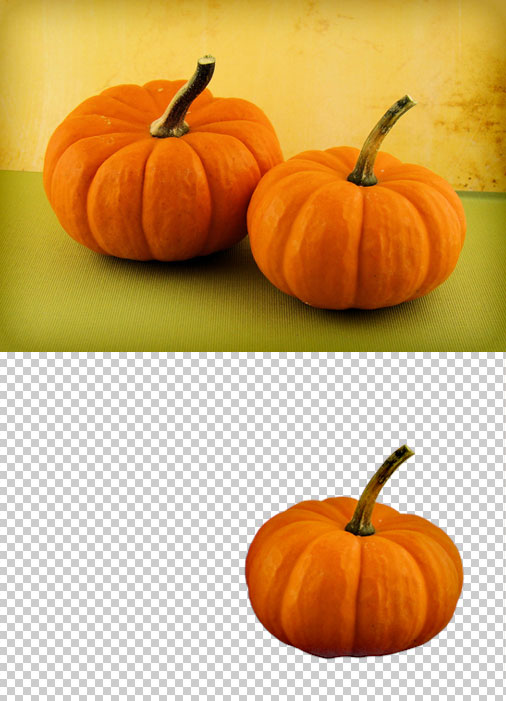

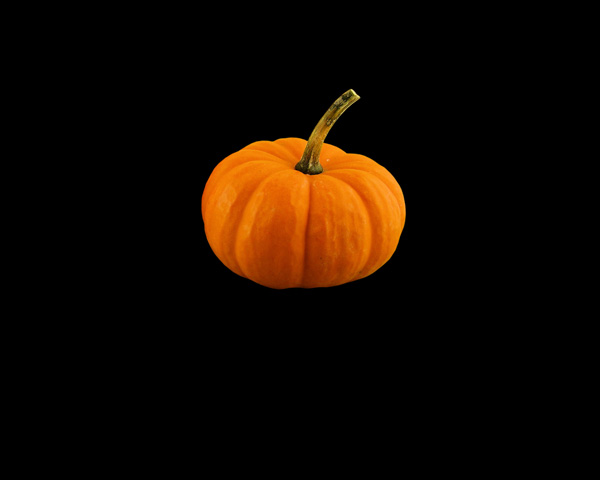
Insert it on a new layer in our main document.
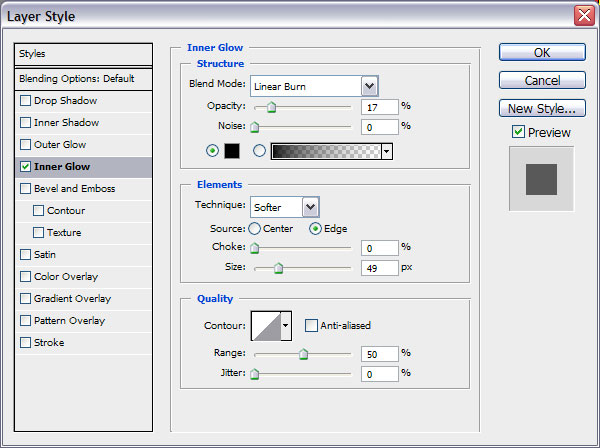
Click on Add a layer style icon from bottom part of the Layers panel and select Inner Glow.
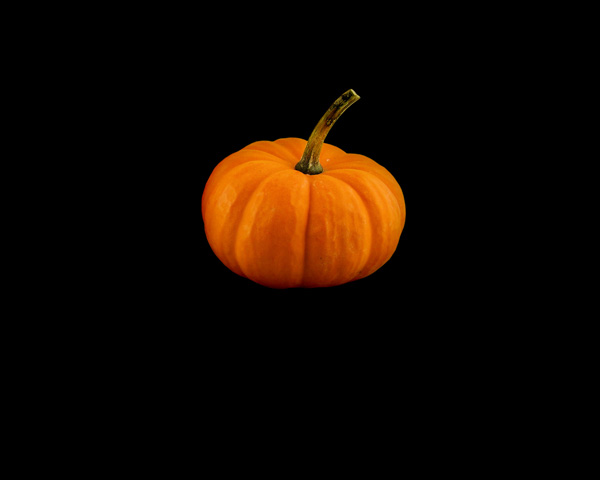
We’ve got the next result:
Next choose the Pen Tool (P), set the drawing mode on Shape Layers in Options bar and draw the next shapes as shown.
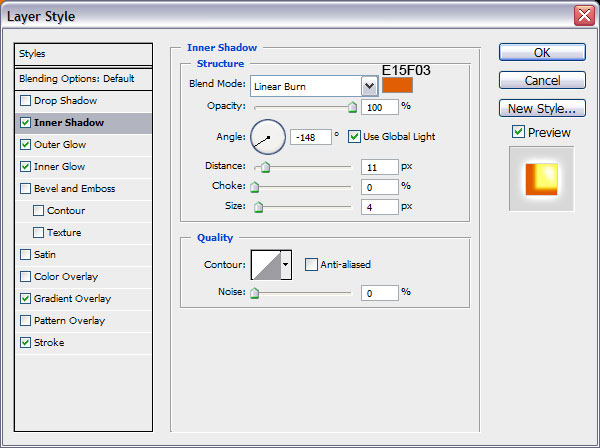
Next we’ll add the same Layer Styles for each layer contain the shapes. Click on Add a layer style icon from bottom part of the Layers panel and select Inner Shadow.
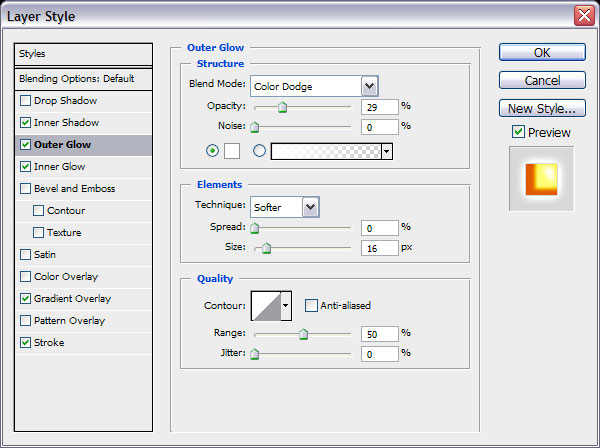
Add Outer Glow :
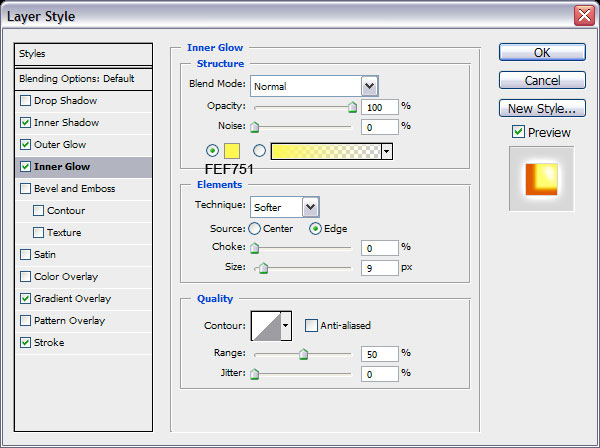
Select Inner Glow
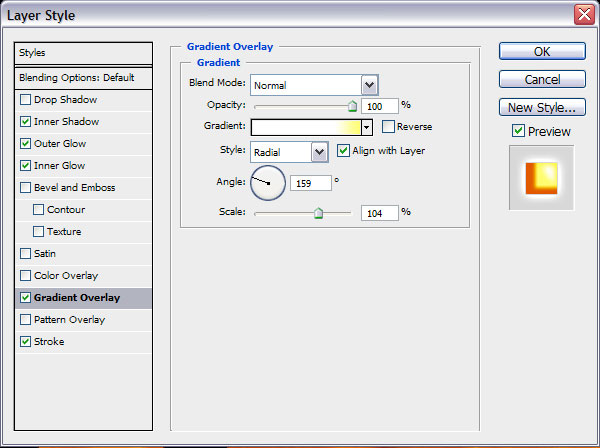
Set Gradient Overlay settings:
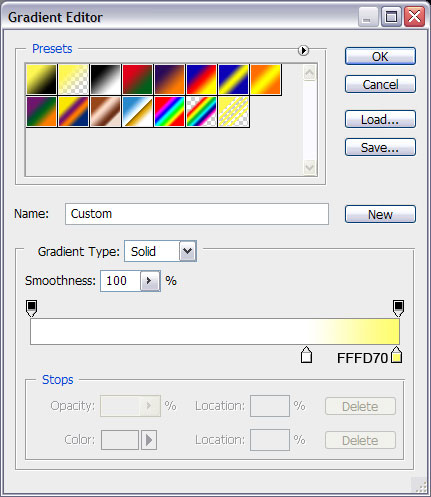
Click in the color bar to open the Gradient Editor and set the color stops as shown. Click OK to close the Gradient Editor dialog box.
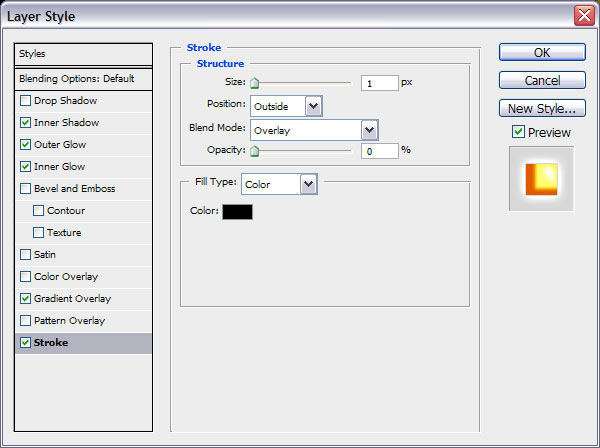
Add Stroke
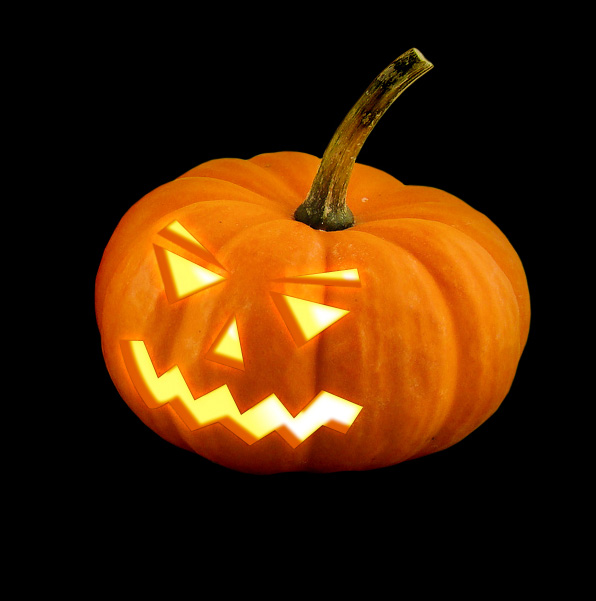
As a result we’ve got the shining light inside of the pumpkin:
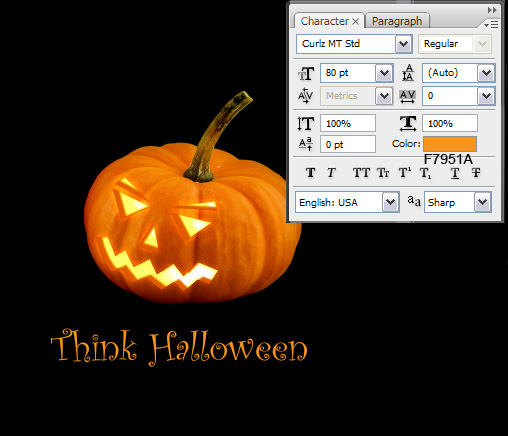
Click the Horizontal Type tool (T). Select a font, size and color in the Character panel. I have used Curlz MT Regular font. Click in the image and type Think Halloween words. Press Enter to apply the text.
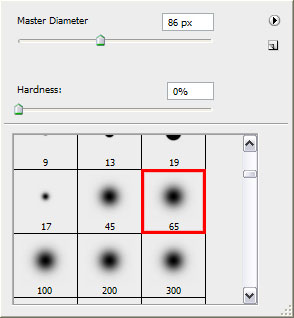
Next select the Soft Round brush from Brush Tool (B) and set the Opacity to 10% in the Options bar.
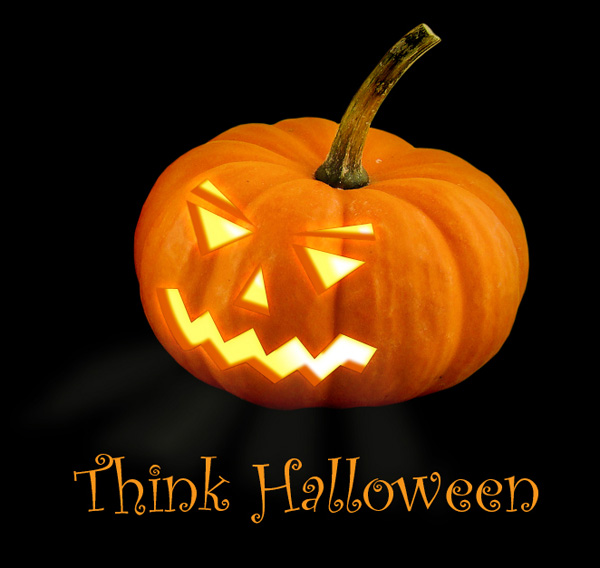
Try to draw on a new layer the coming outside light of the pumpkin:
Create a new layer under the layer containing the pumpkin and try to insert some light under this pumpkin, with the same brush’s used above:
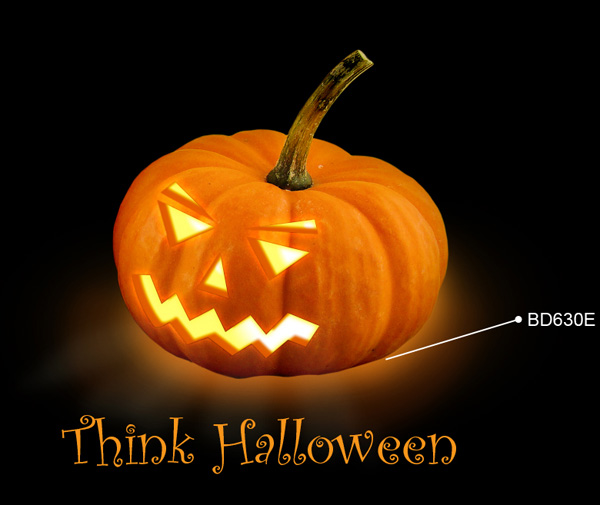
This is the final result!
View full size here.
Download free Layered PSD file.
Comments