
Abstract Desktop Wallpaper
This lesson I’ll show you how to represent abstract wallpapers for the desktop.
Firstly we need to create a new file (File>New) of 1280×1024 px and 72 dpi. Using the Paint Bucket Tool (G) fill the new file with black color.

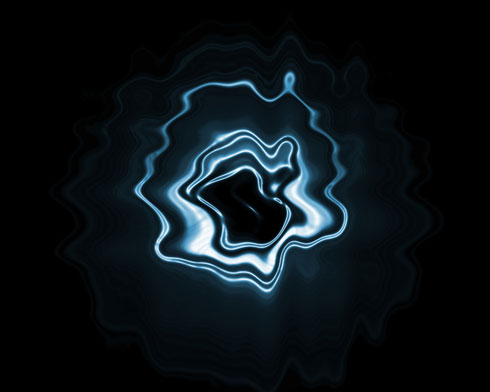
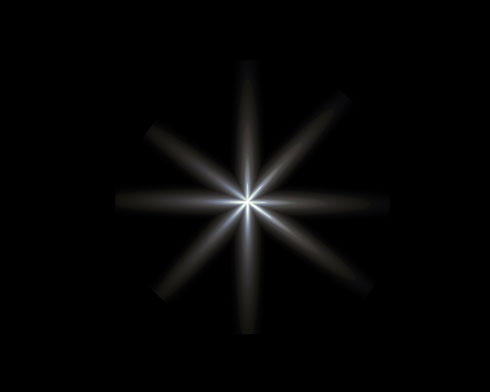
Select the main menu and the selection from here – Filter>Render>Lens Flare, setting the parameters demonstrated next table:
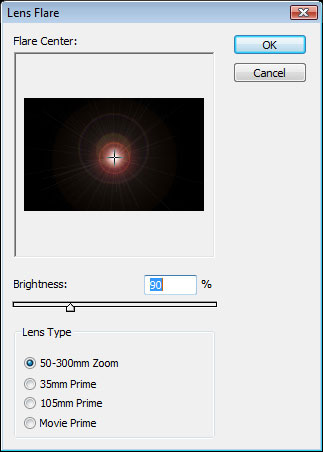
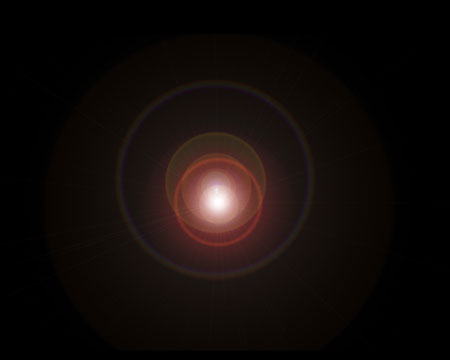
We need to get a kind of luminescence, shown below:

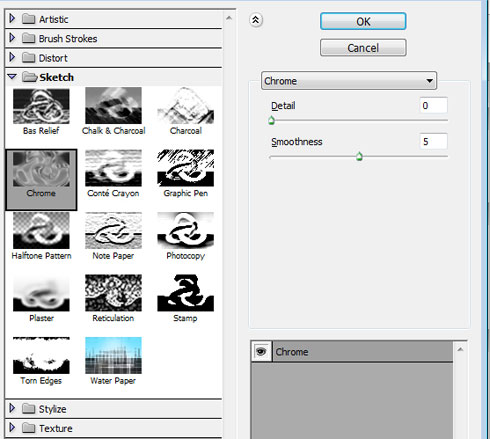
Find the filters’ gallery (Filter>Filter Gallery) choosing the chrome with the next shown parameters:
Next select Filter>Distort>Wave and press the button demonstrated below:
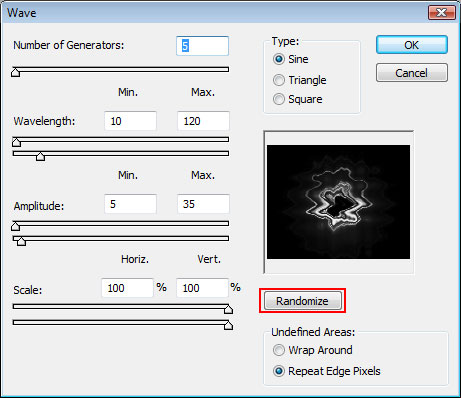
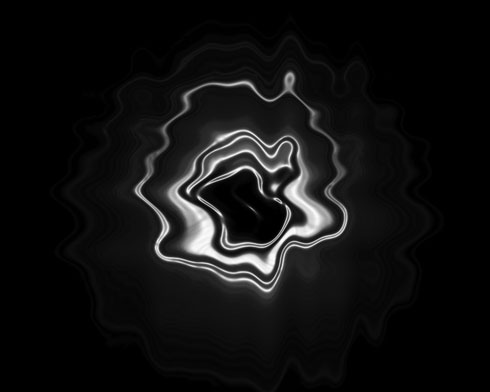
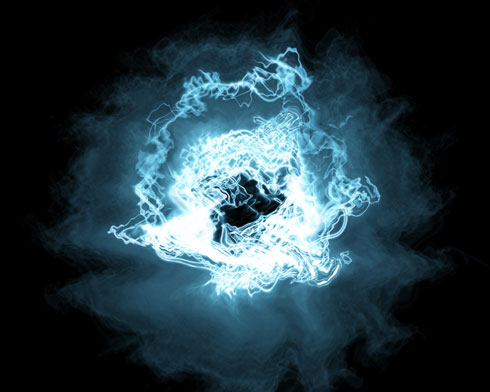
We’ll get a kind of amphora shape, like the one from the next picture:
Press then the combination of buttons Ctrl+U to insert the appropriate color
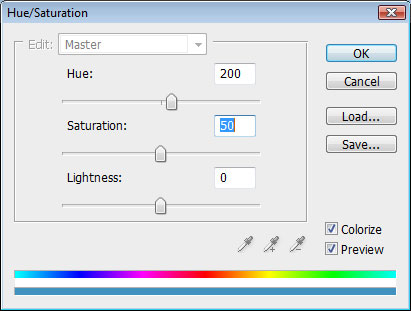
We’ll get the next picture on this stage:
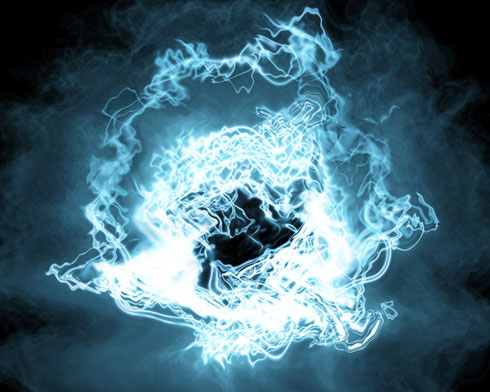
Make a copy of the layer Ctrl+J and then provide the operation with the Wave filter, pressing Randomize button.
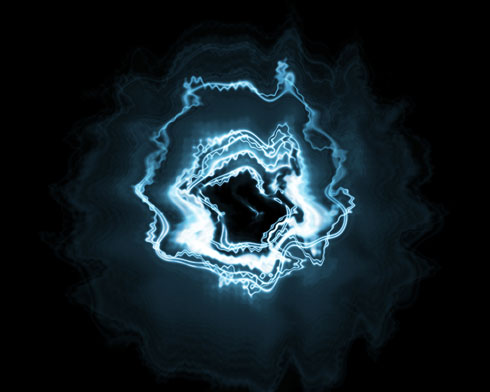
Set the Blending mode-Screen for this layer:

Make a copy of the new layer we’ve got, providing again the same operation. Finally we need to get about 4-5 copies.
Using the Free Transform option, try to enlarge the new swirl, marking out all the layers.
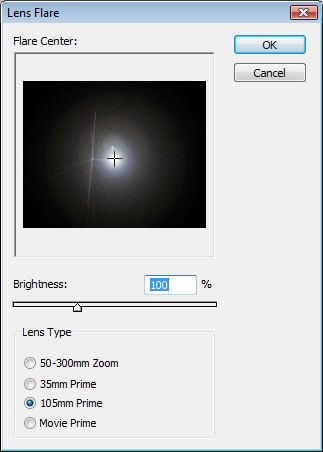
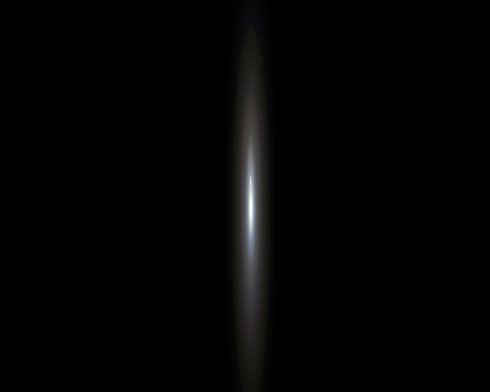
Create a new layer and fill it with black color. Select after that Filter>Render>Lens Flare and set the next demonstrated parameters:
We need to get the next picture:
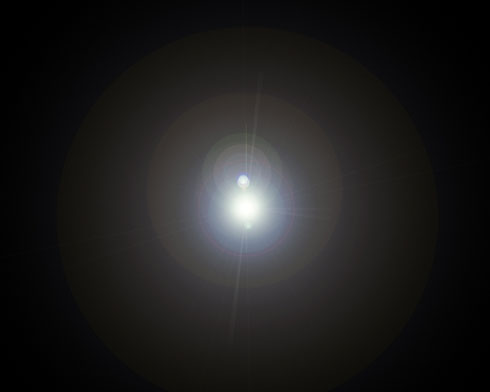
Select again the Free Transform option to narrow a little the picture by its horizontal line. Place also the black layer as for the new result to be visible
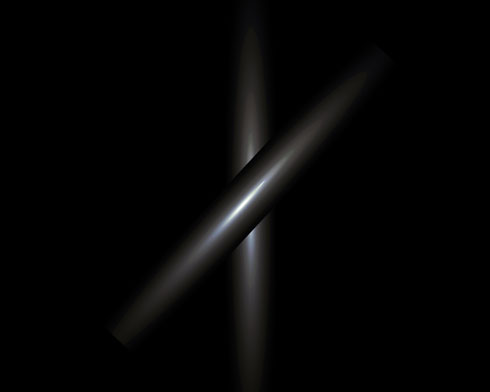
Make a copy of this layer and turn it over the same way demonstrated below:
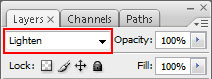
Set the next Blending Mode-Lighten:
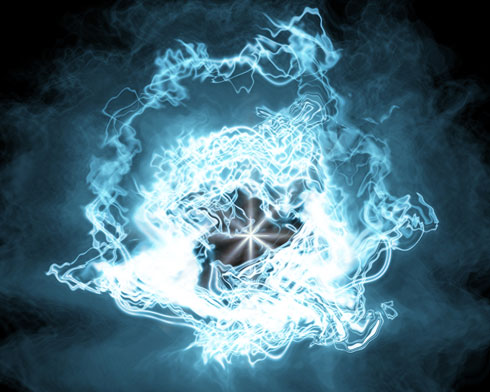
The layers will be put together the same way you may see next picture:
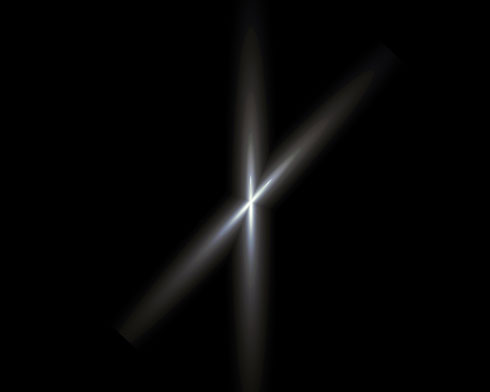
Make a copy of the last layer we’ve got and turn it around to get the star, demonstrated next image:
Mark out all the layers composing the star and put them together into a single one (Ctrl+E). Set then the next demonstrated Blending Mode – Screen. Move off after that the black layer, placing the star on the central part of the picture.

The wallpapers are finished!
View full size here.
Comments