
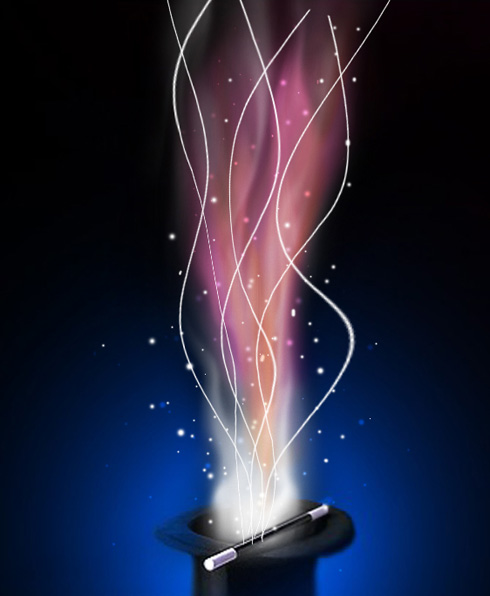
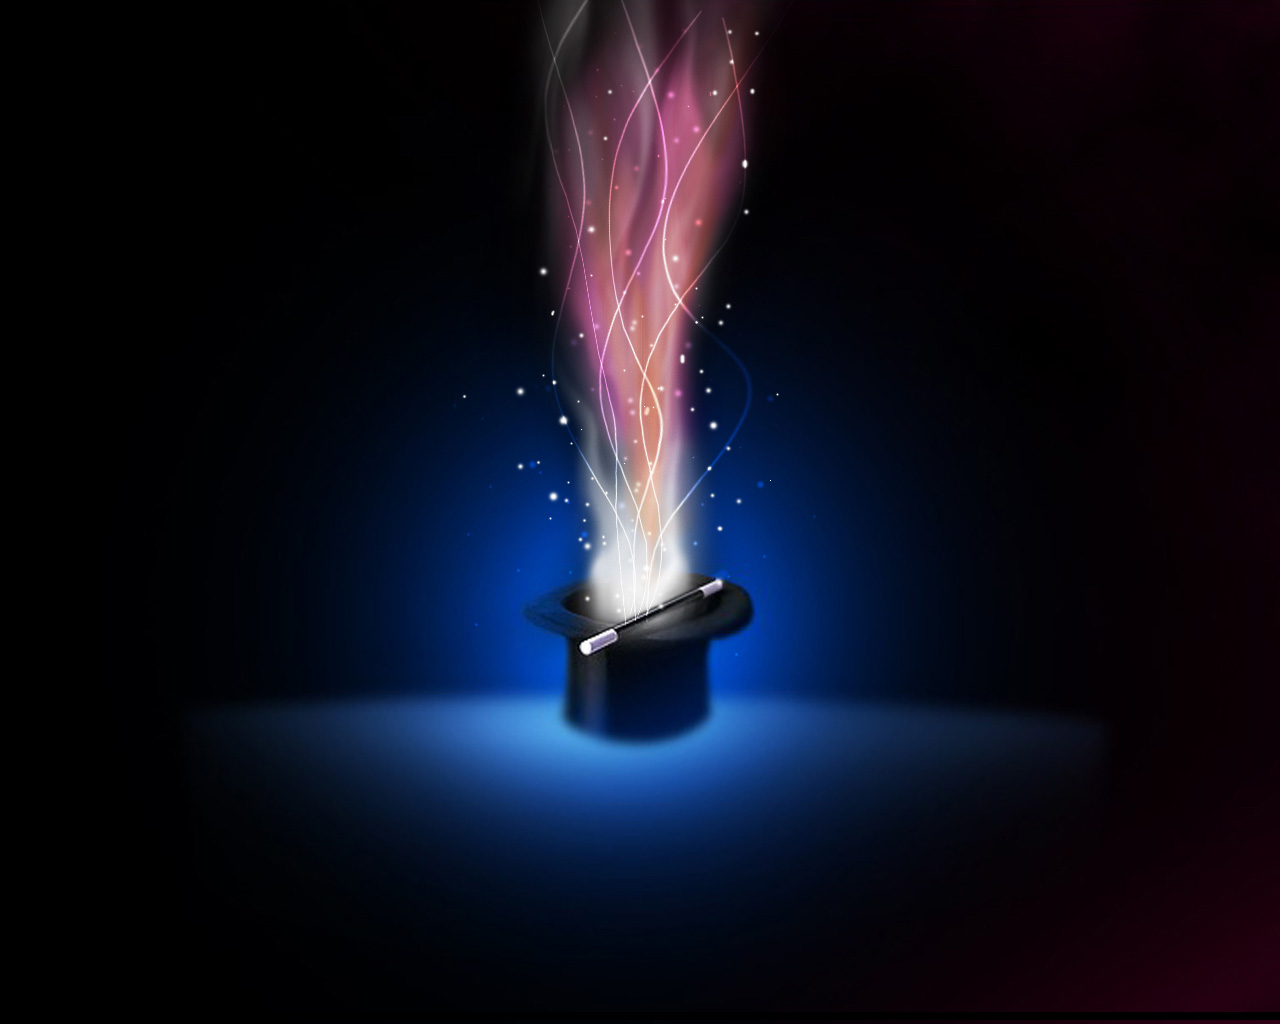
Magic top hat stick tutorial
In this tutorial we will create a magic light from hat with stick.
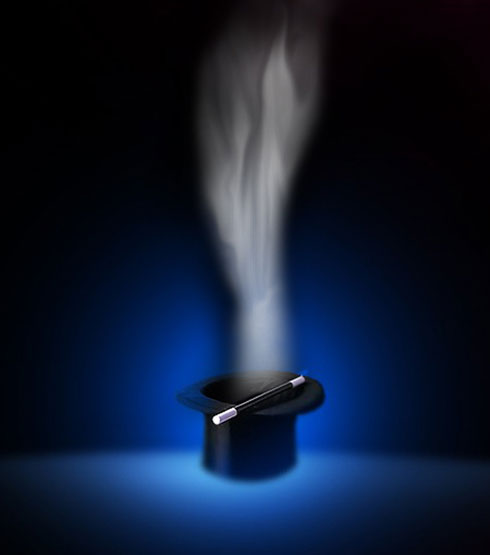
Begin your work by finding out of Internet a picture containing a magic hat and a stick. The picture has 1280×1024 px and 72dpi.

Create a new layer which must be pictured with black color, applying the Paint Bucket Tool (G). Select after that the Brush Tool (B) of white color to represent several lines.

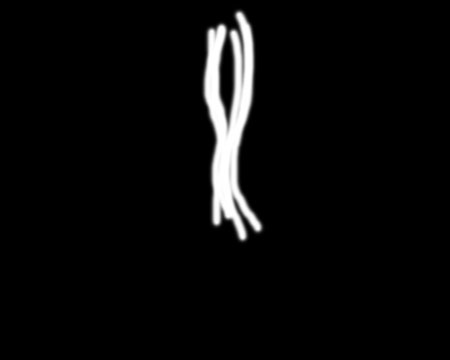

Using the Smudge Tool (R), try to smudge out these white lines.

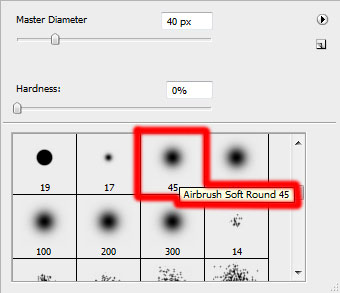
Make a mouse click on this layer on Add a Mask option situated on the bottom part of the layers’ panel. Applying the above mentioned brush of black color, try to erase those zones that will be visible.
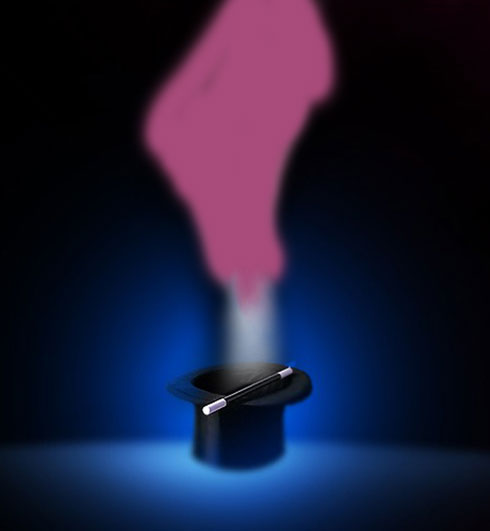
On the next new layer (Create new layer), apply the same brush with the color #A74B7A to give some color to our flame.
Set the next indicated parameters by making a mouse click on the layer we work with, on the layers’ panel. Blending mode-Overlay 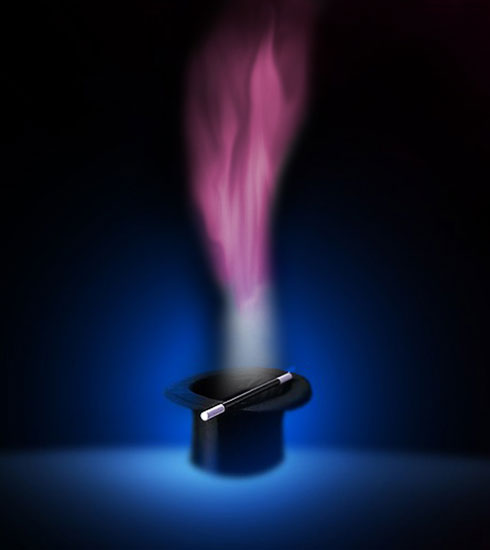
Create again a new layer (Create new layer), using on it a standard brush, helping to represent the flame’s elements, colored with #F26522
Select again the Smudge Tool (R) to transform those made lines into flame’s tongues.
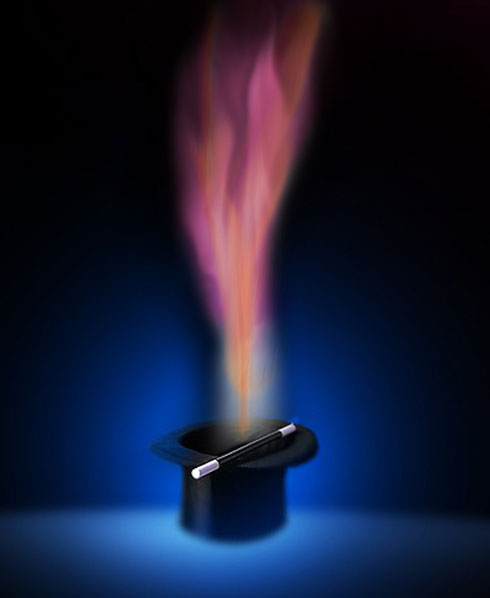
The layer’s parameters: Blending mode – Color 
Create one more new layer (Create new layer), using on it the known brush to represent on this new layer many white dots of different sizes.
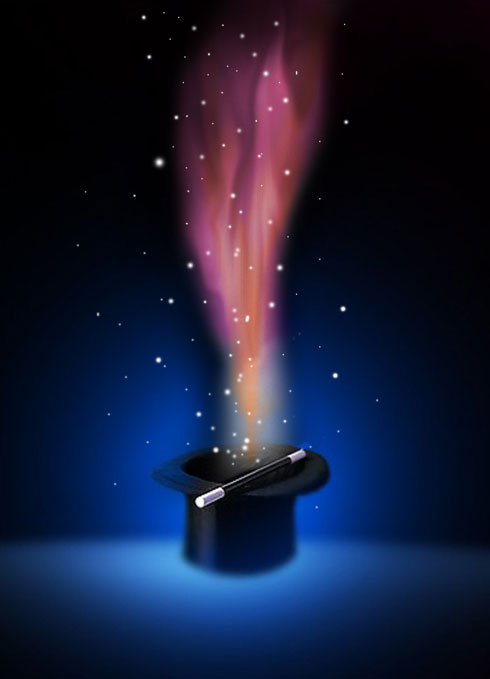
The layer’s parameters: Blending mode – Overlay 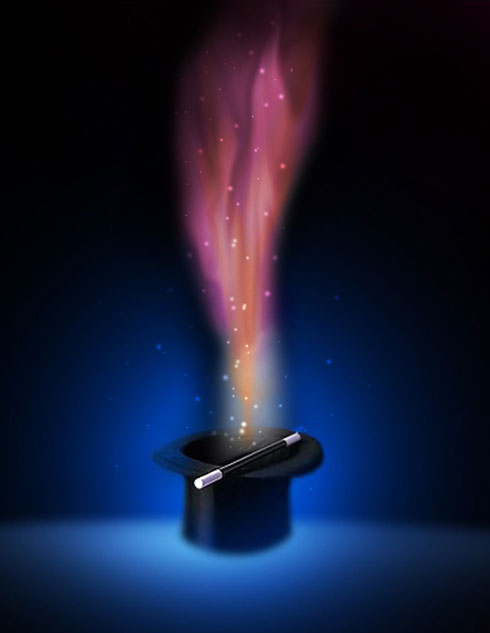
On the next layer we’ll have to represent several white dots too.
Create a new layer and choose for it the same standard brush of white color, this time, to give some brightness to the flame.
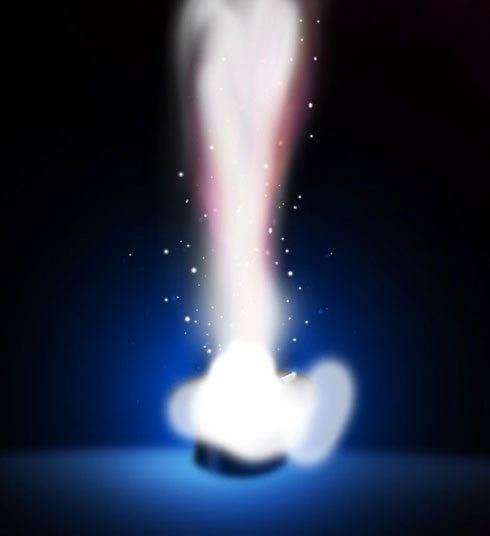
Make a mouse click on Add a Mask option on the bottom part of the layers’ panel and use the standard brush of black color (Opacity 40%) to erase the unnecessary elements.
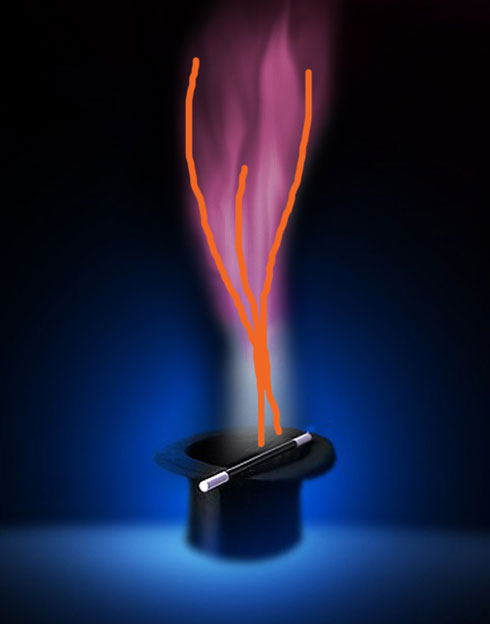
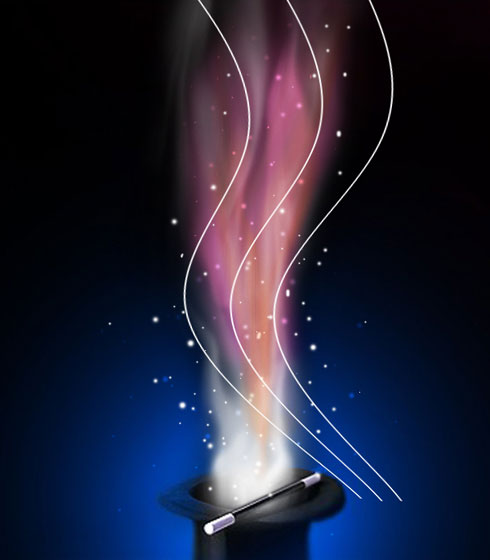
Using the Line Tool (U), try to make three other lines of white color.

Merge together all the layers containing the three lines into a single one. Press Ctrl button to mark out the lines’ layers and press after that CTRL+E. For the last obtained layer apply the Filter>Distort>Shear 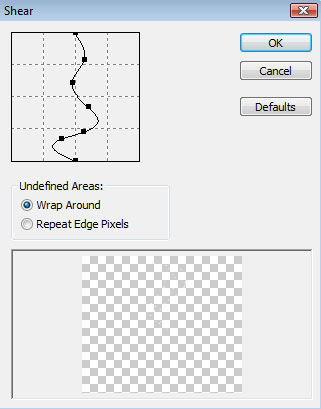
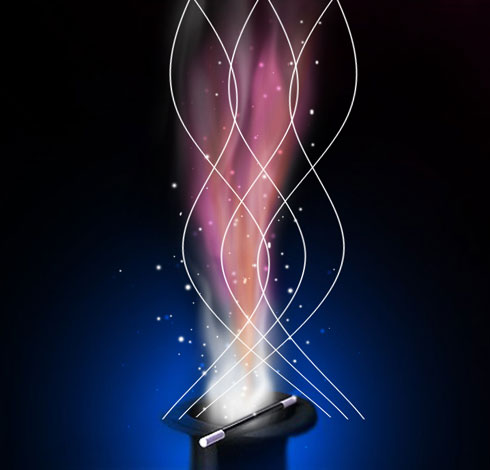
Make a copy of the recently made layer and choose Free Transform selection to turn around the copy as it is indicated below:
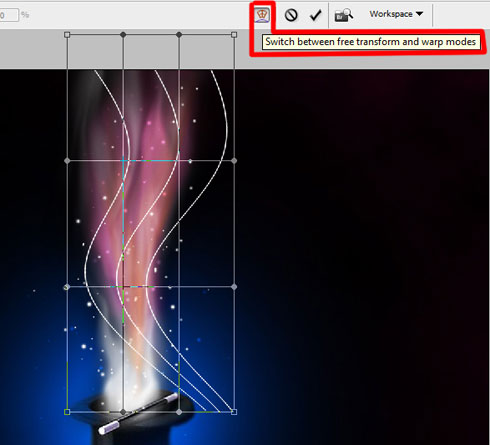
Applying the WARP modifier for each of the lines’ layers (CTRL+T and press Switch between free transform and warp modes), try to change the shape of the curves.
Set the same parameters for the lines’ layers. Blending mode – Overlay 
Finished!
View full size here.
Comments