
Designing a Yin Yang Wallpaper
Learn in this tutorial how to design awesome Yin Yang wallpaper.
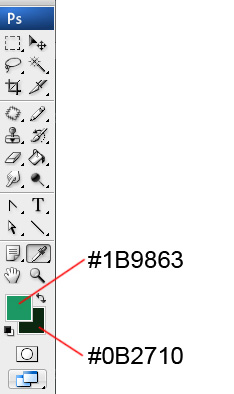
Create a new file (File>New) with 1280x1024px and 72dpi. The Background and Foreground colors should be adjusted the way from below:
Next select the option Filter>Render>Clouds

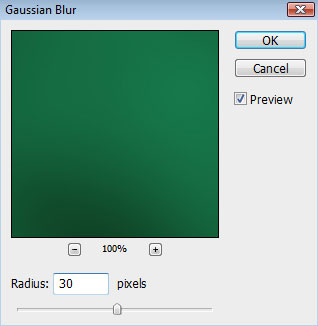
Set also for the same layer this option too: Filter>Blur>Gaussian blur


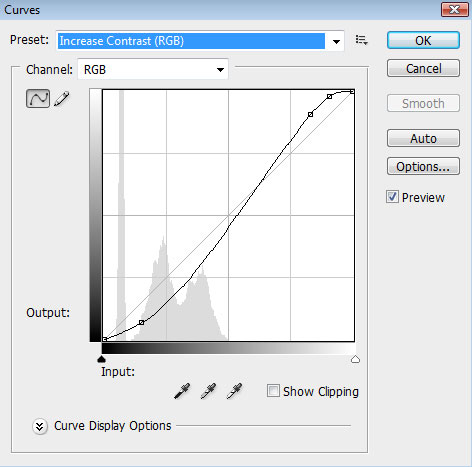
Press also CTRL+M (Curves dialog box)

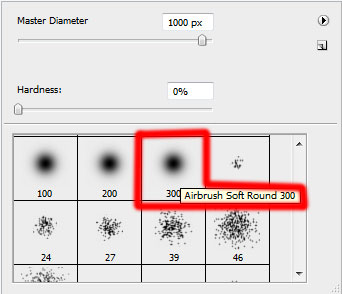
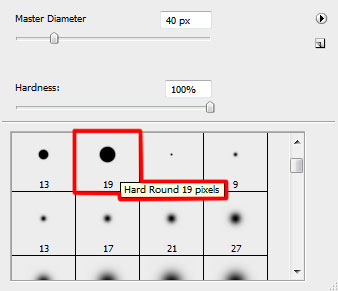
Create a new layer and use on it the standard Brush Tool (B) to draw a horizontal line along the central part of the screen. Its color is #034943

Set the next demonstrated parameters by making a mouse click on the layer on the layers’ panel. Blending mode-Hard Light 
Using the Custom Shape Tool (U), try to represent a YIN YANG shape, of white color.

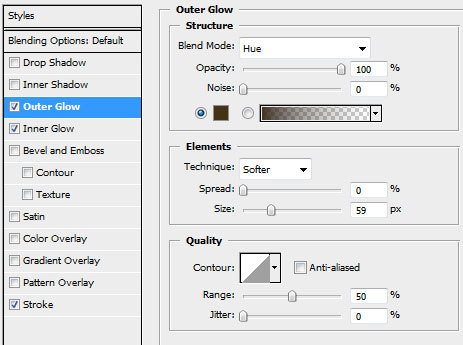
The layer’s parameters: Blending Options>Outer Glow
Blending Options>Inner Glow 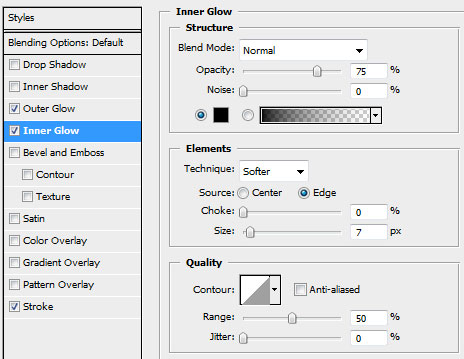
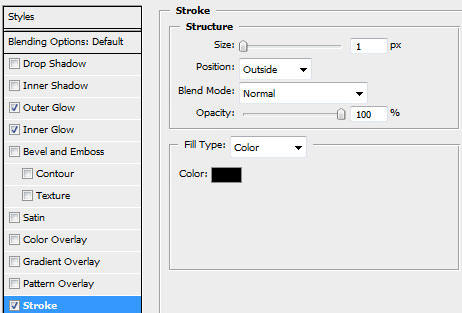
Blending Options>Stroke

On the next new layer (Create new layer) we’ll have to use a standard brush to dark out a little the inside part of the shape. This new layer must be situated lower than the layer containing the indicator itself. Choose for this operation the color #011509

Put together all the layers into a single rasterized one. Press for this operation Ctrl button to mark out the corresponding layers and then press CTRL+E.
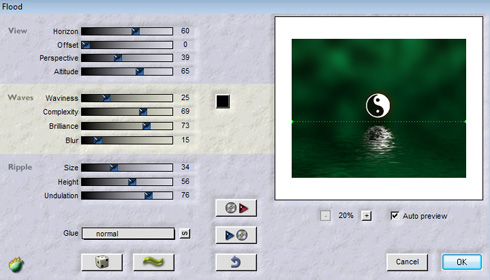
Now we’ll try to create realistic pseudo-3D water reflection using Flood plug-in from Flaming pear. Install plug-in by putting the plug-in files into the folder Program FilesAdobePhotoshopPlug-Ins. You must restart Photoshop before it will notice the new plug-in. It will appear in the menus as Filters>Flaming Pear>Flood.
Apply it on the last obtained layer.

This is it!
View full size here.
Comments