
Creative christmas cards
Today, I’m going to show you how use custom shapes and Layer styles in Photoshop CS3 to create a creative Christmas illustration. Let’s get started!
Final Image Preview

Start working by creating a new document (Ctrl+N) in Adobe Photoshop CS3 with the size 1280px by 1024px (RGB color mode) at a resolution of 72 pixels/inch. Take now the Rectangle Tool (U) and draw a rectangle on the whole canvas as shown.
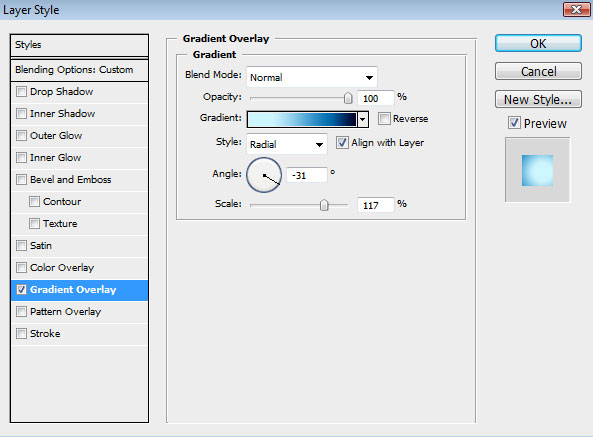
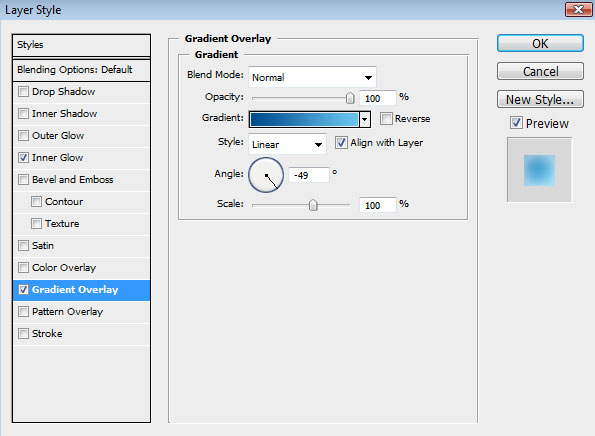
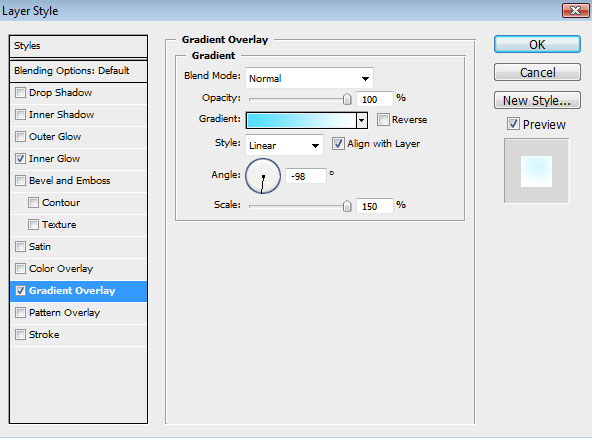
Click on Add a layer style icon from bottom part of the Layers panel and select Gradient Overlay.

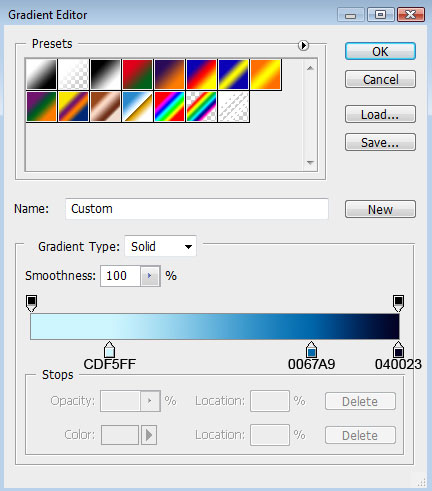
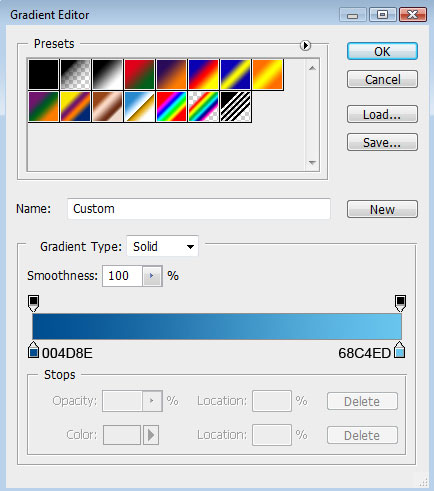
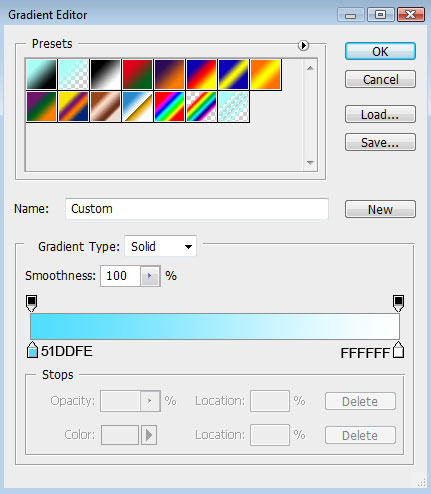
Click in the color bar to open the Gradient Editor and set the color stops as shown. Click OK to close the Gradient Editor dialog box.
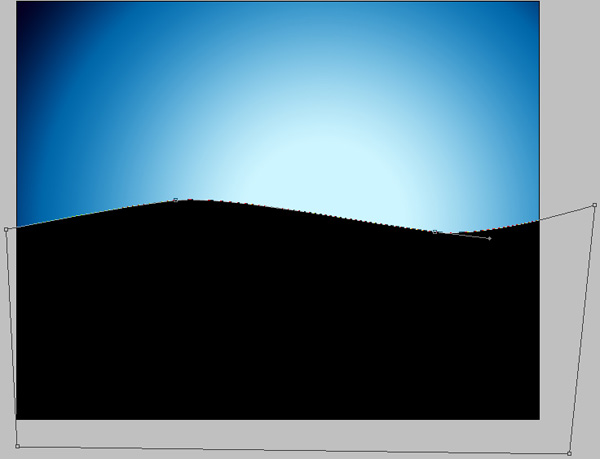
We’ve got the next result:

Next we’ll represent the snow hills, use the Pen Tool (P), set the drawing mode on Shape Layers in Options bar and to draw the next shape as shown.
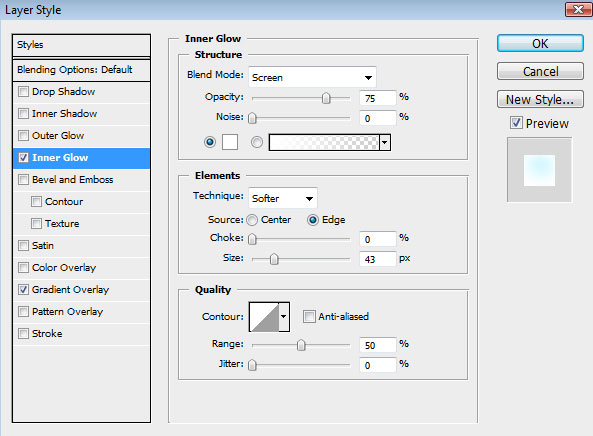
Click on Add a layer style icon from bottom part of the Layers panel and select Inner Glow.

Add Gradient Overlay
Click in the color bar to open the Gradient Editor and set the color stops as shown. Click OK to close the Gradient Editor dialog box.
We’ve got the next result:

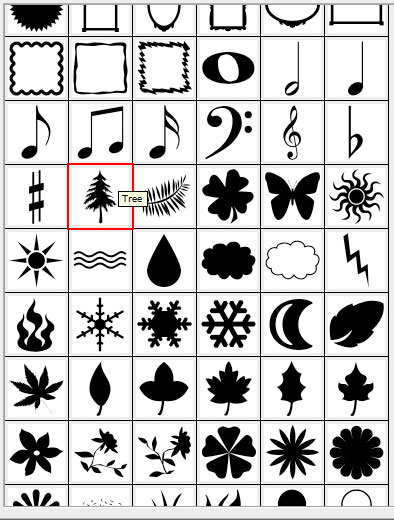
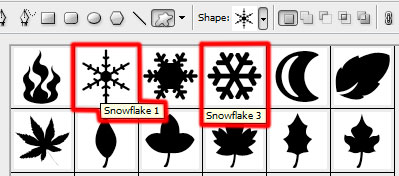
Select the Custom Shape Tool (U) in the Tools bar, in the Options bar click the Shape to open the selection menu. Find Tree at the bottom of the menu, and then double-click a shape thumbnail to select it.
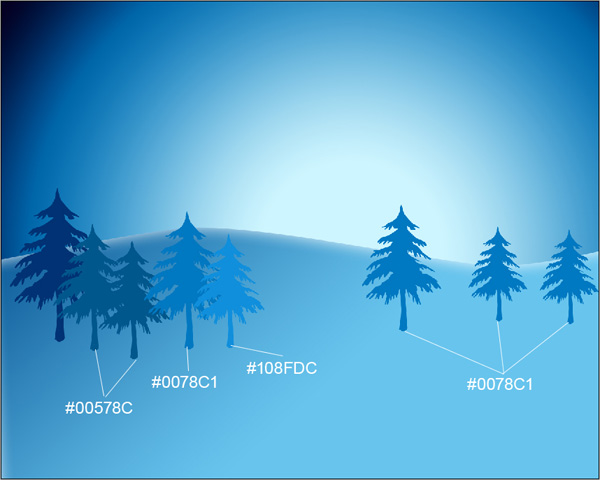
Drag to draw the tree having the color #003274.

Make seven copies of the tree’s silhouette and select the Free Transform (Ctrl+T) command to change the copies’ sizes, placing them the same way demonstrated below:
Using the Custom Shape Tool (U), let’s draw a lot of snowflakes, having different sizes:
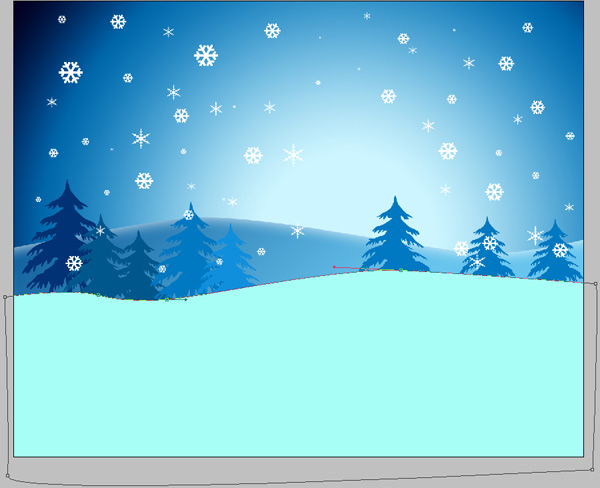
We’ve got the next result:

Continue representing the snow hills, selecting the same Pen Tool (P) draw tha next shape having the color #A7FEF6.
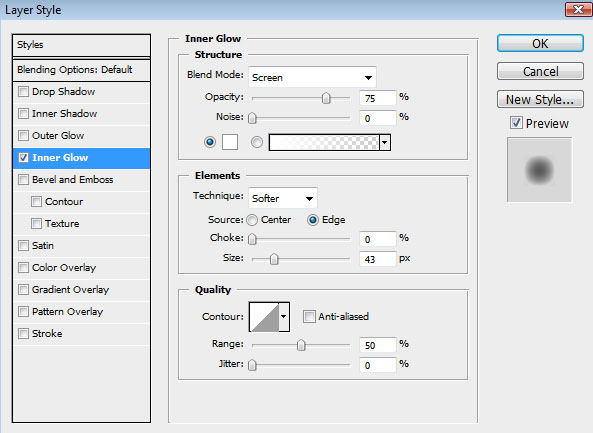
Click on Add a layer style icon from bottom part of the Layers panel and select Inner Glow.
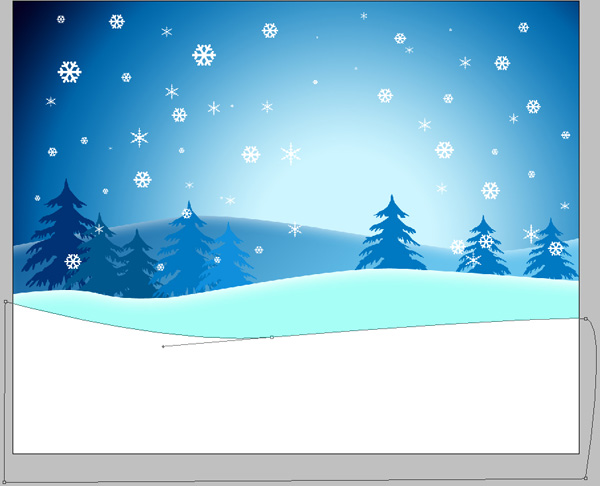
We’ve got the next result:

Draw another shape using Pen Tool (P).
Click on Add a layer style icon from bottom part of the Layers panel and select Inner Glow.
Add Gradient Overlay:
Click in the color bar to open the Gradient Editor and set the color stops as shown. Click OK to close the Gradient Editor dialog box.
We’ve got the next result:

On a new layer (Create new layer) we’ll select the Soft Round brush from Brush Tool (B), set Opacity to 20% in Options bar.
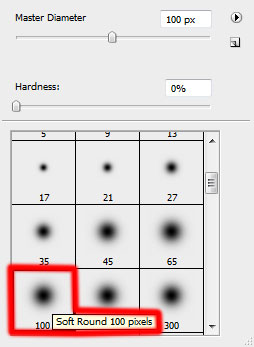
Use this brush to represent the shadows on the snow hill as shown.

Page: 1 2
Comments