
2009 Multi-colored effects
A simple walkthrough on how to create a colored text effects in Adobe Photoshop, which can then be used as an element in your designs.
Firstly we need to create a new file (File>New), having 1280×1024 px and 72 dpi. Select after that the Paint Bucket Tool (G) to fill the new file with black color.

Next write the date of the New Year with separate ciphers, applying the Horizontal Type Tool (T).

The text needs to be edited as the next example shows it:

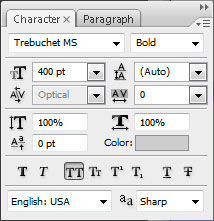
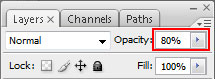
Each layer needs to have the Opacity of 80%.
It’s the result you should get:

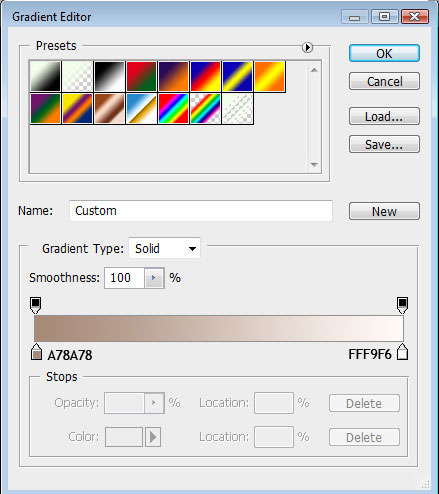
Set for the first cipher 2 the next Blending Options>Gradient Overlay by making a mouse click on this layer on the layers’ palette.
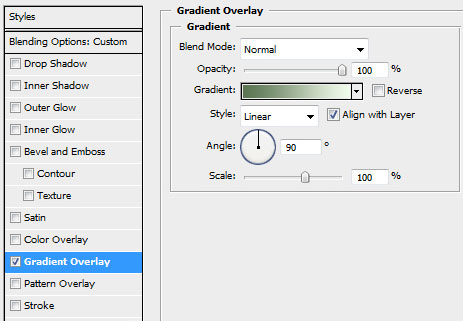
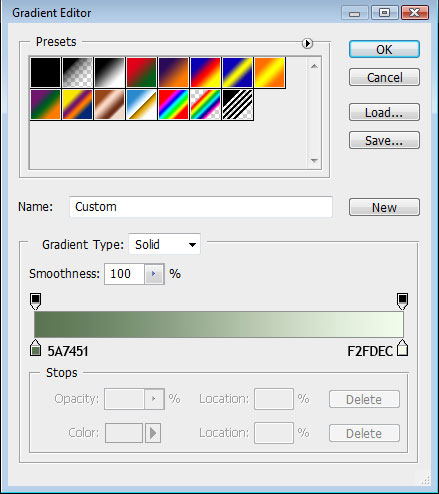
Set the next demonstrated gradient:
It’s the result you should get:

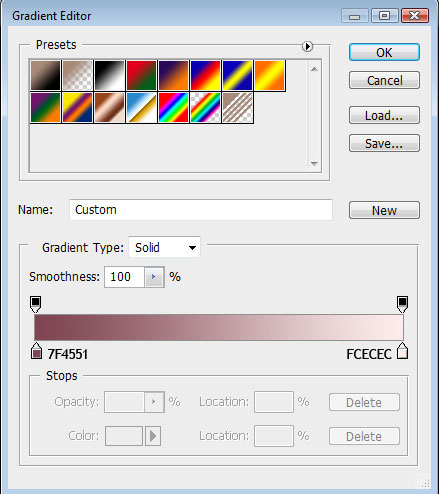
Pass to the next cipher:
The ciphers get a smooth gradient:

Set the appropriate gradient for the rest of the ciphers:
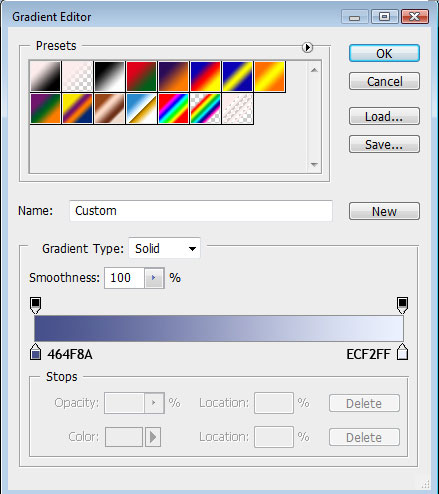
It’s the result we’ll get:

Represent the same ciphers above the previous made ones, the same way you may see below:

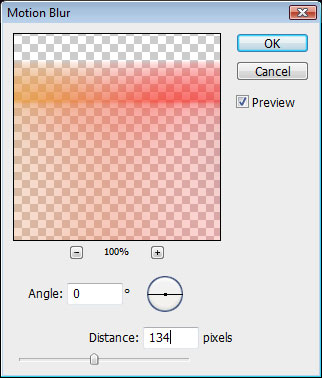
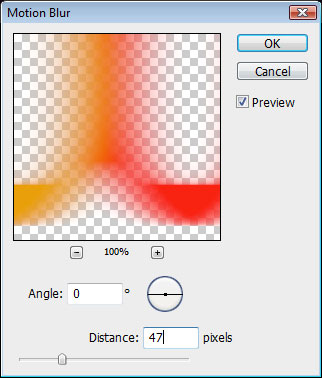
Mark out the colored date by pressing Ctlr+Left Click on the layers’ palette. Then press Ctrl+E for the layers to be put together into a single one. Make a copy of the layer we’ve got (Ctrl+J). Then select the option Filter>Blur>Motion Blur, setting the next parameters for the copied layer:
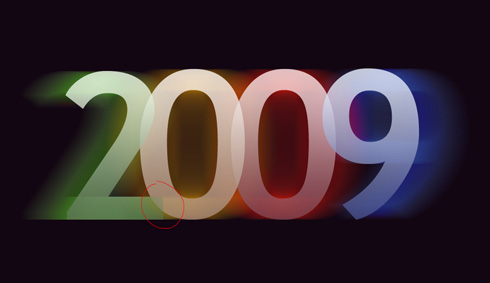
Place the layer we’ve got under the primary ciphers containing the gradient. Set the Opacity on 72%.

Next select a copy applying on it the next indicated parameters:
Place the new result above the copied layer. Set the Opacity on 54% and the Blending mode- Saturation

The layer containing the cipher 2 gets an opaque transition to 0 cipher. In this case we’ll select the Eraser Tool (E) with the Opacity of 10%. Make a click on the cipher and press Ok, erasing very accurately the edge of the 2 cipher.
The last operation we have to do is the reflection effect. Make copies of all the layers (Ctrl+J), except the background’s one and put them together. After that, turn them around by vertical position (Ctrl+T). Next take the Eraser Tool (E) and erase a little the bottom part of the text as it is shown on the next picture.

Finished!
View full size here.
Comments