
New Year 2009 – ice text effect
Winter is just around the corner! Learn how to create christmas ice text with snowflakes.
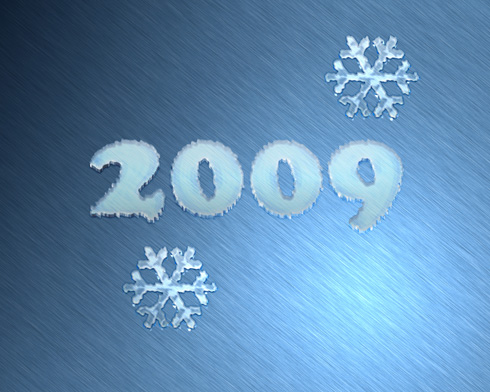
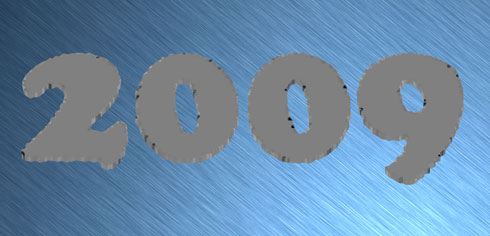
Final Image Preview
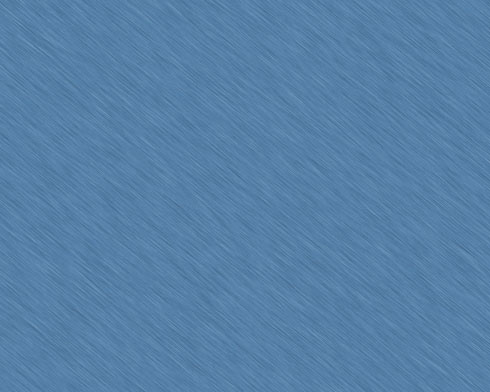
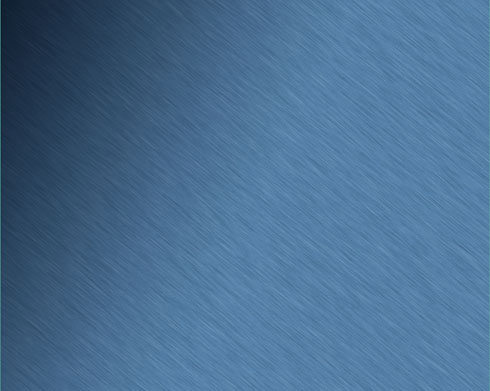
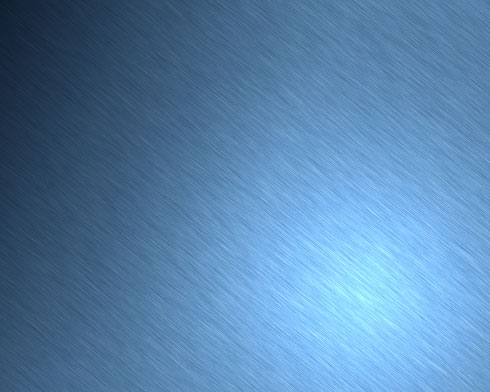
Create a new file (File>New) of 1280×1024 px and 300 dpi, which must be processed with the Paint Bucket Tool (G) for giving it the color #427BA8

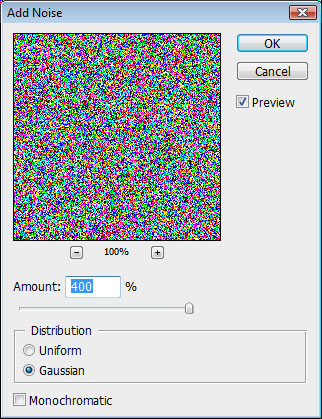
Apply on the new layer the next selection: Filter>Noise>Add noise

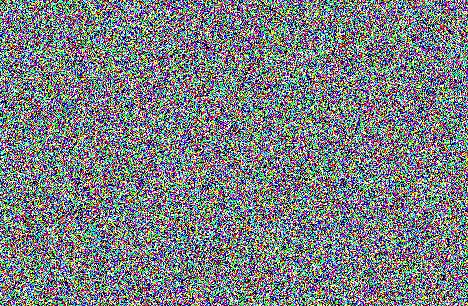
… and Filter>Blur>Motion blur on the same layer

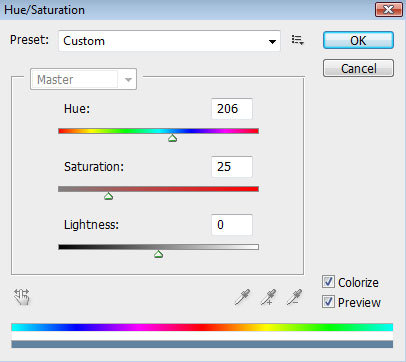
… also Image>Adjustment>Hue/Saturation
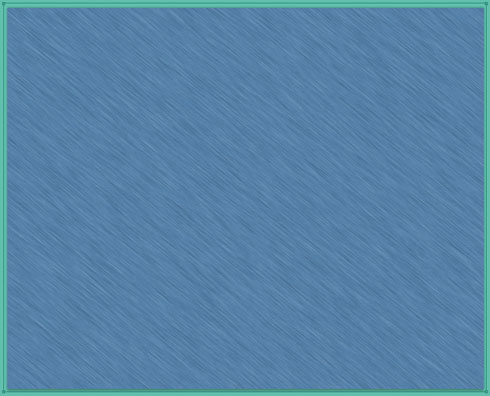
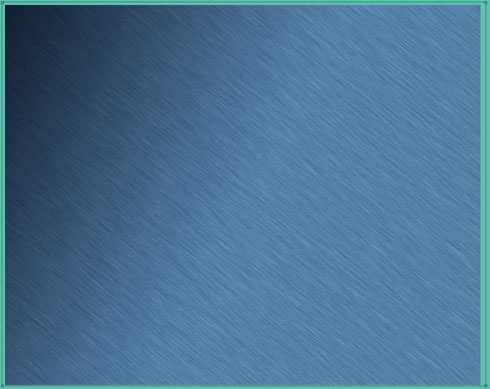
Using the Rectangle Tool (U), it’s possible to dark out the left top corner of our picture.
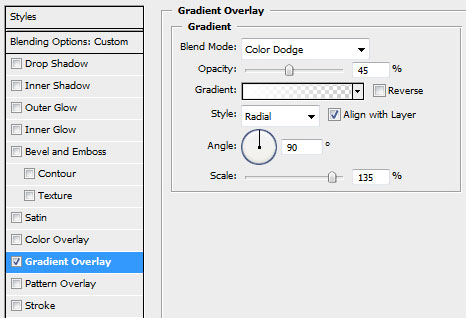
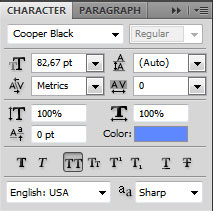
Set the next demonstrated parameters by making a mouse click on the layer we work with on the layers’ panel:
Fill 0%
Blending Options>Gradient Overlay
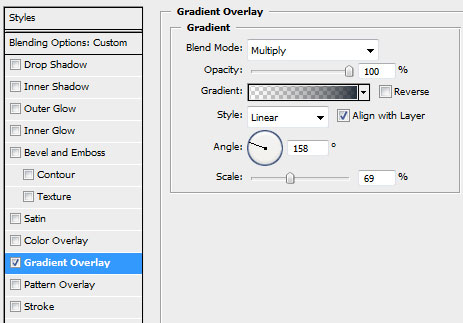
Gradient’s parameters:
Applying the same tool, try to represent a light spot on the right low corner.
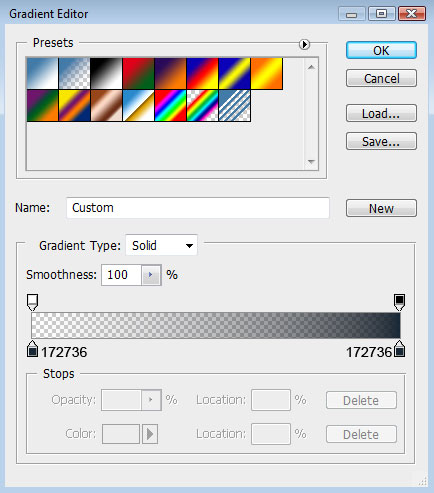
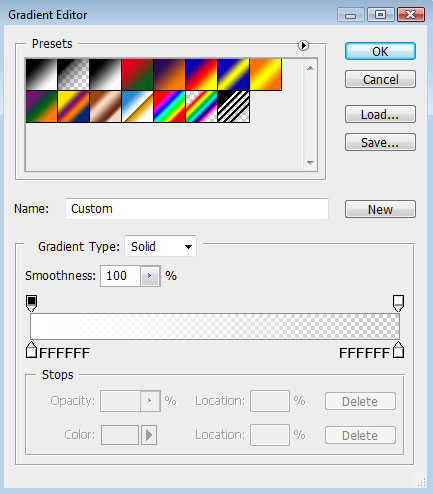
The layer’s parameters: Fill 0%
Blending Options>Gradient Overlay
Gradient’s parameters:
Insert now the date of the next year:
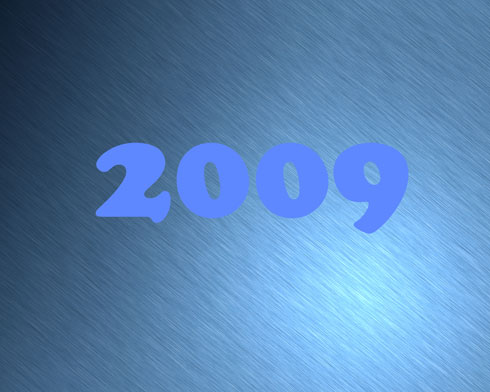
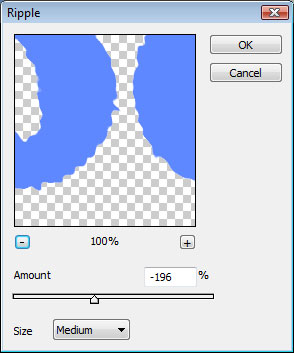
Put together the ciphers into a rasterized layer. For the beginning we’ll create a new layer above the text’s layer. Press Ctrl button to mark out the text’s layer and the new one and then press Ctrl+E. Set on the new rasterized layer the next option: Filter>Distort>Ripple
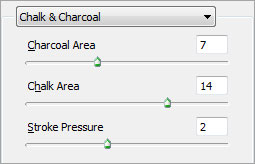
Select also Filter>Filter Gallery>Sketch>Chalk and Charcoal

Applying the Move Tool (V) while keeping pressed Alt button, press 8 times on the button indicating up direction:
Page: 1 2
Comments