
Iron Man movie wallpaper
In this tutorial, you’ll go through easy steps for creating a nice Iron Man movie wallpaper in Photoshop. We’ll use Photoshop’s simple shapes, layer styles and gradients to create this movie poster. Let’s get started!
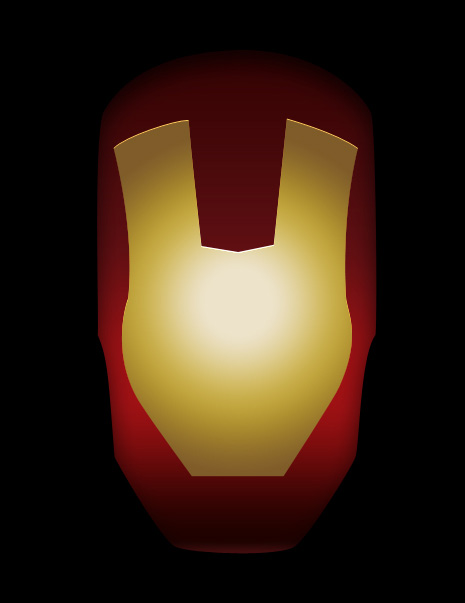
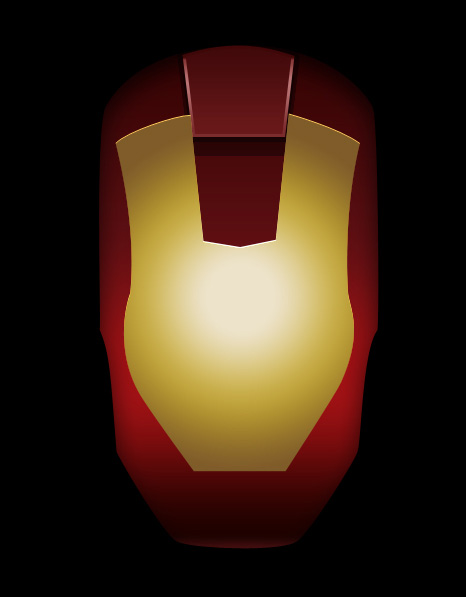
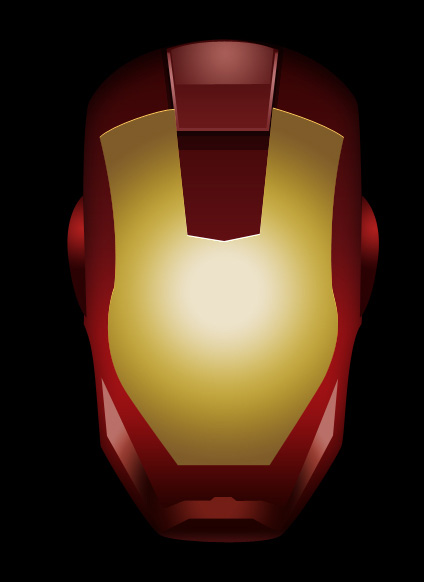
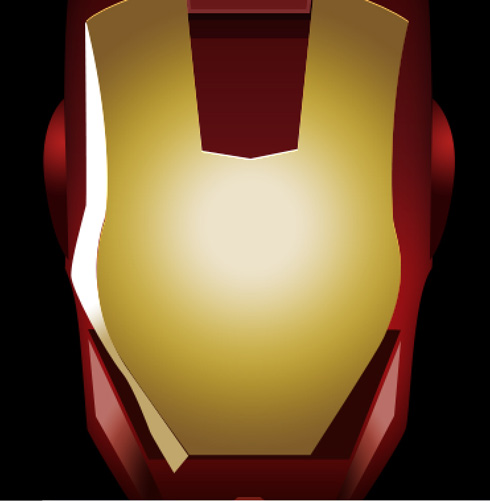
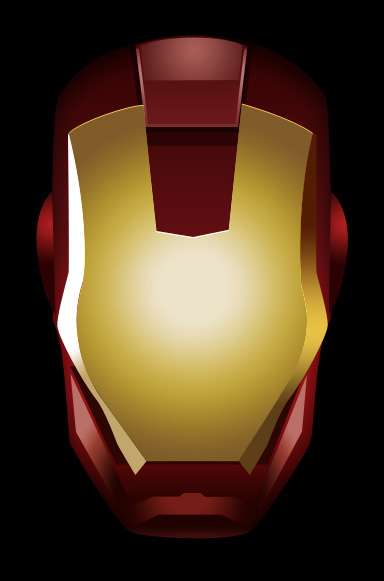
Final Image Preview
Create a new file (File>New) of 1280×1024 px and 72 dpi. Using the Paint Bucket Tool (G), fill the new file with black color.

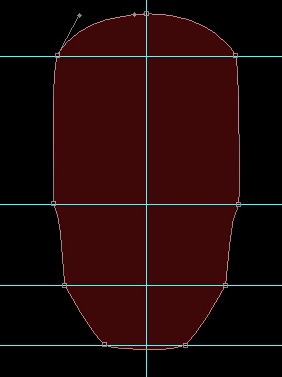
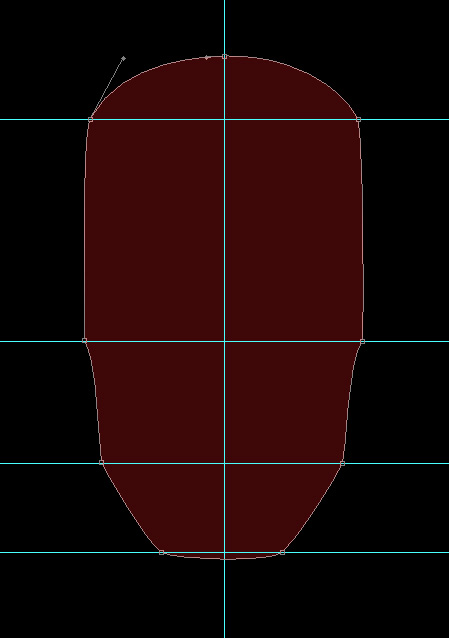
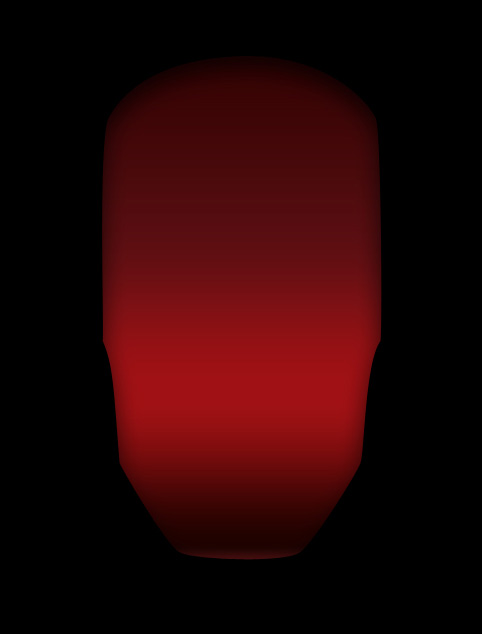
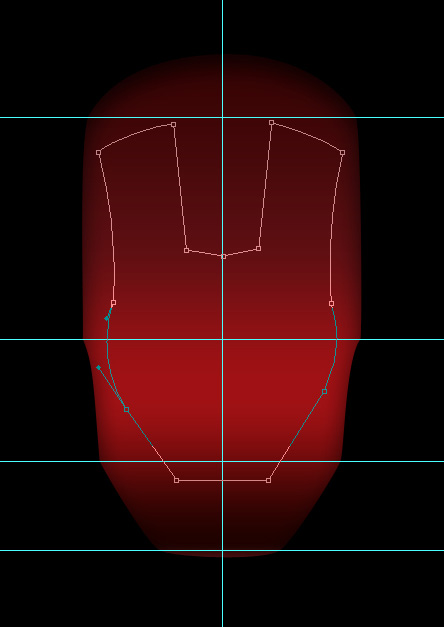
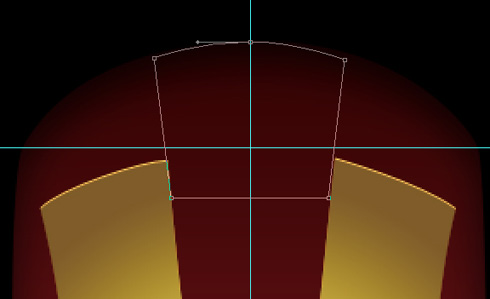
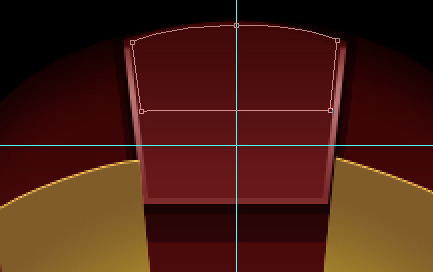
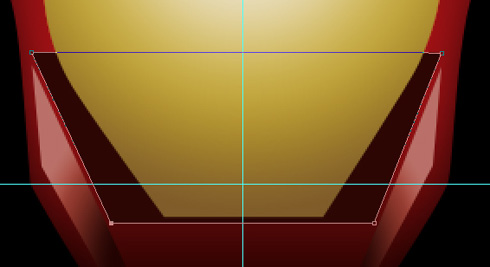
Next we’ll draw the head of Iron Man. For the beginning we need to make the basis of the picture to be. Press CTRL+R for view rulers. Let’s trace a central axe out of the line that may included by clicking the left mouse’s button and then draw the horizontal lines above for the corresponding proportion. If the marking is not visible, let’s make it visible by pressing the combination of buttons CTRL+;.
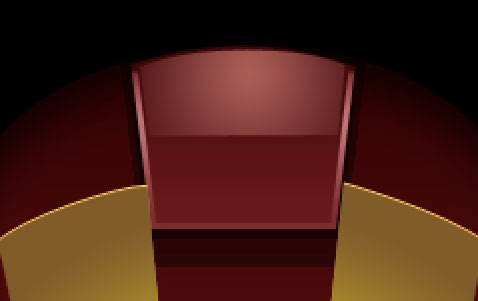
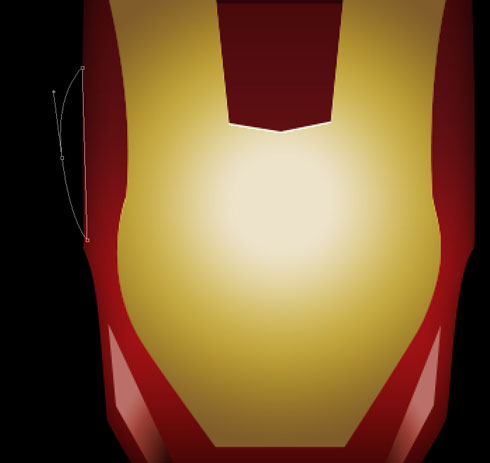
Applying the Pen Tool (P) and the Convert Point Tool, it is possible to make the basis.

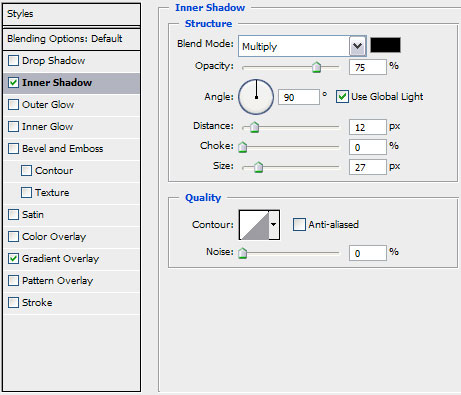
Set the next parameters for the last made layer by making a mouse click on the layer on the layers’ panel. Blending Options>Inner Shadow
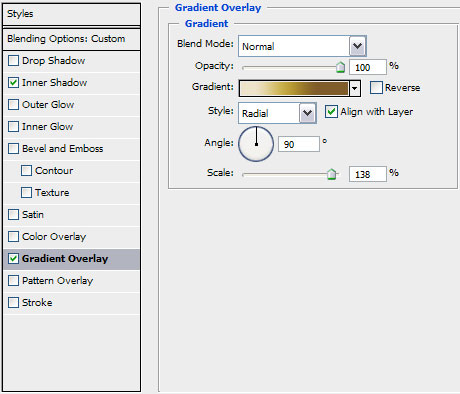
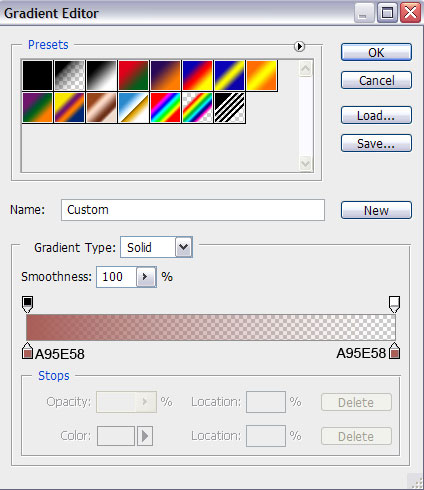
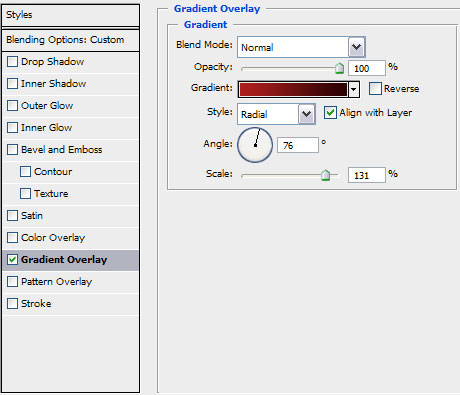
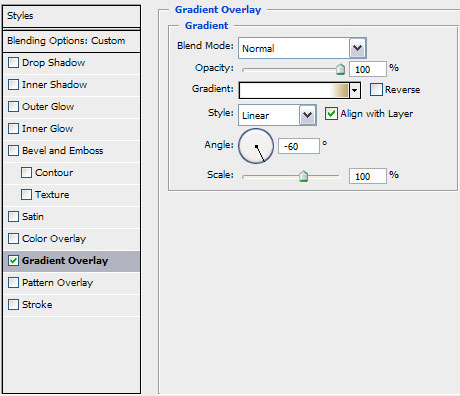
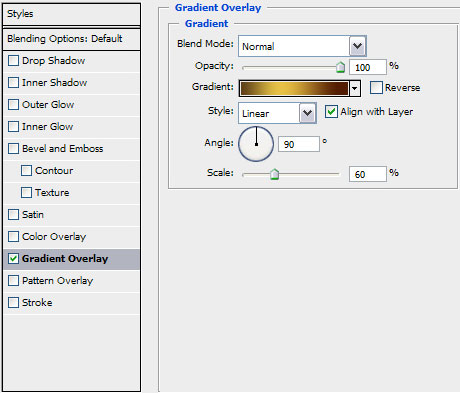
Blending Options>Gradient Overlay
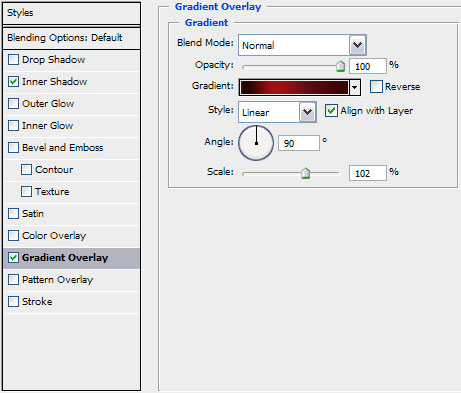
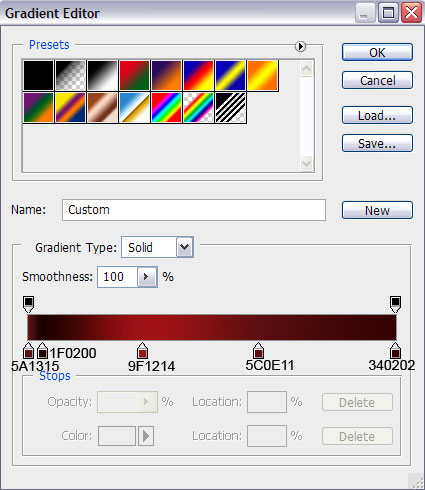
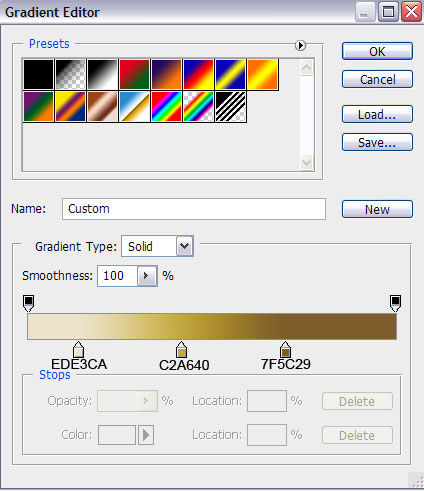
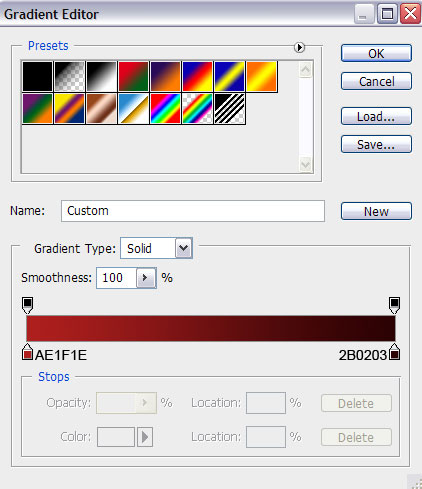
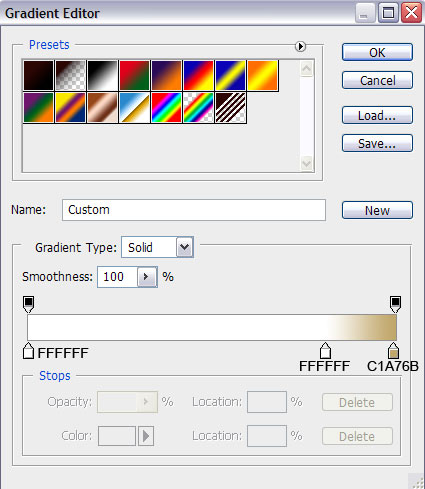
Gradient’s parameters:
On the next layer we’ll apply the same tools:
The layer’s parameters: Fill 0%
Blending Options>Inner Shadow

Blending Options>Gradient Overlay
Gradient’s parameters:
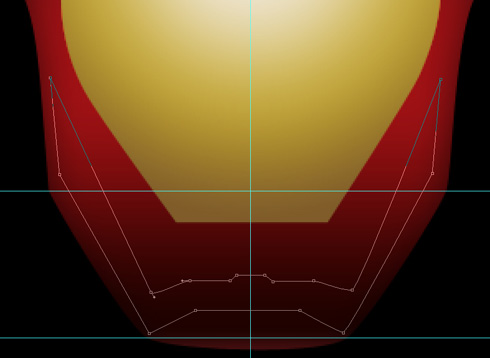
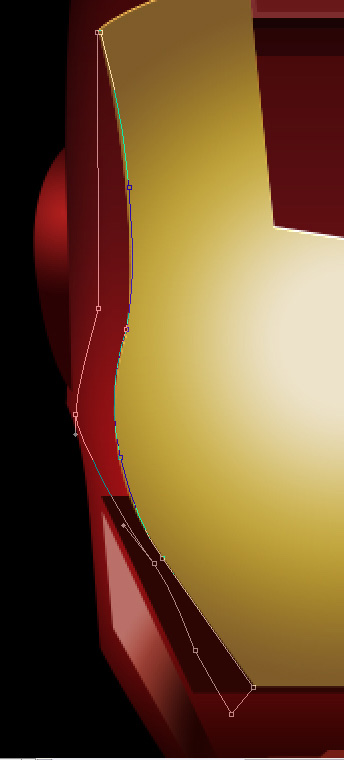
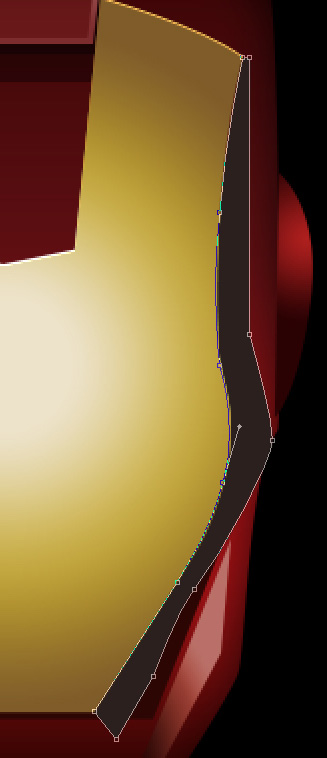
Next element of the head will be represented with the Pen Tool (P) and the Convert Point Tool. This layer needs to be placed lower than the previous one (on the layers’ panel).
The layer’s parameters: Fill 0%
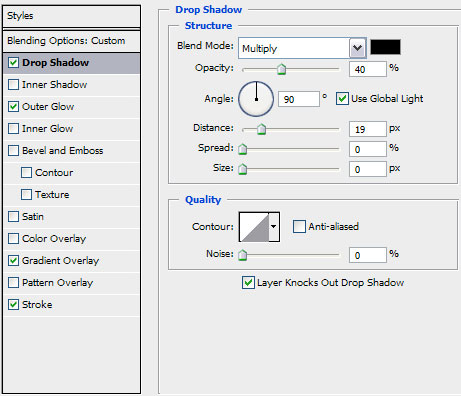
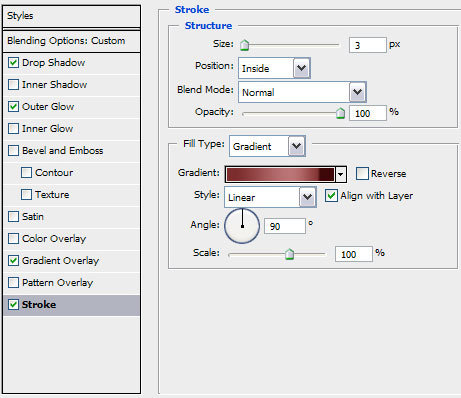
Blending Options>Drop Shadow
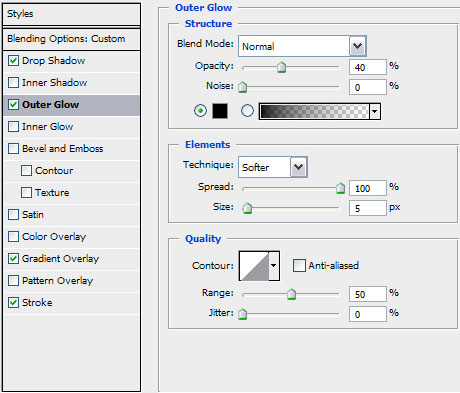
Blending Options>Outer Glow
Blending Options>Gradient Overlay
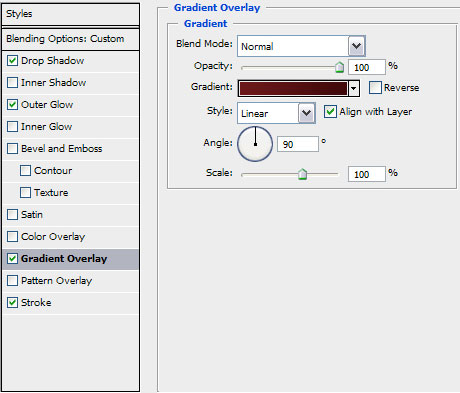
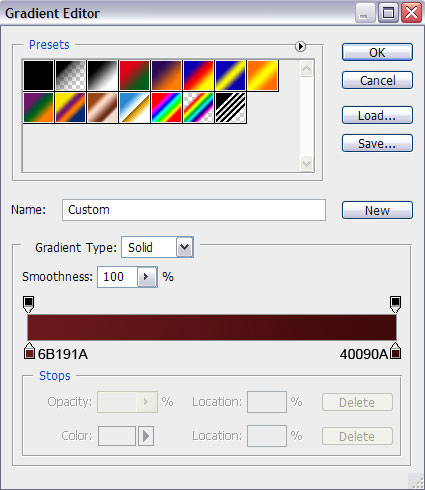
Gradient’s parameters:
Blending Options>Stroke
Gradient’s parameters:

The layer’s parameters: Fill 0%
Blending Options>Gradient Overlay
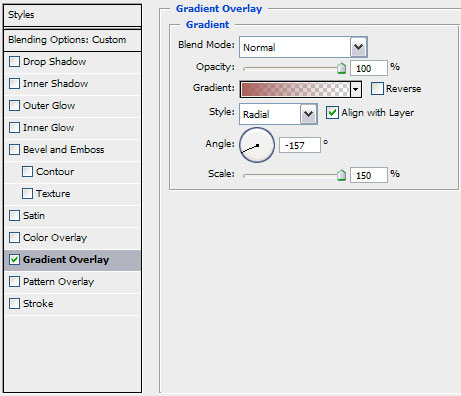
Gradient’s parameters:
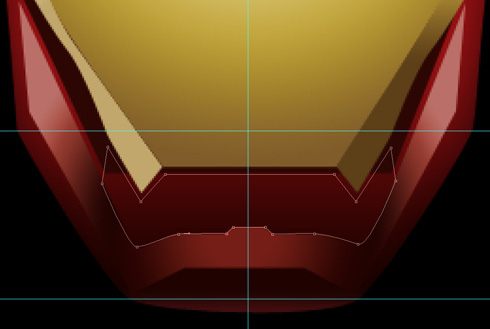
Next we’ll make the jaw on the Iron Man’s head. The tools remain the same (the Pen Tool (P) and the Convert Point Tool).
The layer’s parameters: Fill 0%
Blending Options>Gradient Overlay

Gradient’s parameters:

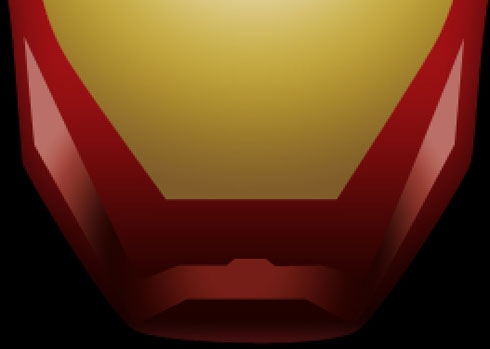
Let’s create next element on the head:
The layer’s parameters: Fill 0%
Blending Options>Gradient Overlay
 Gradient’s parameters:

Let’s make a copy of the ear’s layer and then apply the Free Transform option to turn over the copy and place the copy exactly the way shown below:
Let’s make the next element of the jaw. Place this layer lower than the face’s layer. The color applied in this case is #2C0603
Using the earlier known tools (the Pen Tool (P) and the Convert Point Tool), we’ll make the lateral part of the face:
The layer’s parameters: Fill 0%
Blending Options>Gradient Overlay
Gradient’s parameters:
Make a copy of the last made layer and then use the Free Transform option to turn over the copy, situating it the way from below. Change the parameters for the copy’s layer:
The layer’s parameters: Blending Options>Gradient Overlay
Gradient’s parameters:

Now we have to make the lowest part of the head’s jaw. The applied instruments in this case are the Pen Tool (P) and the Convert Point Tool for the appropriate corrections.
Page: 1 2
Comments