
Abstract lighting effects
Learn how to create a very colorful waves element with light effects in Adobe Photoshop CS4.
Create a new file (File>New) that would have 1920×1200 px and 72 dpi. Using the Paint Bucket Tool (G), it’s possible to give the new file black color.

Select the Rectangle Tool (U) to draw a colored ornament like the one from below:

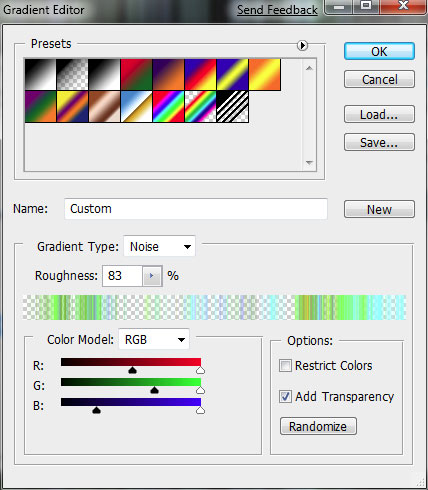
Set the next demonstrated parameters for the layer by making a mouse click on it on the layers’ panel: Blending Options>Gradient Overlay 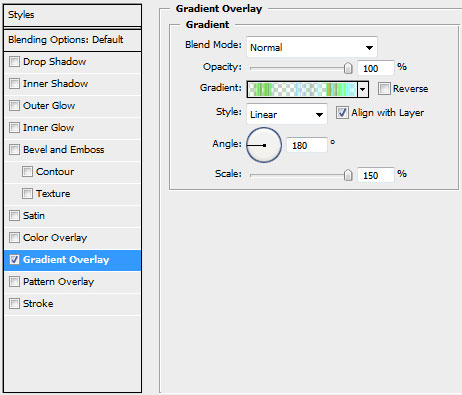

Gradient’s parameters:

Click on the bottom part of the layers’ palette on the next option – Create new fill or adjustment layer>Black&White 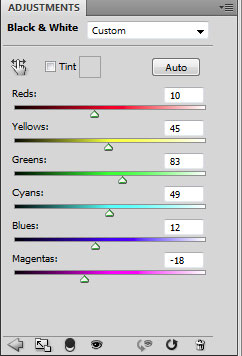

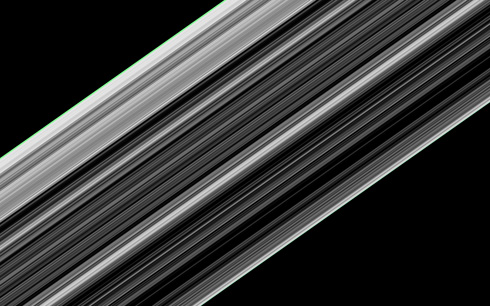
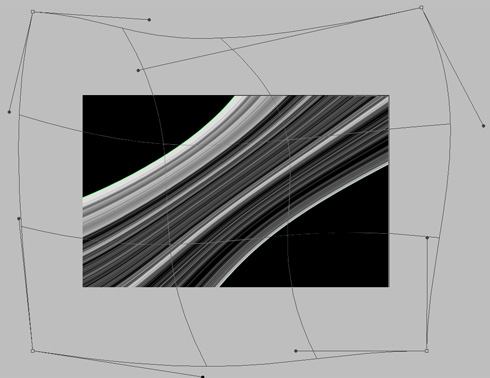
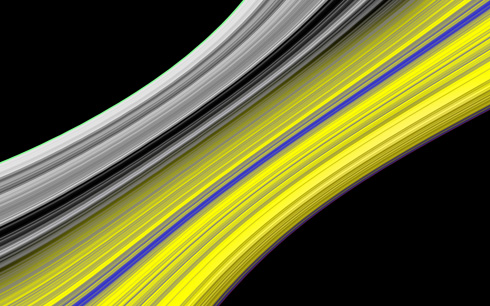
Getting the best result is possible if combine in a group all the layers of the lines’ ornament and the layer with the Black&White effect (press Ctrl button to mark out the corresponding layers and then keep presses the left mouse’s button while taking the marked layers on Create a new group option). Rasterize the group by marking out this group and then press CTRL+E. Using the Free Transform option, turn the ornament around the central axe, placing it by diagonal line.

Using the Free Transform option, try to stretch the ornament by diagonal line and compress it in a line:
Switch between Free transform and Warp modes regime.
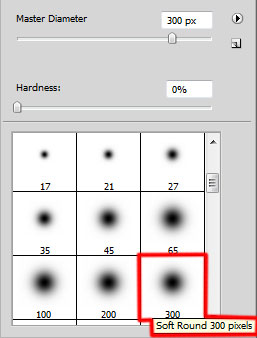
Create a new layer which must be processed with the usual Brush Tool (B) that’ll help in drawing a line of yellow color:
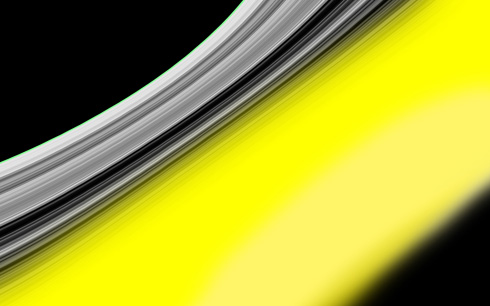
Keep pressed Alt button while making a mouse click between the brush’s layers and the ornament’s layer (on the layers’ palette):
The layer’s parameters: Blending mode-Difference
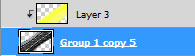
Make a copy of the last made layer, press Alt button and click between the previous layer and the copy’s layer:
Select next demonstrated parameters: Blending mode-Darken
Create a new layer and apply here the standard brush mentioned above to represent a line of green color:
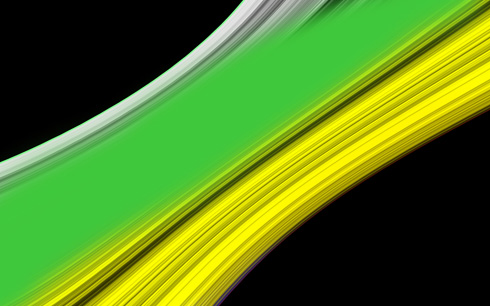
Using the same method, press again Alt button while clicking between the layers:
Page: 1 2
Comments