
The Hunting Club
This tutorial shows you how to create Hunting Club wallpaper.
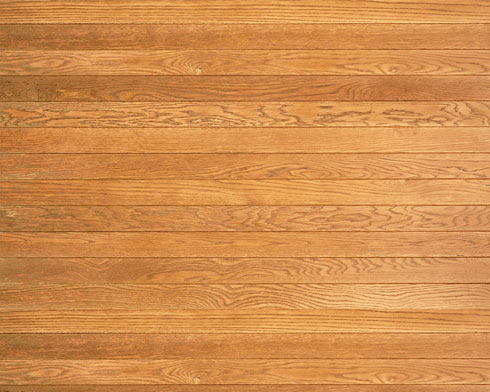
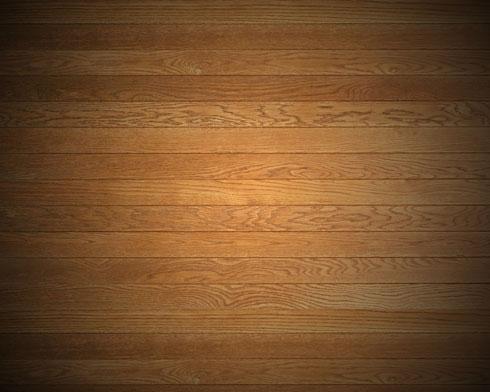
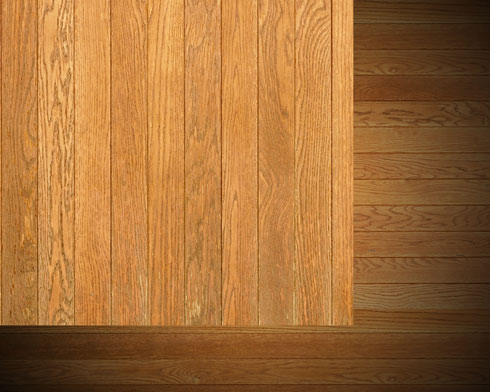
Begin by finding a texture representing the wood planks of 1280×1024 px and 72 dpi (I used this texture from cgtextures.com).
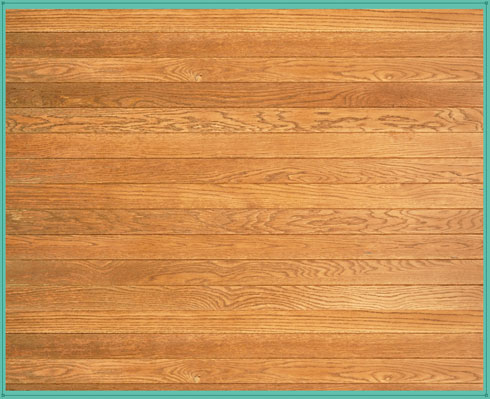
Using the Rectangle Tool (U), dark out the picture’s edges:
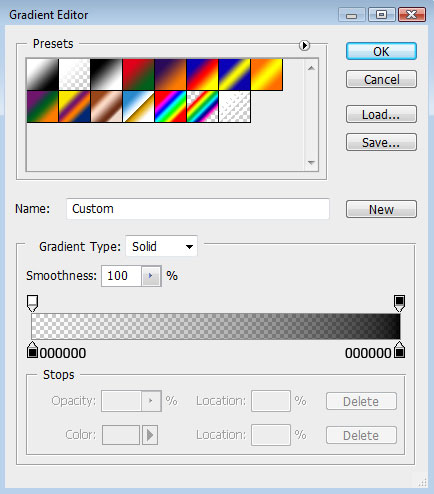
Set the next demonstrated parameters by making a mouse click on the layer we work with on the layers’ palette. Fill 0%, Blending Options>Gradient Overlay 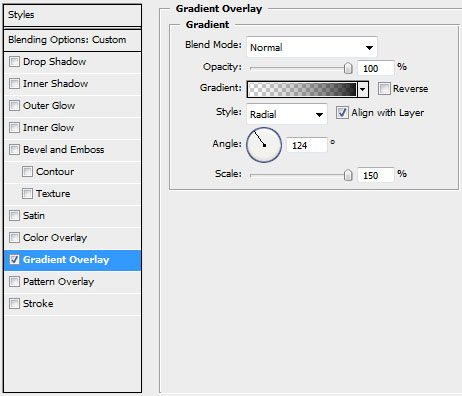

Gradient’s parameters:
Make a mouse click on the bottom part of the layers’ palette on
Create new fill or adjustment layer >Hue/Saturation 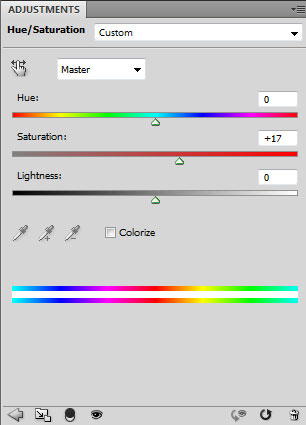

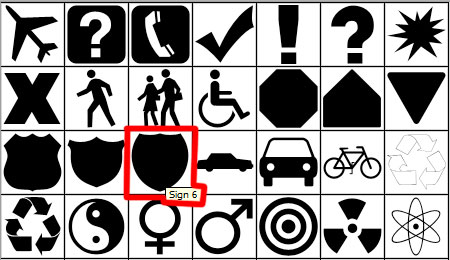
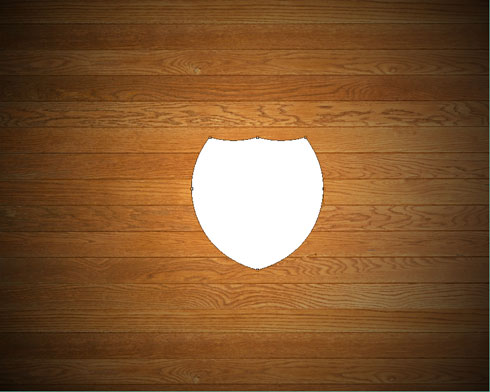
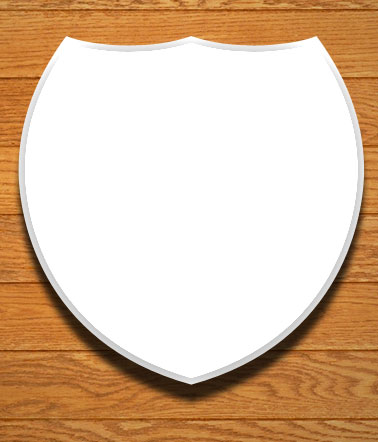
Next we’ll select the Custom Shape Tool (U) to represent an emblem shield.
The layer’s parameters: Blending Options>Drop Shadow 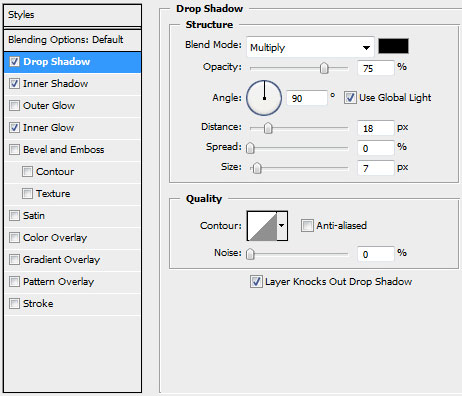
Blending Options>Inner Shadow

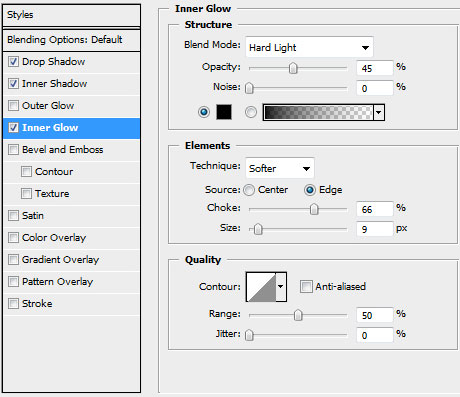
Blending Options>Inner Glow
Use one more texture representing the wood planks.
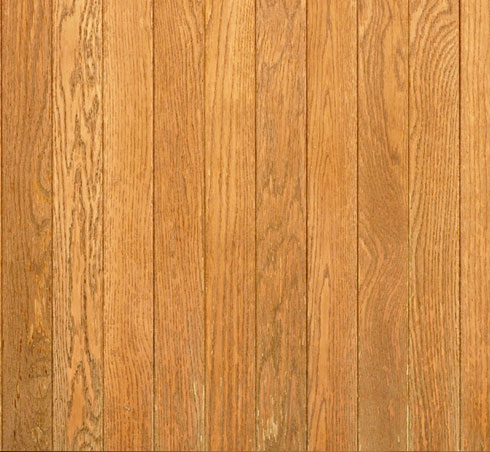
Place this texture above the layer containing the shield:
Press Alt button and make a mouse click between the wooden texture’s layers and the layer containing the shield (on the layers’ palette).
Comments