
Designer portfolio layout
In this tutorial I will show you how to create a nice looking portfolio layout.
Create a new file (File>New) of 980×700 px and 72 dpi.
Using the Rectangle Tool (U), try to make the background of the layout we want to have in the end.
Choose the next parameters for the made layer by making a mouse click on the layer on the layers’ palette. Blending Options>Gradient Overlay
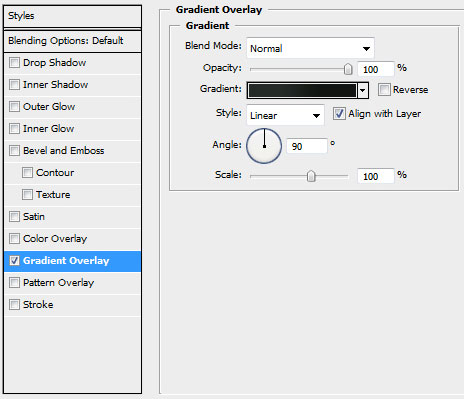

Gradient’s parameters:


Using the same tool, try to represent the next layer belonging to the layout’s background:

The layer’s parameters: Fill 0%, Blending Options>Gradient Overlay 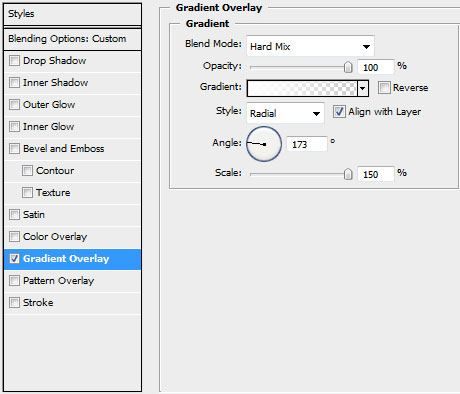
Gradient’s parameters:


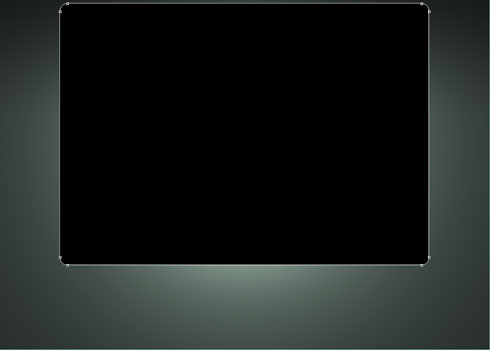
Next represent a window reserved for the portfolio’s panel and the content’s review, applying the Rounded Rectangle Tool (U) with the radius of 15 px.
The layer’s parameters: Blending Options>Stroke 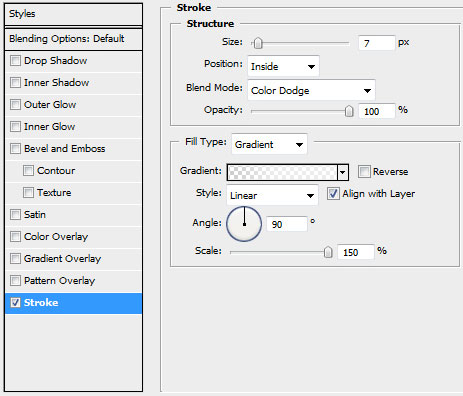
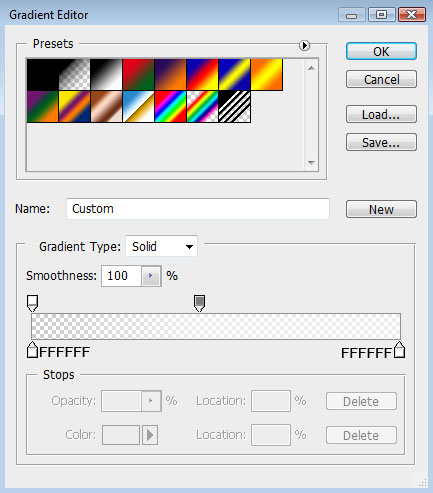
Gradient’s parameters:

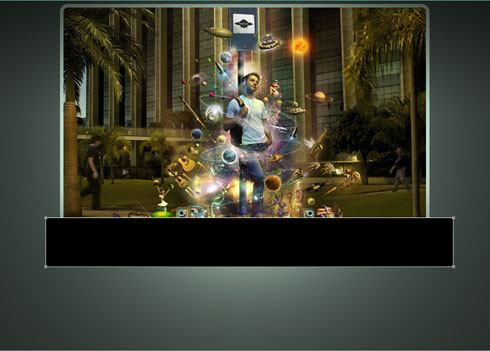
Place the picture we have on the main portolio’s panel (I got the picture from Platinum Image Conception Studio). Press then Alt button and make a mouse click between the picture’s layers and the panel itself (on the layers’ palette)

Using the Rectangle Tool (U), try to make a layer reserved for the layout’s menu on the bottom part of the layers’ palette. The layer has black color.
Page: 1 2
Comments