
April 2009 calendar wallpaper
Making a cool and colorful April 2009 calendar wallpaper.
Begin your work by creating a new file (File>New) of 1280×1024 px and 72 dpi.
Using the Rectangle Tool (U) now, it’s possible to represent the background of the calendar we want to have in the end.

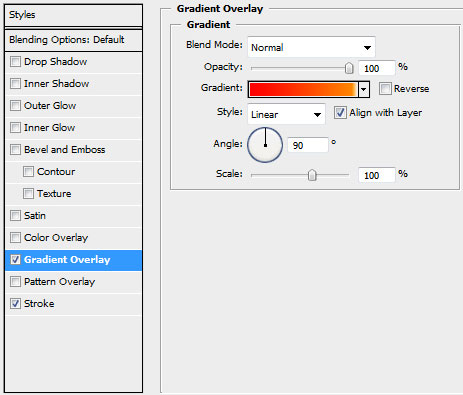
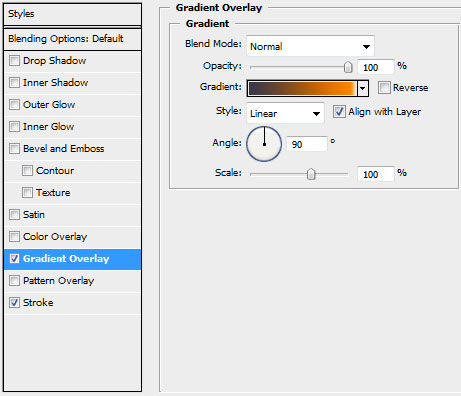
Set the next demonstrated parameters by making a mouse click on this layer on the layers’ palette. Blending Options>Gradient Overlay 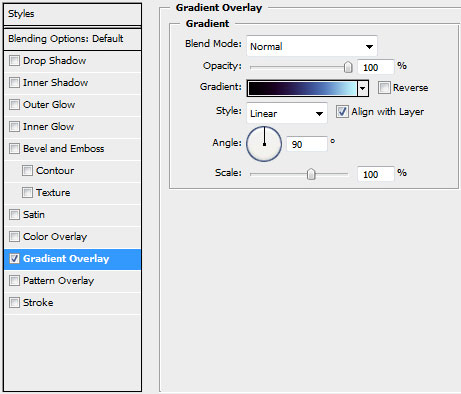
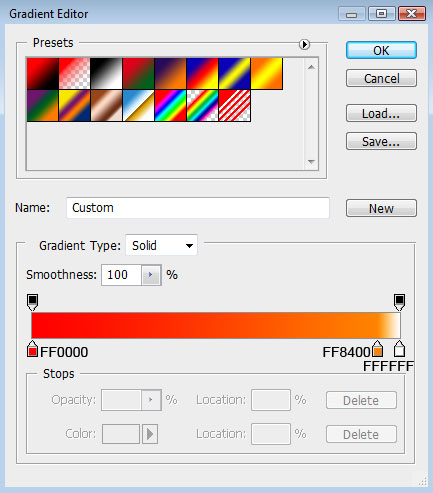
Gradient’s parameters: 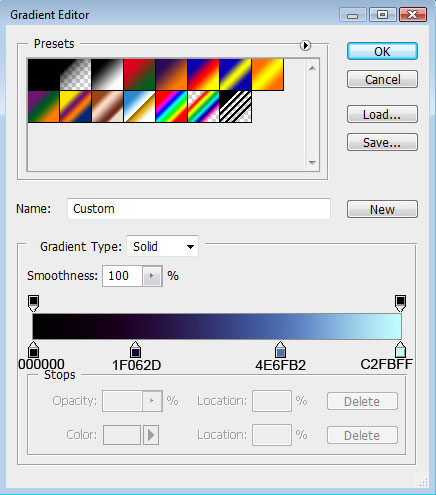


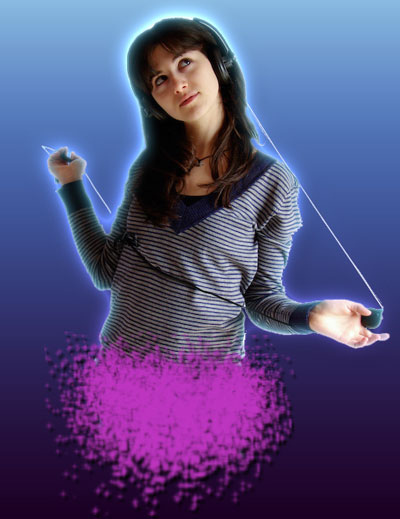
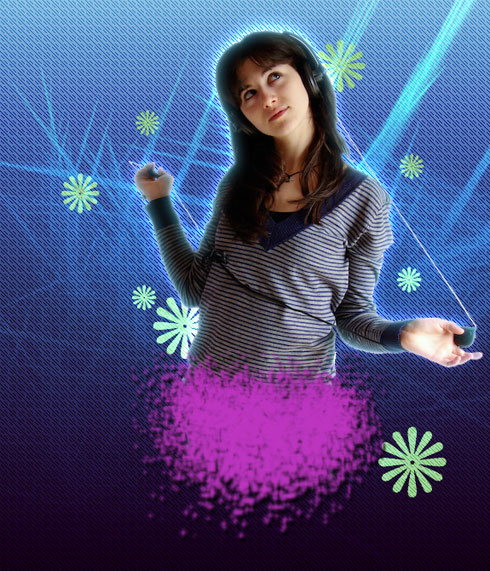
Find a photo of a young girl (I used this picture from SXC. I would like to thank the author of this picture):
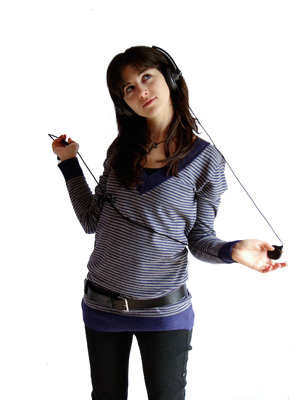
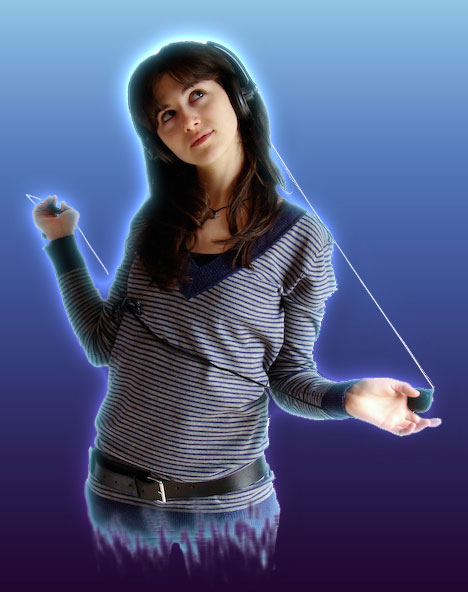
Cut her figure out and insert it on the picture:

The layer’s parameters: Blending Options>Drop Shadow

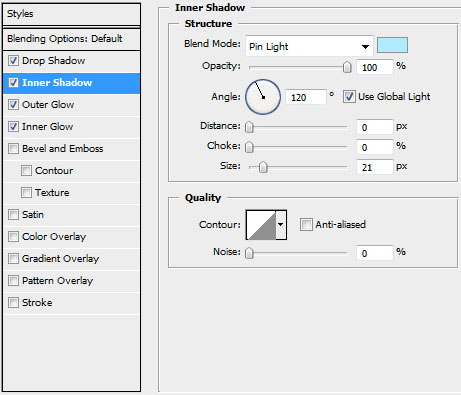
Blending Options>Inner Shadow
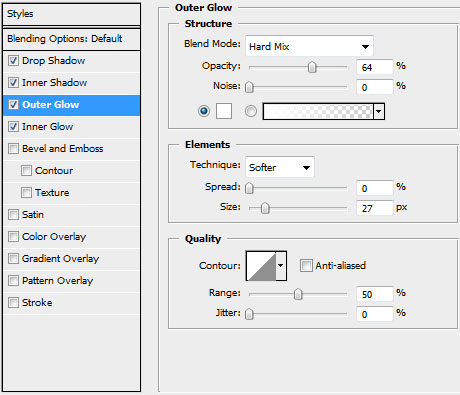
Blending Options>Outer Glow
Blending Options>Inner Glow

The zone of the waistline must be hidden with a dark spot. In this case we’ll create a new layer and use a standard Brush Tool (B) of the color #BD35C0 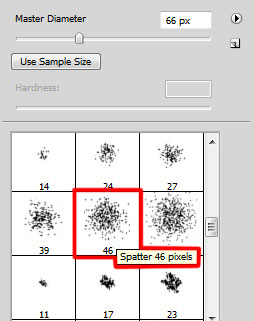
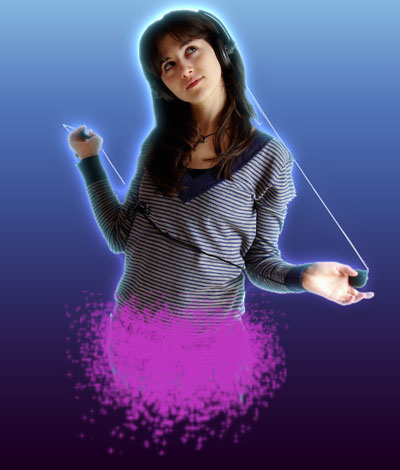
Set the next demonstrated parameters for the brush’s layer: Blending Options>Drop Shadow 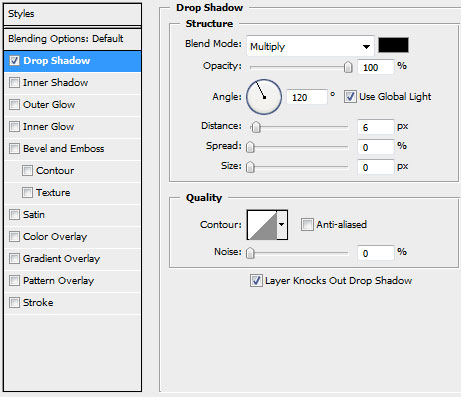
Next we’ll represent the pattern. On a new file (File>New) of 10x10px and 72 dpi we’ll apply the Pencil Tool (B) (brush 1 px) of white color. The file’s background should be moved off.
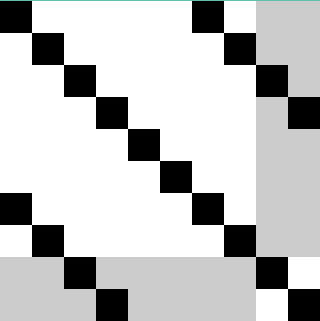
Edit>Define Pattern
Create a new layer under the girl’s layer where we’ll apply the Edit>Fill and choose the earlier saved texture’s pattern.
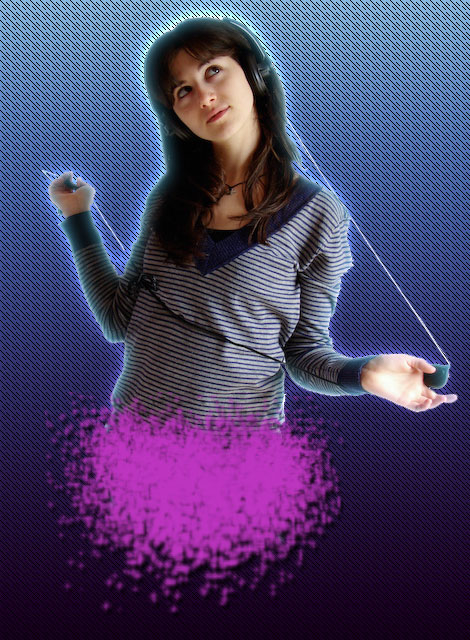
The layer’s parameters: Blending mode-Overlay 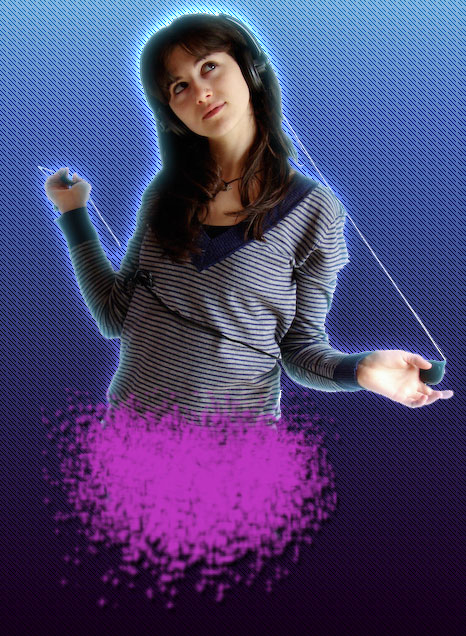
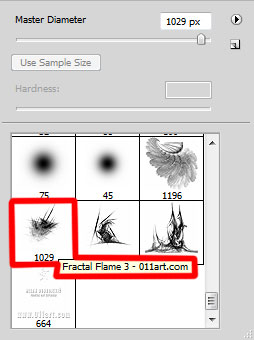
Download a set of ready to use brushes for Adobe Photoshop, named: 109-fractal_flame_pscs_4brushes_p2_by_011art, Floral_Brushes_by_solenero73
Create a new layer under the previous made one where we’ll apply the brush out of the set 109-fractal_flame_pscs_4brushes_p2_by_011art. The brush’s color is #9CD4BA

The layer’s parameters: Fill 70%, Blending mode-Vivid Light

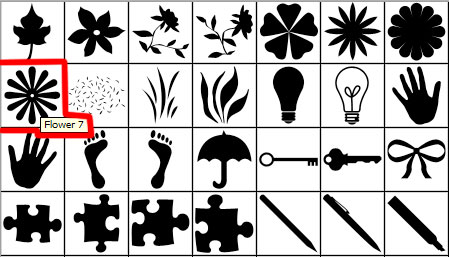
Using the Custom Shape Tool (U), try to represent several flowers under the previous layer. You may see below the flower’s shape.
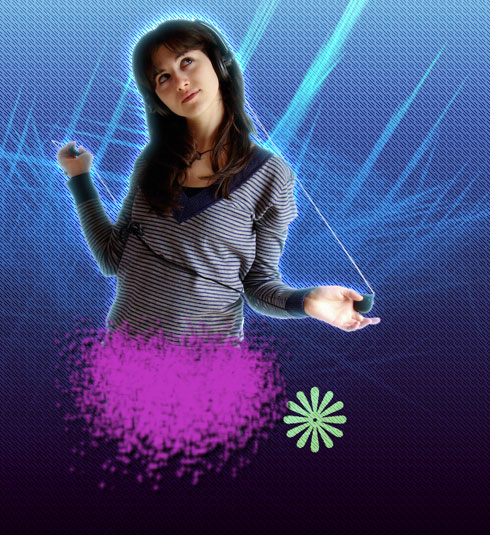
Make seven copies of the layer containing the flower and apply the Free Transform option to change the copies’ sizes, placing them the same way demonstrated below:
Set the next indicated parameters for the flowers’ layers: Blending Options>Gradient Overlay
Gradient’s parameters:
Blending Options>Stroke 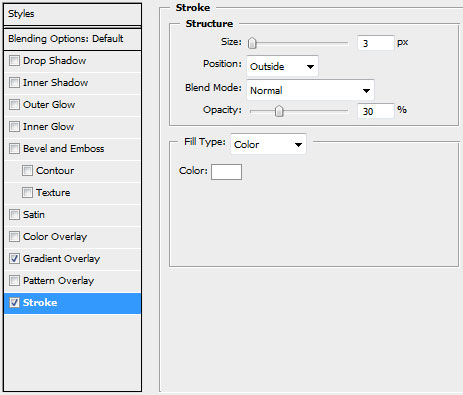

The parameters for the second flower: Blending Options>Gradient Overlay
Comments