
WordPress theme web design
Learn how to create a clean and simple wordpress design that can attract anyone’s eyes!
Begin by creating a new file (File>New) of 1262×1140 px and 72 dpi. Select the Paint Bucket Tool (G) to fill it with the color #F2E9E0

Select now the Rectangle Tool (U) to represent the primary layer of the web site to be. The color chosen in this case is #1565A2

Download out of Internet a pattern, like the one from below:


Edit>Define Pattern
Then we’ll represent a new layer where we shall apply Edit>Fill, choosing here the earlier saved pattern.

Set the next parameters for the made layer: Blending mode-Linear Dodge (Add)

On this layer we need to make a mouse click on the bottom part of the layers’ palette on Add a Mask option. Here choose the Brush Tool (B) of black color to clean out the lowest part of the site’s header.

Press Alt button on the same layer and then make a mouse click between the layers containing the site’s header and the pattern’s layer.


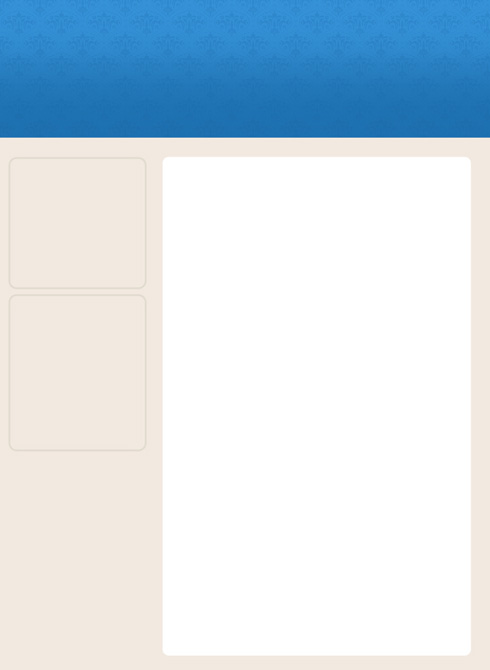
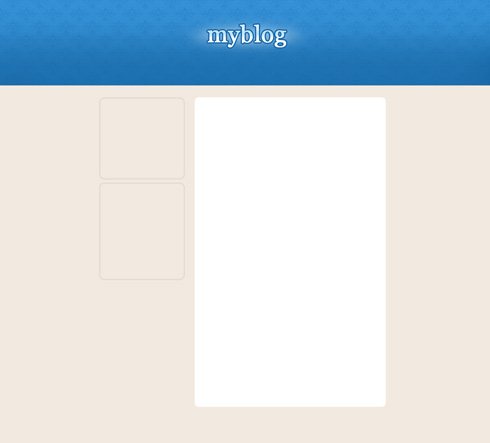
Next we need to represent a central panel, reserved for certain divisions under the site’s header, selecting in this case the Rounded Rectangle Tool (U) with a radius of 10 px, applying the white color.
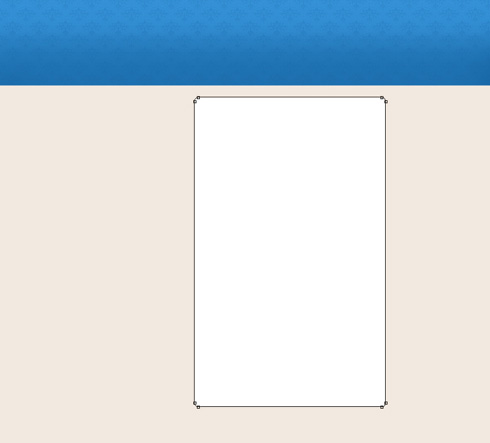
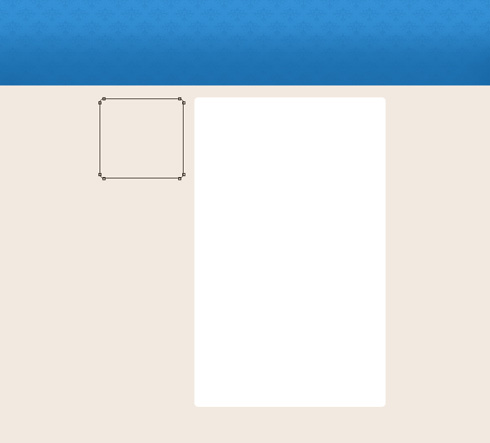
Using the same tool, we need to represent the menu’s panel:
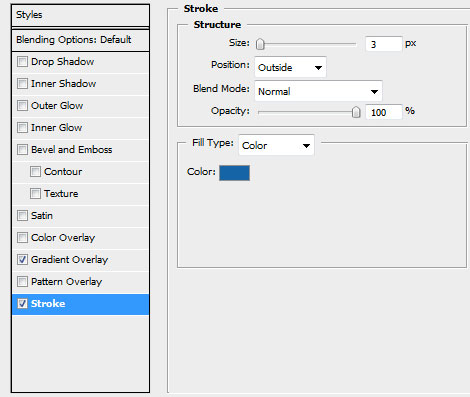
Use the next demonstrated parameters by making a mouse click on the layer we work with on the layers’ palette. Blending Options>Stroke 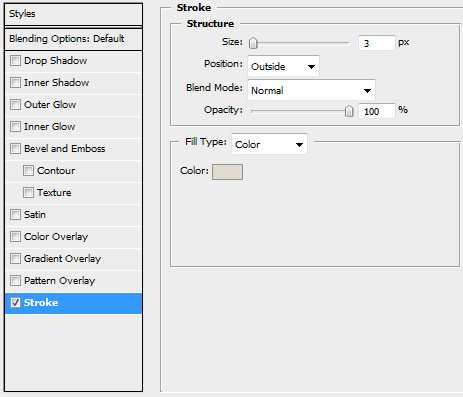

Applying the same tool with the same parameters, try to make a panel under the already made one:
Using the Elliptical Marquee Tool (M), try to make the primary layer of the site’s logotype. This layer needs to be placed on the central part of the header. The zone must be painted with the Paint Bucket Tool (G) and white color.

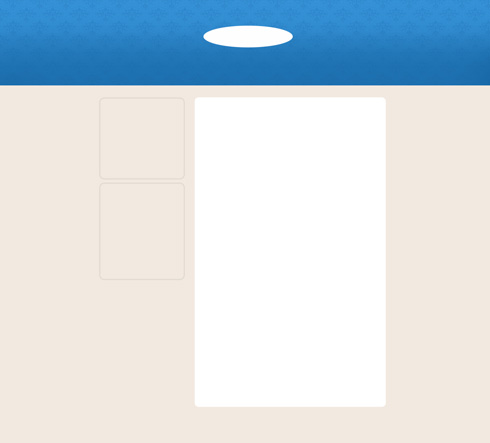
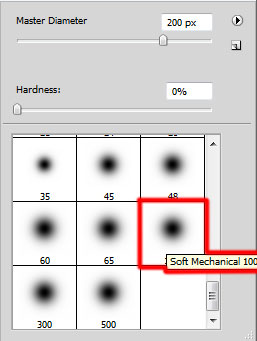
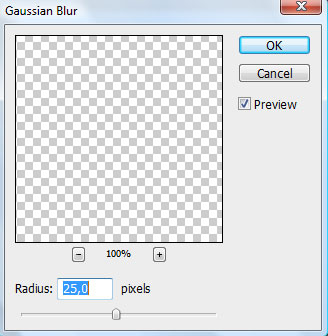
Set for this layer the next chosen option: Filter>Blur>Gaussian blur

Using the Free Transform, try to compress the made effect by its vertical direction: The layer’s parameters: Fill 57%, Blending mode-Pin Light 
Insert the site’s title:
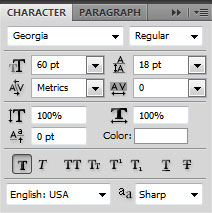
The layer’s parameters: Blending Options>Gradient Overlay 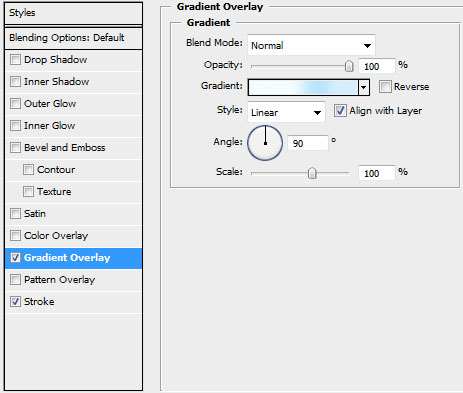
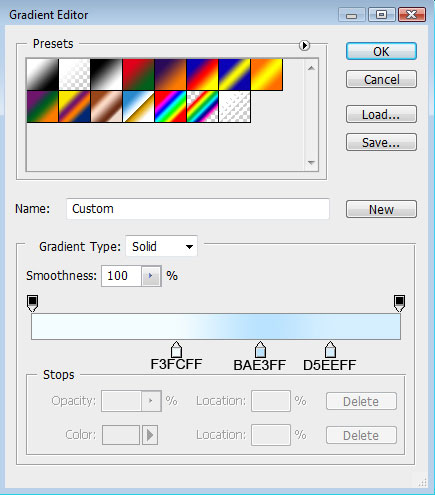
Gradient’s parameters:
Blending Options>Stroke

Download a set of ready to use brushes for Adobe Photoshop, named vector Pack-2.
Create a new layer and apply on it the downloaded brush out of the above mentioned set. The brush’s color is #86B5D7. This pattern should be turned over with Free Transform option.


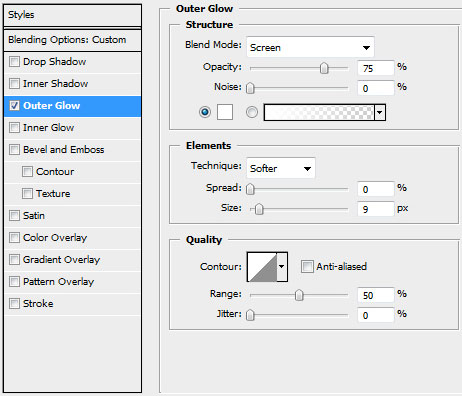
The layer’s parameters: Opacity 70%, Blending mode-Overlay, Blending Options>Outer Glow

Comments