
Skateboarding – Extreme Sport
Skateboarding is the act of riding and performing tricks using a skateboard. In this tutorial we will create Interesting Skateboarding Illustration.
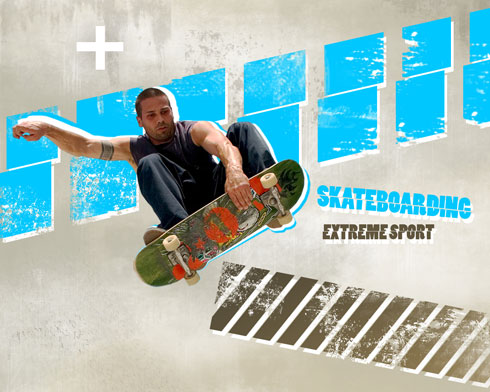
Final Image Preview
Begin by creating a new file (File>New) of 1280×1024 px and 72 dpi. Next stage, download a set of ready to use brushes for Adobe Photoshop, named D_Grungeset1, 149-grunge_brushes_by_szuia.
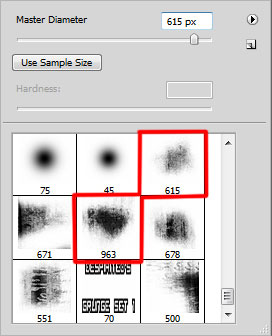
Create after that a new layer on which we’ll apply the brushes belonging to the set D_Grungeset1. The brushes’ colors include the next ones: #C1C0B1, #C7C0A9, #FFFFFF
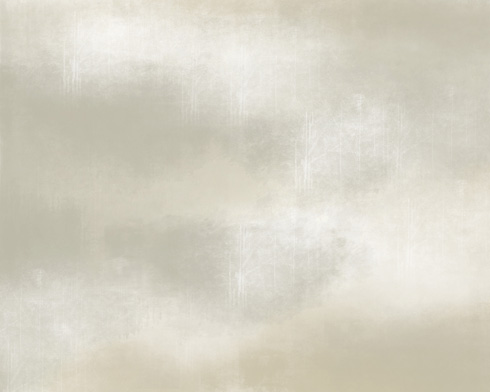
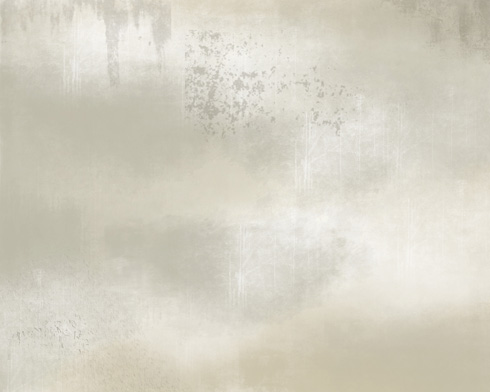
You should get a kind of the background that is demonstrated below:
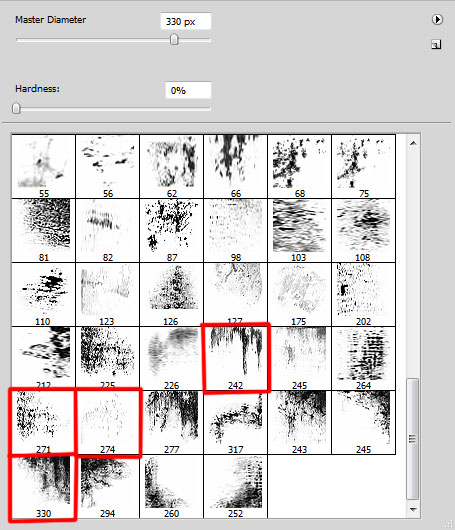
On the next new layer we’ll fill the background with the brushes, named 149-grunge_brushes_by_szuia. The brushes’ color is #BFBAAE

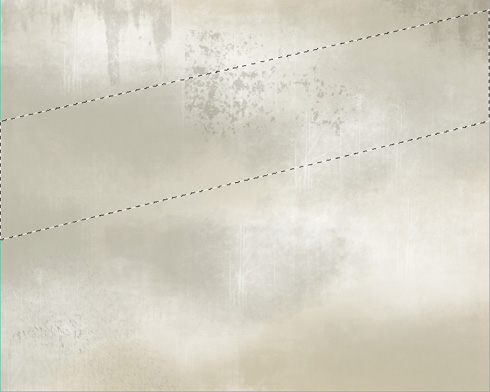
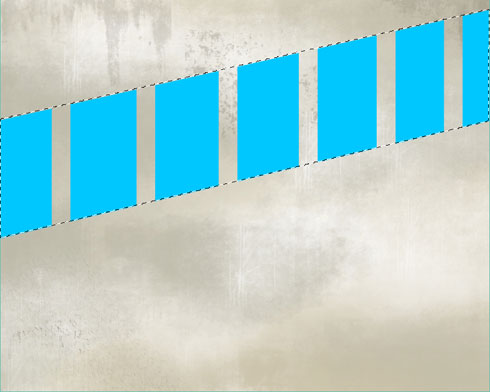
On the next new layer we’ll apply the Polygonal Lasso Tool (L) to mark out the next represented zones.
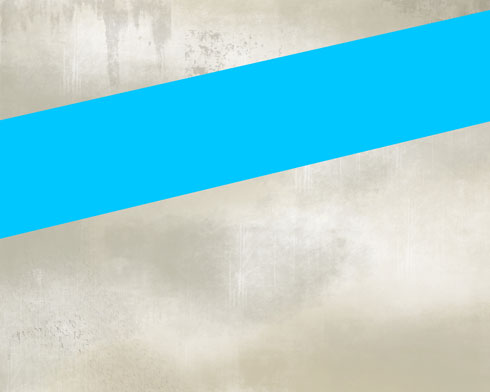
Using the Paint Bucket Tool (G), try to fill the marked zone with the color #00C7FF
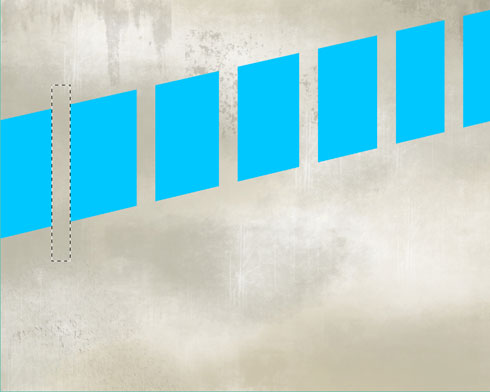
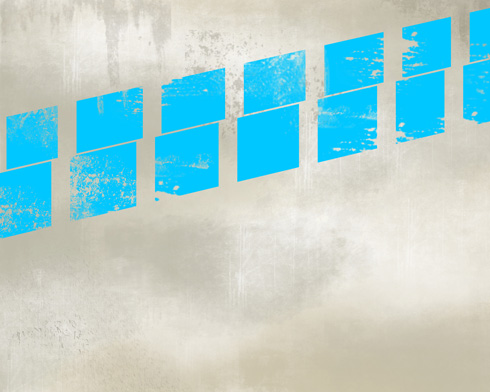
On the same layer we’ll apply the Rectangular Marquee Tool (M) and press DELETE button to cut out the line from below in small segments.
We’ll use the Polygonal Lasso Tool (L) on the same layer:
Situate the mouse indicator inside the marked zone and press the right mouse’s button on Layer via Copy. We’ll get a layer with the displaced segment. Make visible the previous layer after that.

Select the Eraser Tool (E) for the same layer in Brushes Mode, use brushes set named 149-grunge_brushes_by_szuia
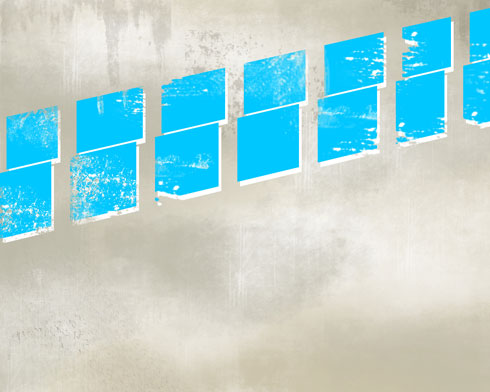
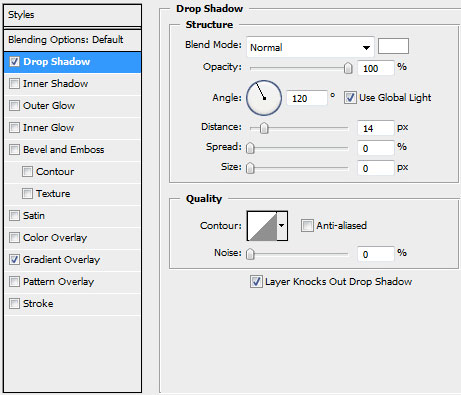
Set the next demonstrated parameters by making a mouse click on the layer we work with on the layers’ palette. Blending Options>Drop Shadow

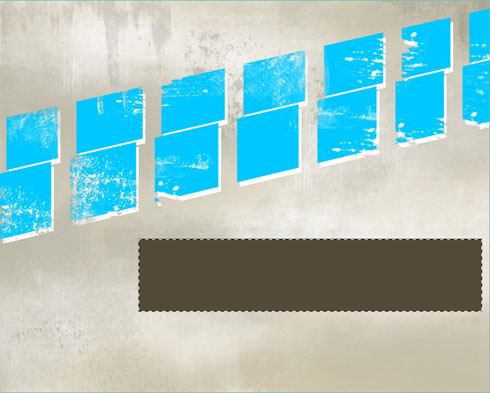
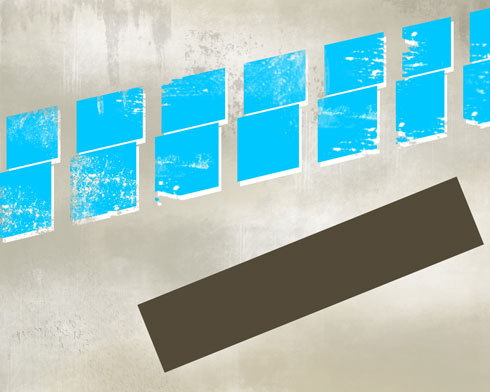
Let’s represent a line with the effects. On the next new layer select the Rectangular Marquee Tool (M) to mark out the zone which must be processed with the Paint Bucket Tool (G) and get the color #534b38.
Select Free Transform option for the same layer and turn it over on a certain angle:
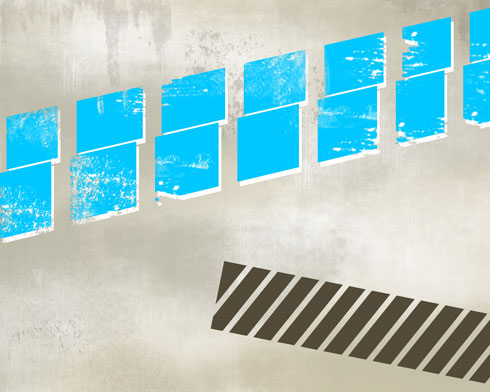
Cut out the line in segments the same way described above, applying the Rectangular Marquee Tool (M) and then press DELETE button.
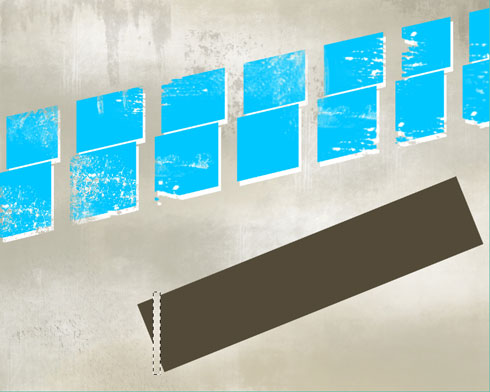
Cutting the line in segments, select again the Free Transform option and incline it the way shown below:
Select the Eraser Tool (E) in the Brushes Mode with brushes set named 149-grunge_brushes_by_szuia
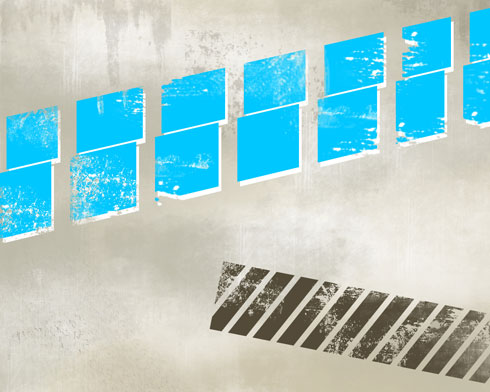
Select the next demonstrated parameters for this layer: Blending Options>Drop Shadow
Page: 1 2
Comments