
Create dark wordpress theme
If looking for support for your themes, check out WPMUDEV.org.
In this tutorial I will show you how to create interesting blog layout, you can use this layout like wordpress theme.
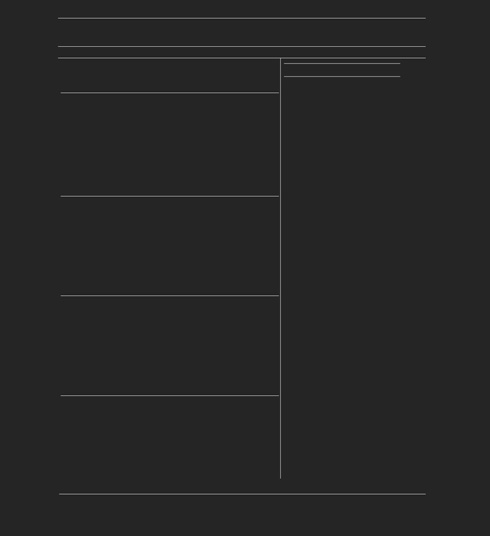
Start working by creating a new file (File>New) of 1280×1400 px and 72 dpi. Choose then the Paint Bucket Tool (G) to fill the new created file with the color #252525

Next we’ll use the Line Tool (U) to mark out the borders of the blog’s sections to be. This time we’ll use the white color.
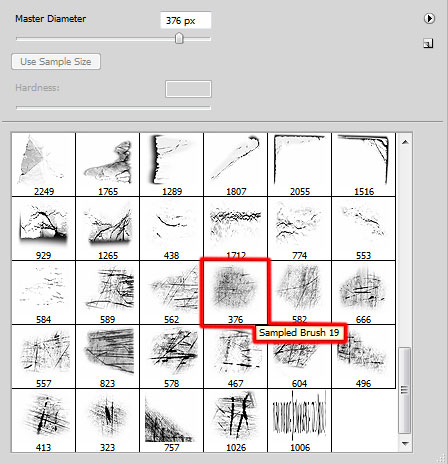
Now download a set of ready to use brushes for Adobe Photoshop, named Scratchygrunge_drowningheart_stock.
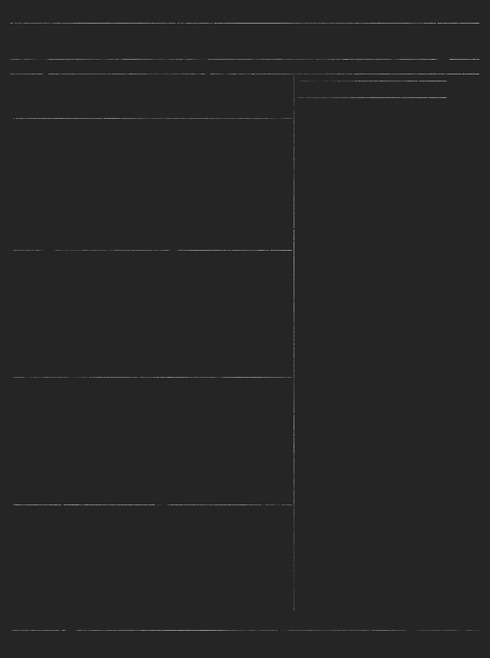
Create a new layer and apply on it the mentioned brush. The lines representing the blog’s markings should be erased. The brush’s color is #252525

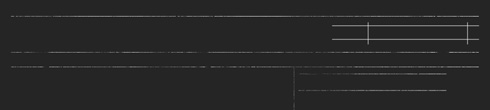
Next we’ll represent the search panel on the right part of the blog’s header. In this case we’ll use the Line Tool (U) and the color #A8A8A8
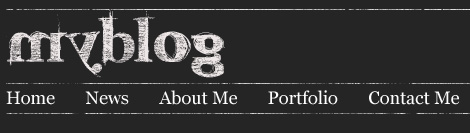
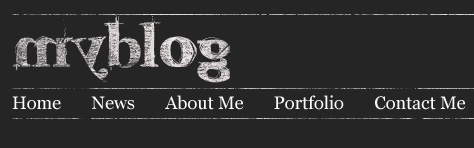
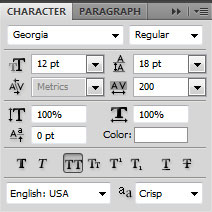
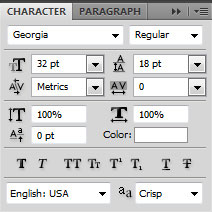
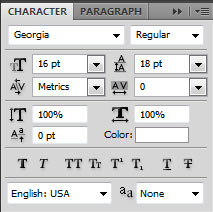
Insert the blog’s title and the header’s menu, keeping the next shown demands (I used this font from dafont.com):
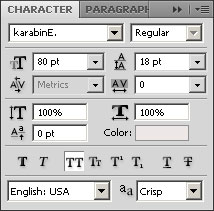
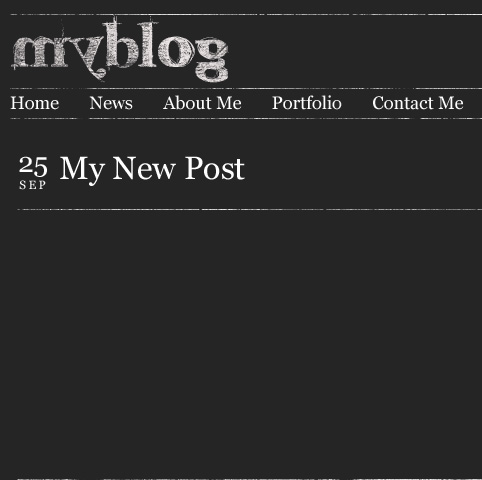
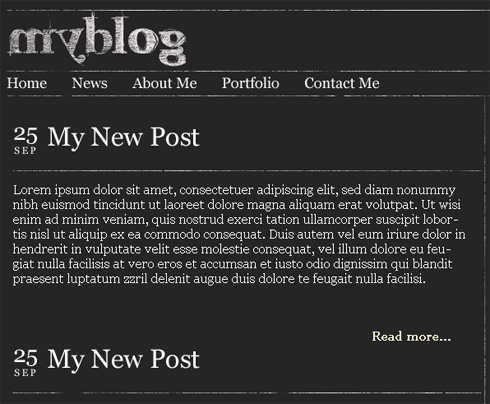
MYBLOG
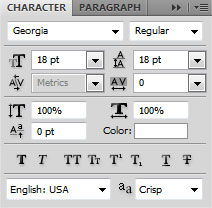
the titles for the menu’s buttons:
Next we’ll create a new layer on which we shall apply the already known brush – Scratchygrunge_____drowningheart_stock to process the site’s logo. The brush’s color is the same – #252525.
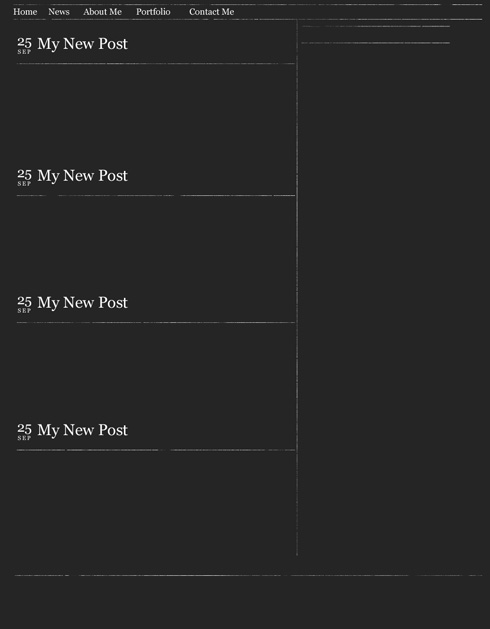
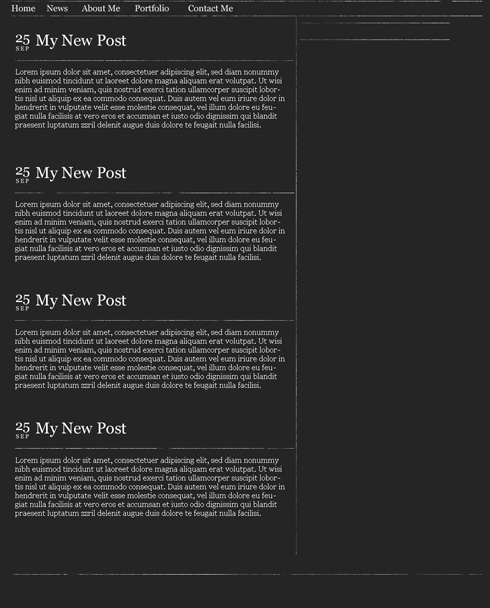
Let’s entitle the blog’s section:

25
sep
My New Post
Combine in a group all the layers composing the titles of the sections (press Ctrl button to mark out the necessary layers and hold on the left mouse’s button to take down the marked layers on Create a new group option). We’ll make three copies of the got group and then apply the Free Transform option to place the copies the same way demonstrated below:
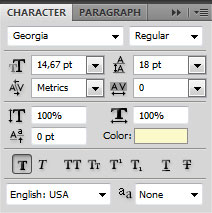
Fill the posts entry with the appropriate text:
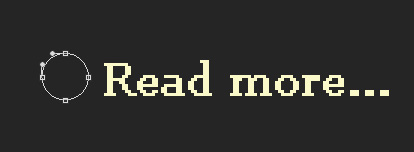
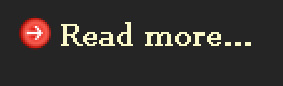
Insert a link on the bottom part of the post:
Read more…
We’ll represent an icon on the left part of the link, choosing the Ellipse Tool (U).
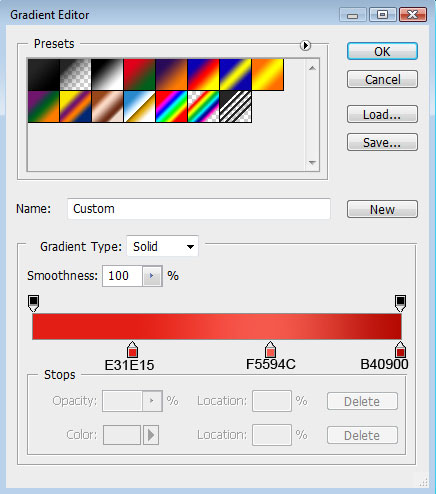
The layer’s parameters: Fill 0%, Blending Options>Gradient Overlay

Gradient’s parameters:

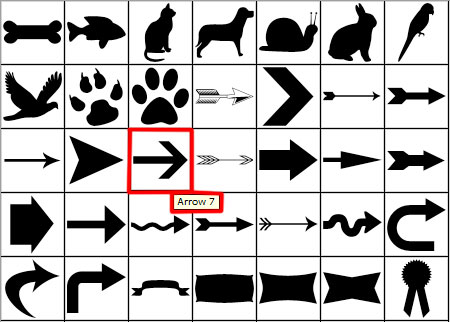
On the made icon we must introduce a arrow chosen out of the next table – Custom Shape.
Comments