
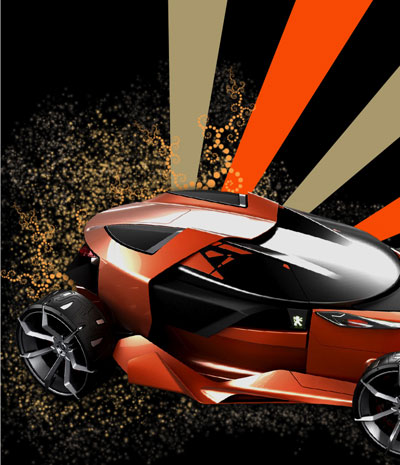
How to make car desktop wallpaper
In this free tutorial we will show you how to quickly and easily create this picture that could be used as a wallpaper, web banner, flyer.
Start working by creating a new file (File>New) of 1280×1024 px and 72 dpi. Using the Paint Bucket Tool (G), fill the new file with black color.

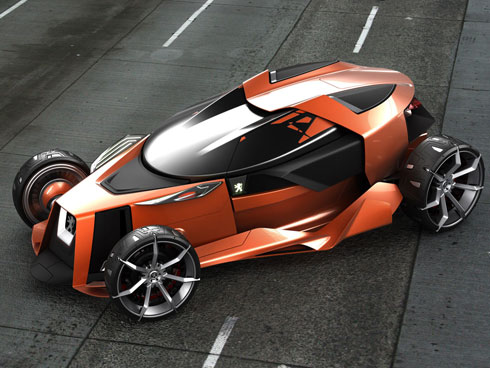
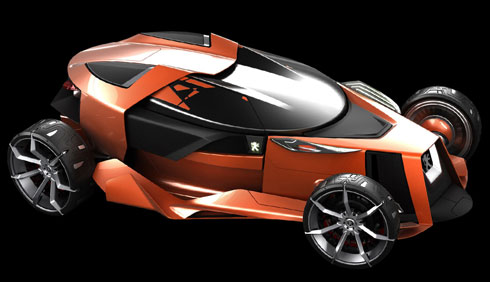
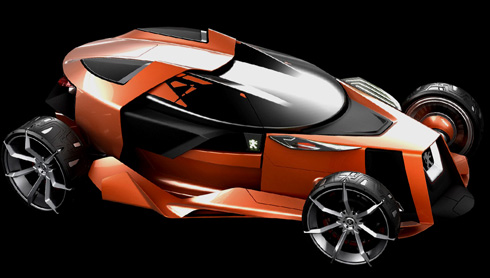
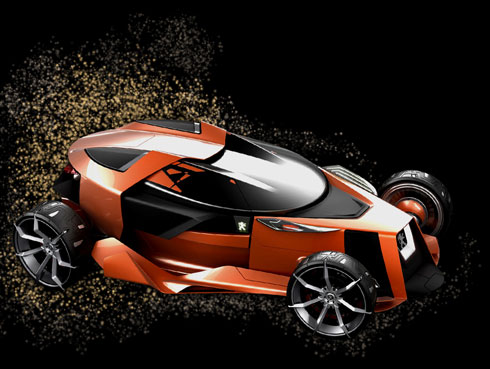
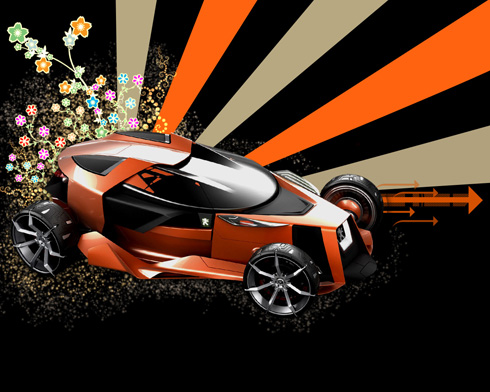
Next find in Internet a picture with a car, cutting it out and inserting it on our basic picture. Use Edit > Transform > Flip Horizontal


Set the next demonstrated parameters for the car’s layer by making a mouse click on this layer on the layers’ palette. Blending Options>Drop Shadow 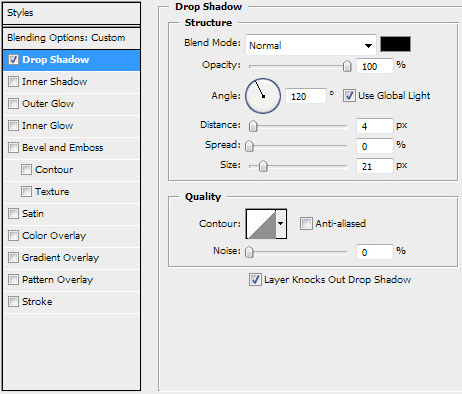
Make a mouse click on the bottom part of the layers’ palette on the next selection – Create new fill or adjustment layer>Levels 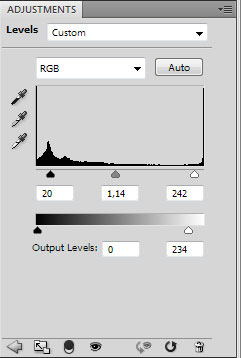

Press Alt button while making a click between the car’s layers and the Levels effect’s layer (on the layers’ palette). 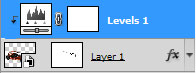
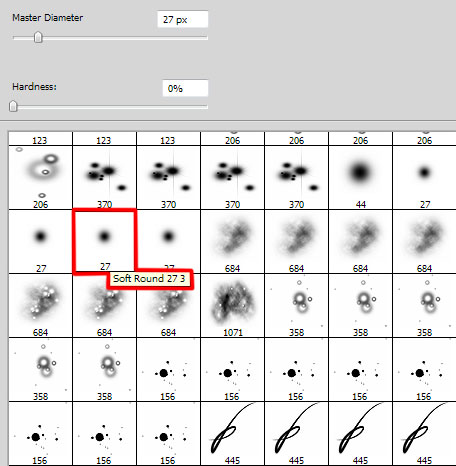
Download a set of ready to use brushes for Adobe Photoshop, named: 61Particlesandstars, ASTRACT_MEGA_PACK_BRUSHES, Japanese_Foliage.
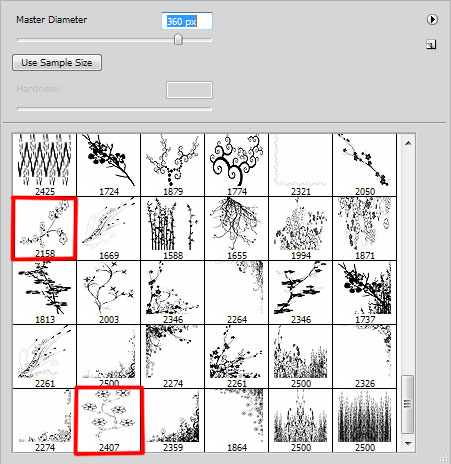
Create a new layer and choose for it a brush out of the set, entitled 61Particlesandstars. The brush’s color in this case is #C9A568. This layer needs to be placed lower than the layer containing the car:
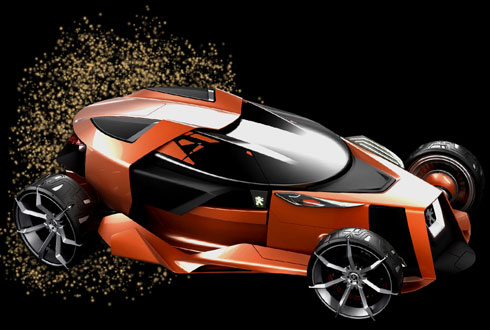
Create a new layer and use here the brush we’ve recently used, changing its parameter this time on Opacity of 40%. This layer will be placed also lower than the car’s layer:
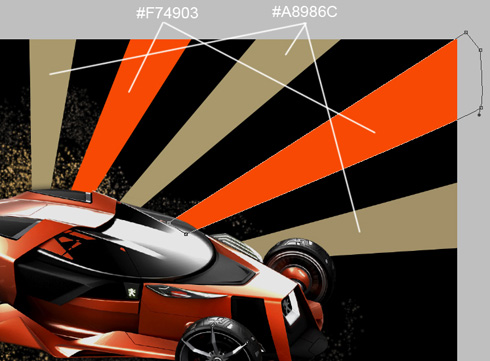
Now we’ll try to make several rays, using the Pen Tool (P). This layer will be placed lower than the car’s layer, but above all the other ones:
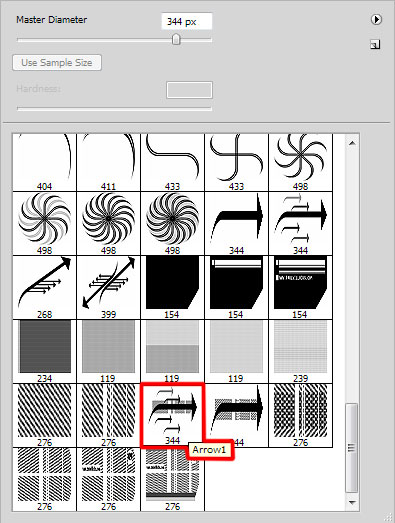
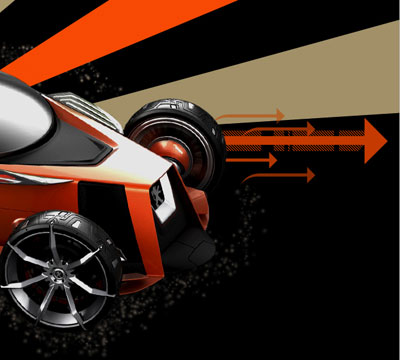
On the next new layer (Create new layer) we’ll apply the brushes out of the set ASTRACT_MEGA_PACK_BRUSHES. This layer will be placed also lower than the car’s layer. The brushes’ color is #D55100.
Next we’ll create a new layer again, using here the brushes out of the set Japanese_Foliage. The brushes’ layer will be placed lower than the car’s layer. The brush will be turned over with Free Transform option:
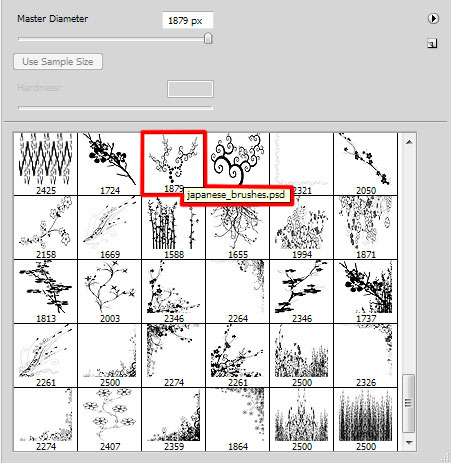
The brush’s color is #FBAF5D
Choose the parameters from below for the last made layer: Blending mode-Linear Dodge 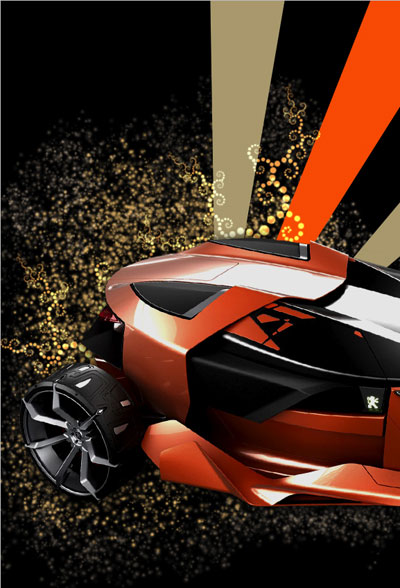
Create a new layer and use here the brushes out of the set Japanese_Foliage
The brushes have white color and this layer will be placed lower than the car’s layer:
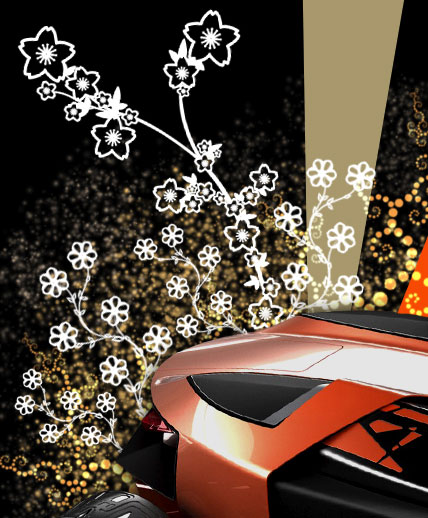
These are the parameters for the last created layer: Blending Options>Inner Glow 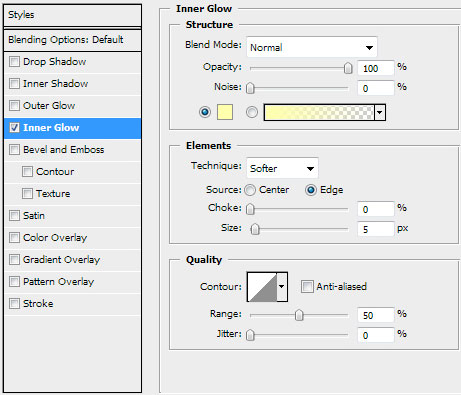
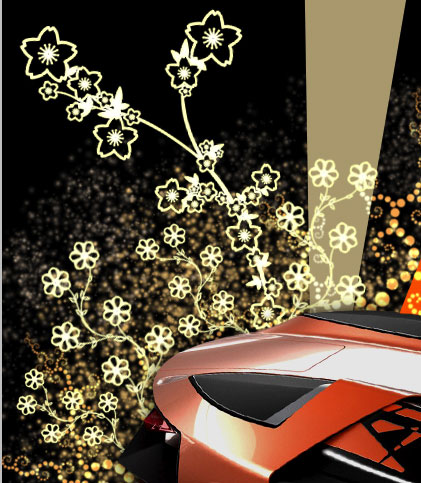
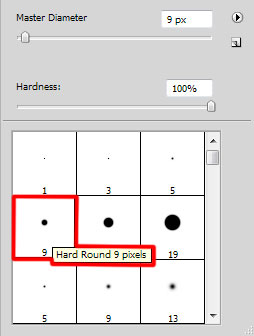
Create a new layer that will be situated lower than the brushes’ layer containing the flowers. Using a standard brush, we can paint out the flowers:
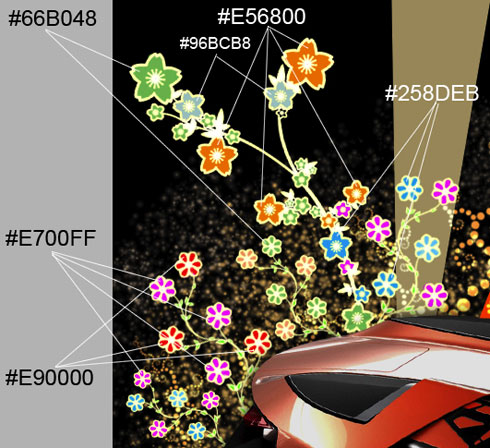
Create a new layer again and use for it the brush out of the downloaded set, named 61Particlesandstars. The brush’s color is #FC6210 
Finished!
View full size here.
Comments