
Freelancer portfolio design
Step by step tutorial on how to create a portfolio web layout in Adobe Photoshop CS3.
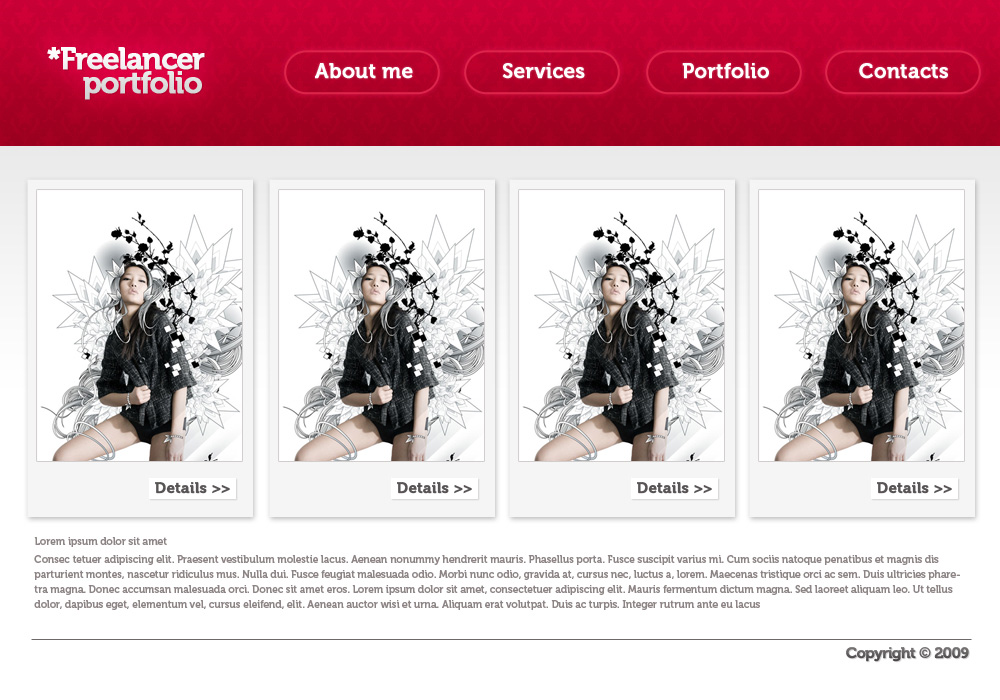
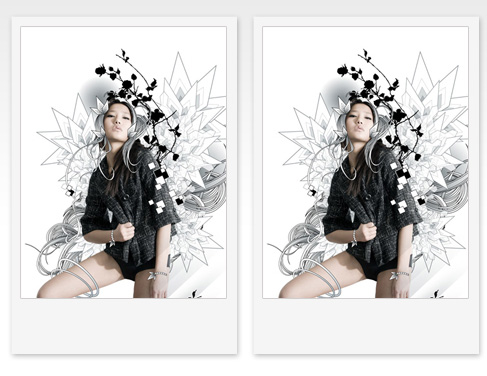
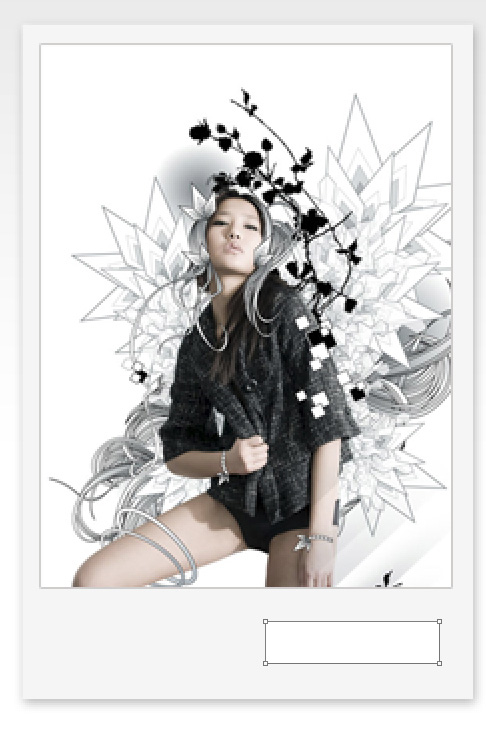
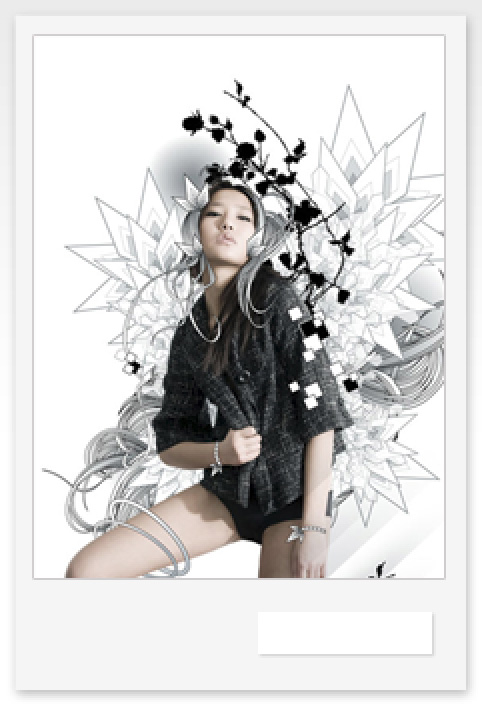
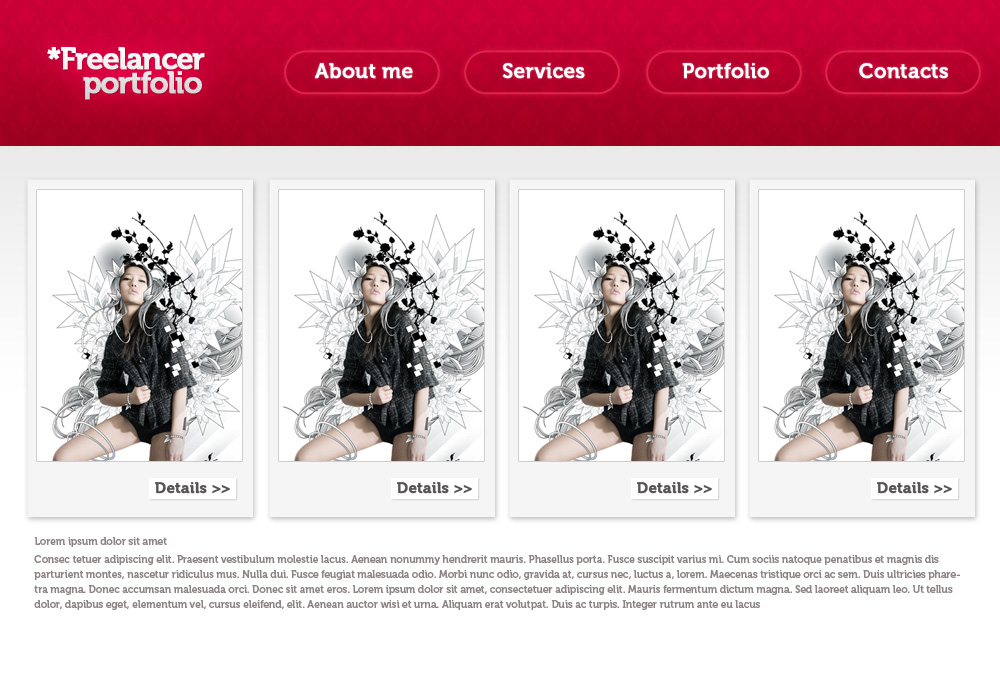
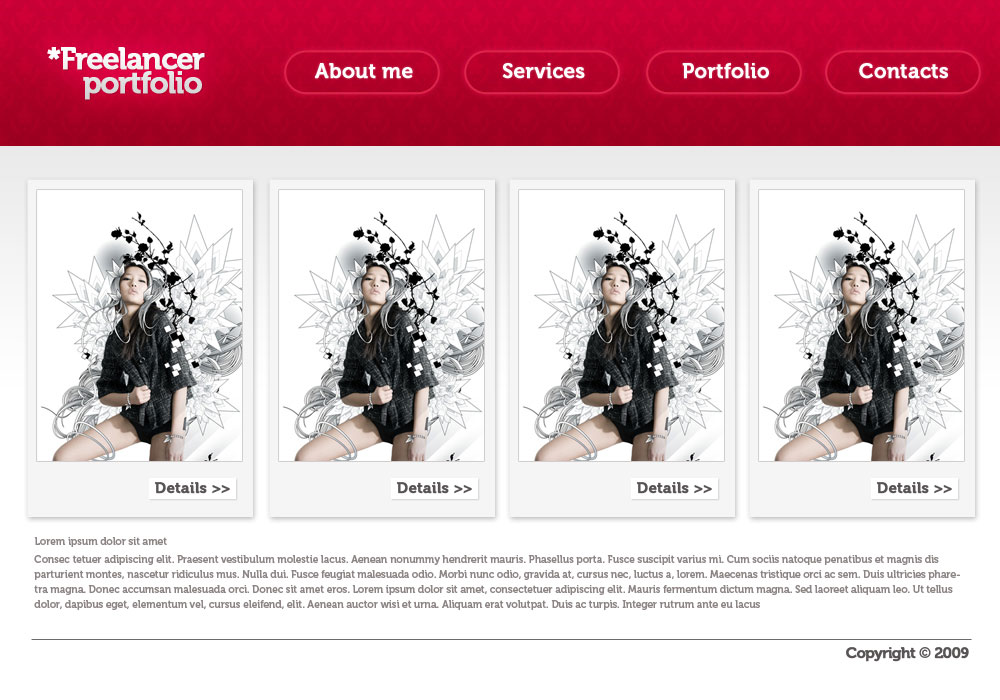
Final Image Preview
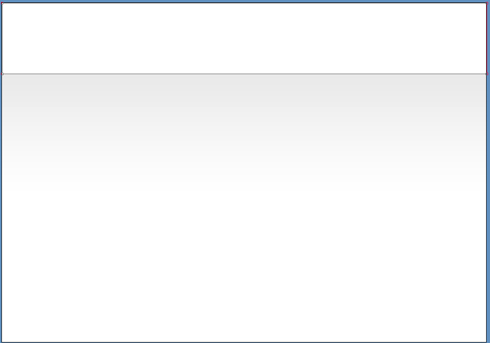
Let’s create a new file (File>New) of 1000x700px/72 dpi. Select the Rectangle Tool (U) to represent the background of the layout to be.
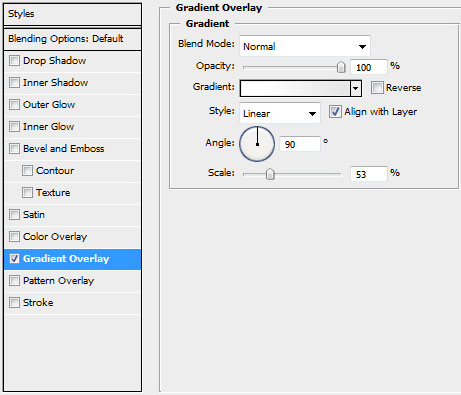
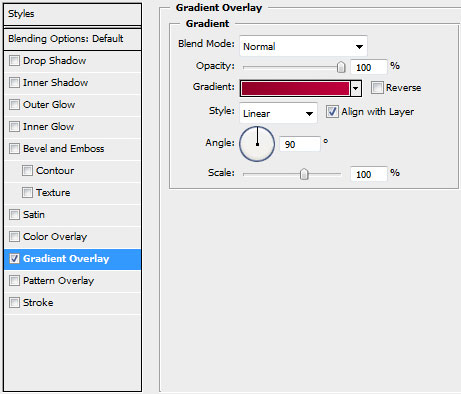
Choose the next demonstrated styles by making a click on the layer we work with on the layers’ palette: Blending Options>Gradient Overlay
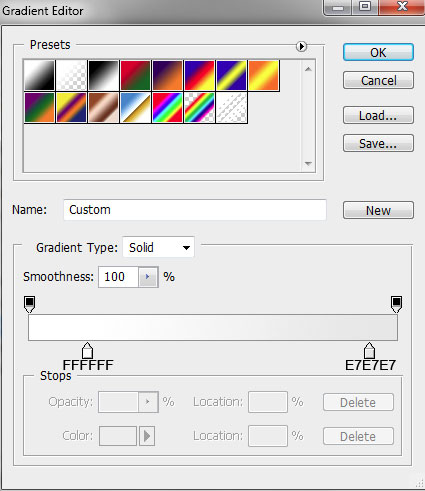
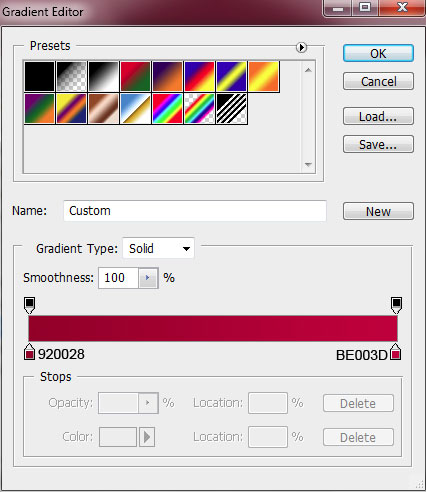
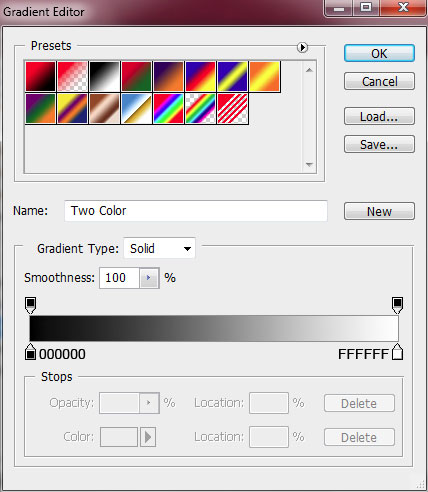
Gradient Editor:


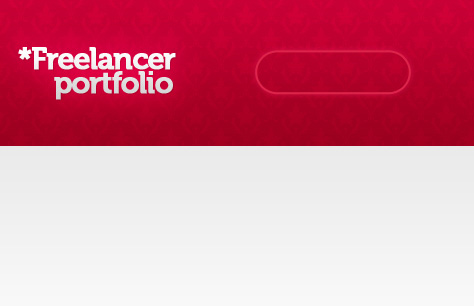
Next we’ll represent the web-site’s header, applying the earlier chosen Rectangle Tool (U).
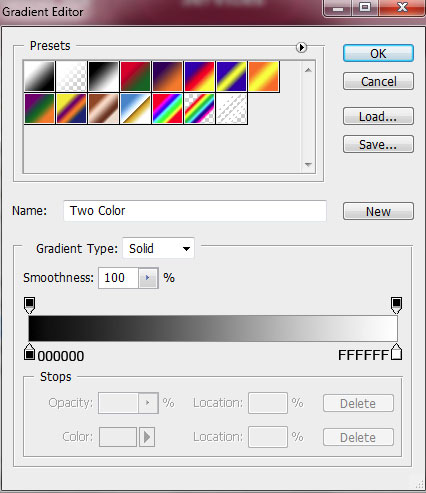
The layer’s styles: Blending Options>Gradient Overlay
Gradient Editor:

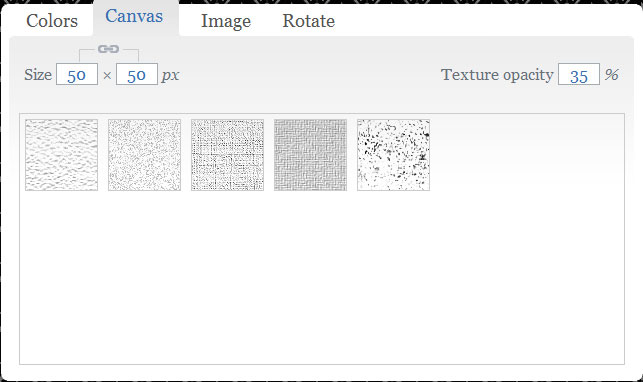
Now we’ll have to create a background pattern with useful tool located on BGPatterns, setting the parameters by turn.
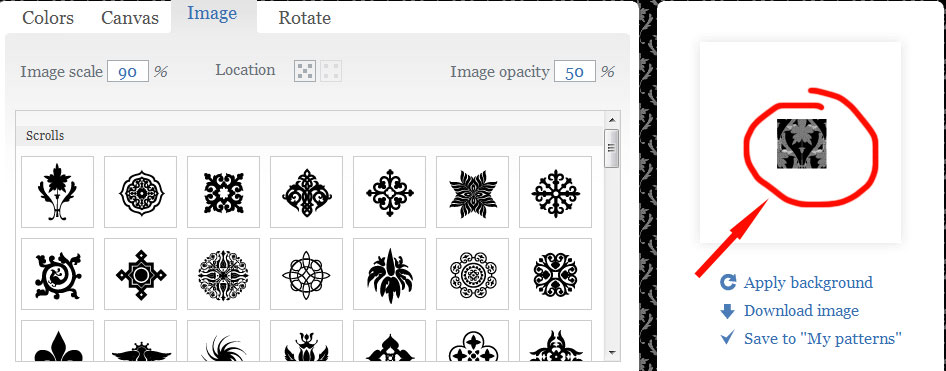
Download the new pattern and go to Edit>Define Pattern
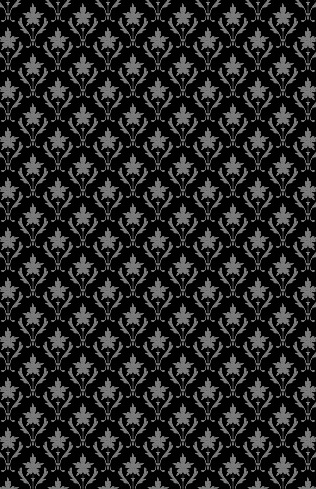
On the new layer we’ll select Edit>Fill and apply the saved pattern.
The layer’s styles: Fill 0%, Blending mode-Color Dodge

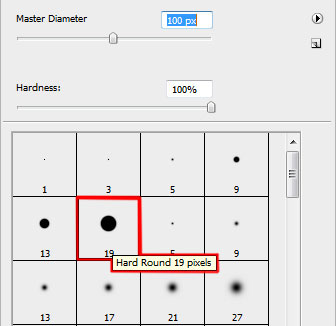
Make a click on the same layer on the bottom part of the layers’ panel on Add a Mask selection and choose the Brush Tool (B) and black color to erase the texture’s parts coming out of the header’s edges:

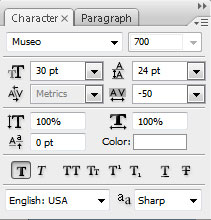
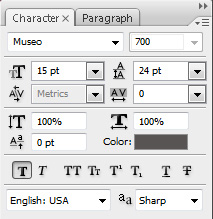
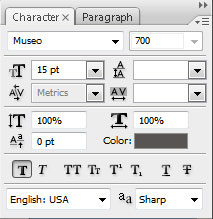
Insert now the site’s name, keeping the demands from the next table (used font):

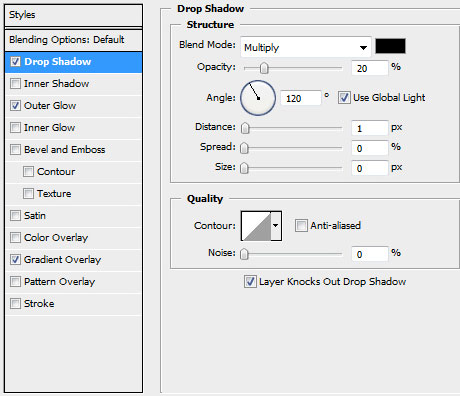
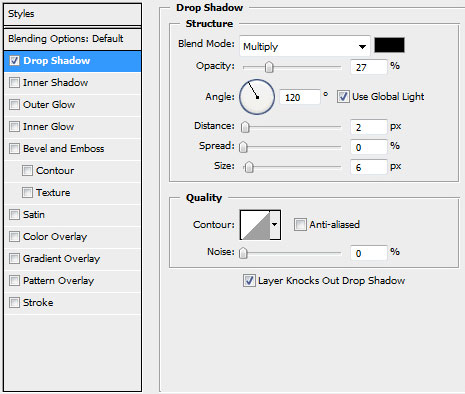
 The layer’s styles: Blending Options>Drop Shadow
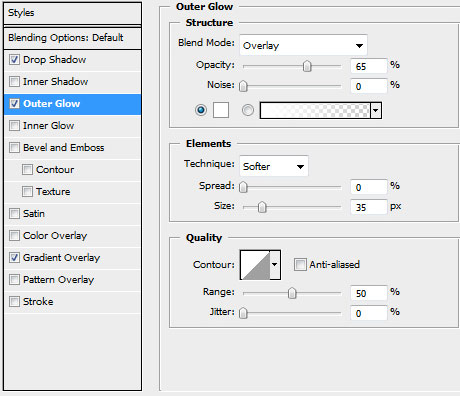
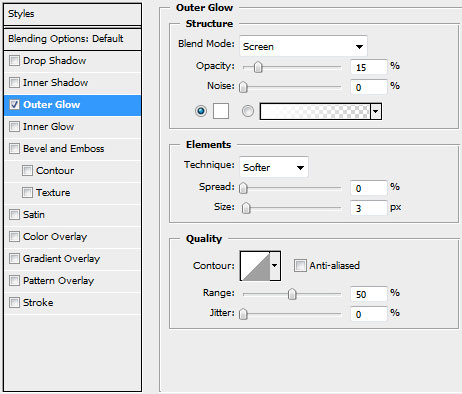
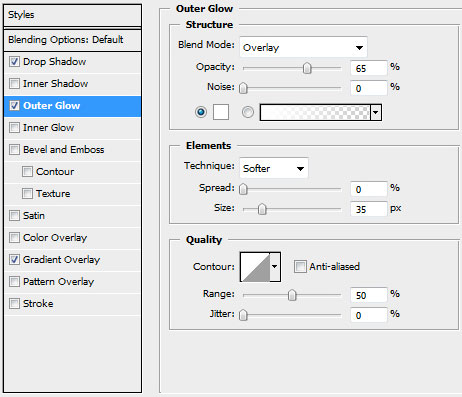
Blending Options>Outer Glow
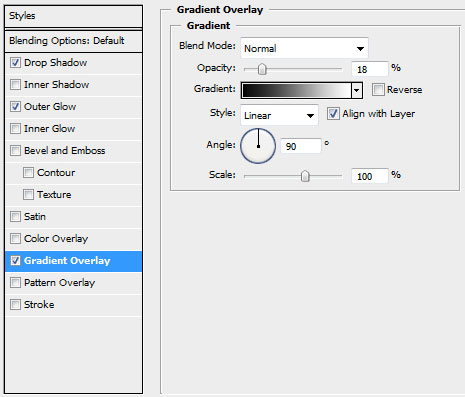
Blending Options>Gradient Overlay
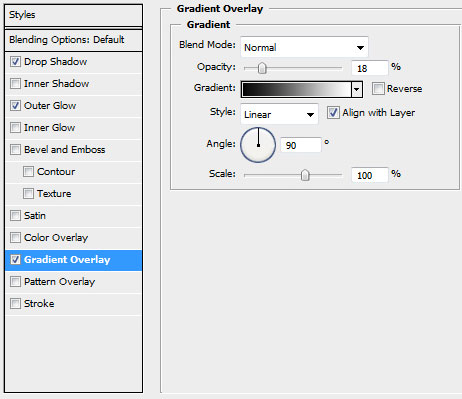
Gradient Editor:

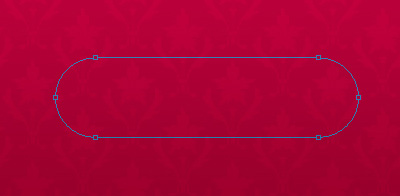
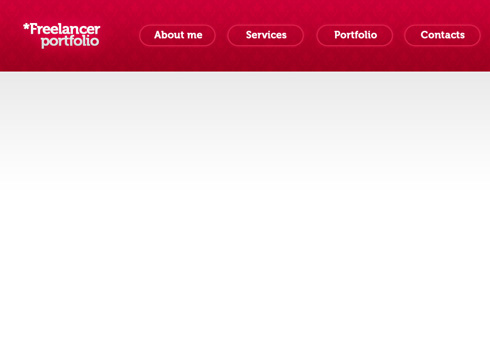
Using the Rounded Rectangle Tool (U) (radius of 20 px), try to make the menu’s button:
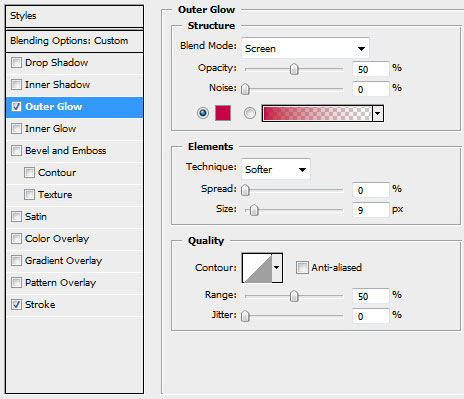
The layer’s styles: Fill 0%, Blending Options>Outer Glow
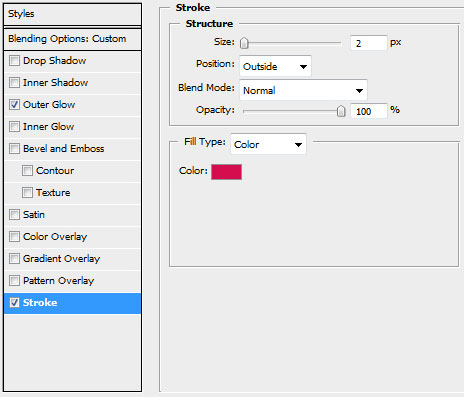
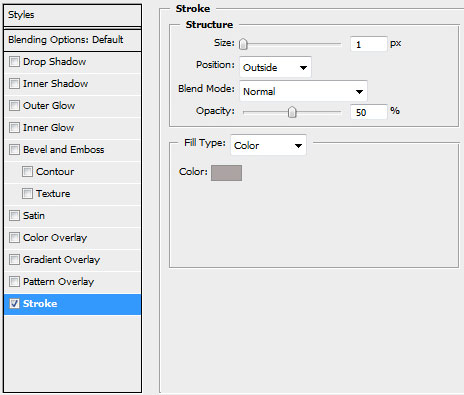
Blending Options>Stroke
Make three copies of the button’s layer and select the Free Transform option to place the copies the same way indicated below:

Insert the titles for the menu’s buttons, putting each word on a separate layer:

Select for the layers containing the buttons’ titles the same styles demonstrated below: Blending Options>Outer Glow
Next we’ll select the Rectangle Tool (U) to represent the site’s panel, giving it the color #F5F5F5
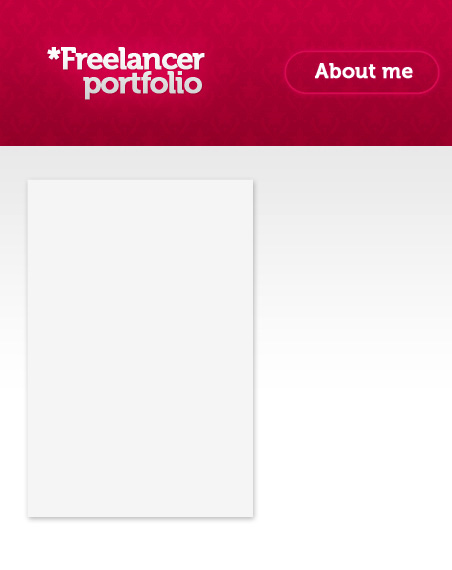
The layer’s styles: Blending Options>Drop Shadow
Make three copies of the layer and choose Free Transform option to place the copies the same way as below:

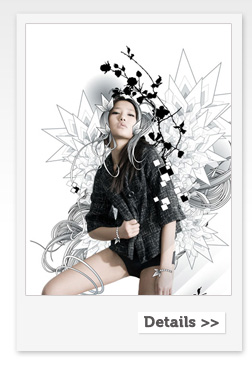
Insert the pictures on the made layers, I used this photo from deviantart. I would like to thank the author of this artwork:
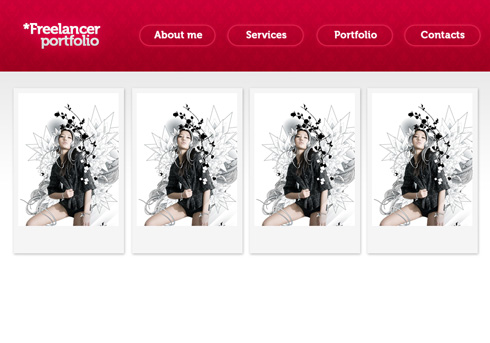 Select the same styles for the pictures’ layers: Blending Options>Stroke
Try to represent a button under the picture, choosing the Rectangle Tool (U) and white color.
The layer’s styles: Blending Options>Drop Shadow

Make three copies of the layer containing the button and use Free Transform option to place the copies the same way demonstrated below:

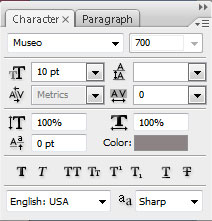
Insert the titles for the made buttons:
Next we’ll introduce the basic text on the site:
Using the Line Tool (U), we’ll represent a line under the text, giving it the color #6E6969

On the last stage we’ll insert the copyright, keeping the next demonstrated demands:
The layer’s styles: Blending Options>Drop Shadow

Blending Options>Outer Glow
Blending Options>Gradient Overlay
Gradient Editor:

Finished!
View full size here.
Comments