
Feng Shui – the magic of perfection
In this tutorial we will design a Feng Shui wallpaper to decorate your desktop in a Feng Shui style with this beautiful wallpaper.
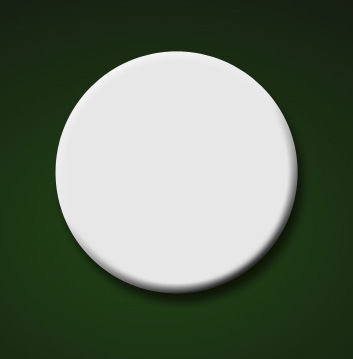
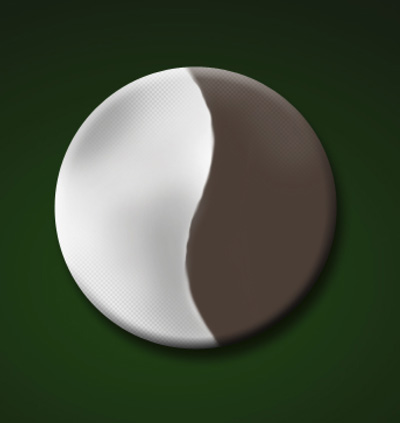
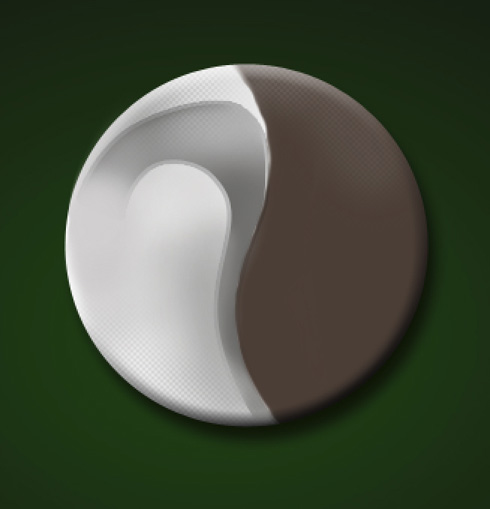
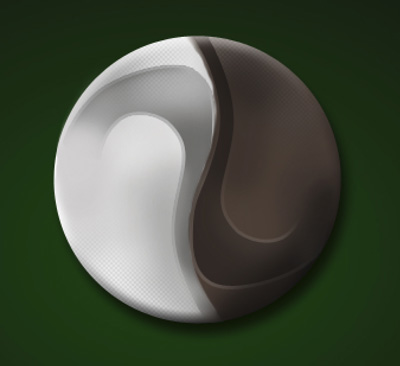
Final Image Preview
Let’s create a new file (File>New), having 1600x1200px/72 dpi. Using the Paint Bucket Tool (G) fill the new background layer with black color.

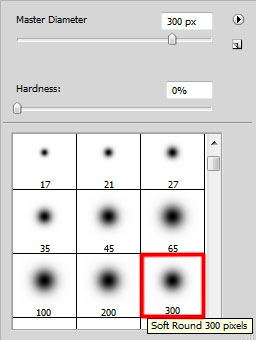
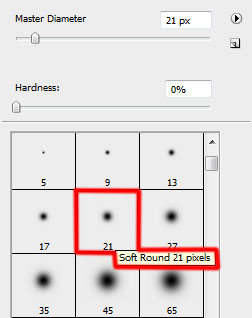
Create a new layer and choose for it a standard brush to represent a spot colored with #173908


Next press CTRL+T and then Maintain aspect ratio solution to enlarge uniformly the spot on its central part.

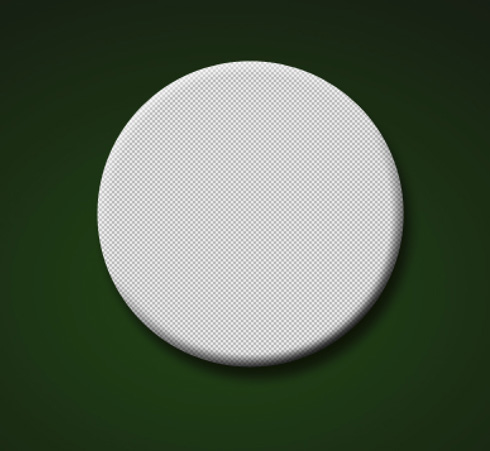
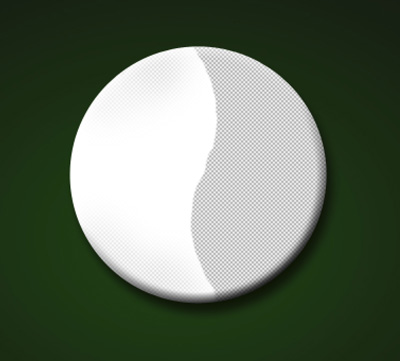
Now it’s time to represent the primary layer reserved for the YING YANG symbol, applying the Ellipse Tool (U) and the color #E8E8E8


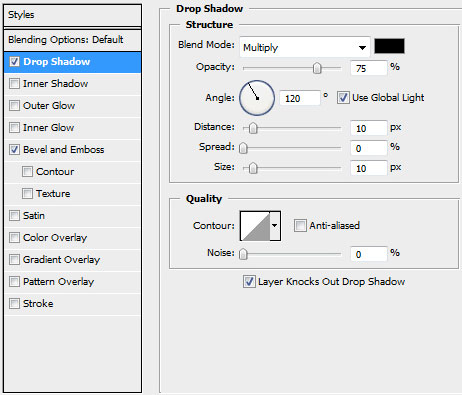
We’ll select the next demonstrated parameters by making a mouse click on the layer we work with on the layers’ panel: Blending Options>Drop Shadow
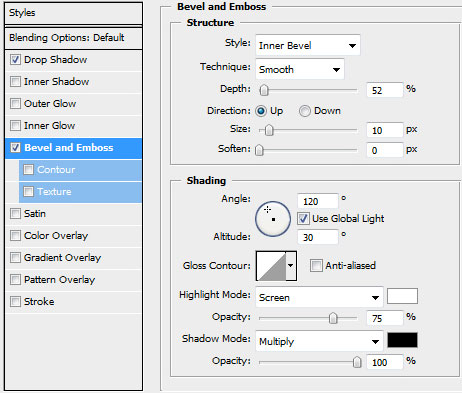
Blending Options>Bevel and Emboss
Let’s create a new file (File>New) of 4x4px/72 dpi. Here there must be selected the Pencil Tool (B) (brush 2 px) to draw a kind of pattern like the one from below. The color chosen is black and the background this time is absent.
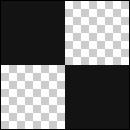
Edit>Define Pattern
Create a new layer and select for it Edit>Fill option.
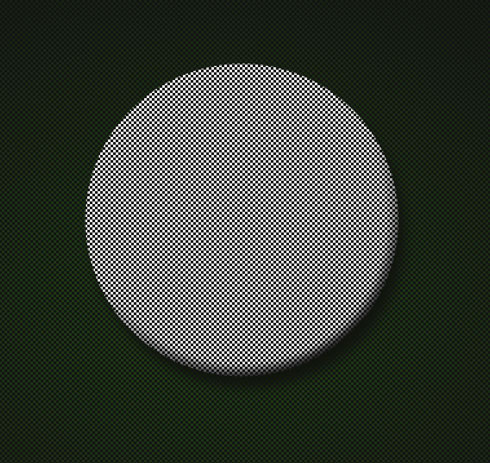
Set the next demonstrated parameters for the layer containing the made pattern: Fill 20%
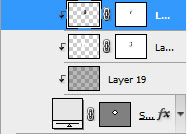
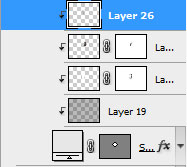
Press Alt button and make a mouse click between the texture’s layers and the primary layer of YING YANG symbol (on the layers’ panel).
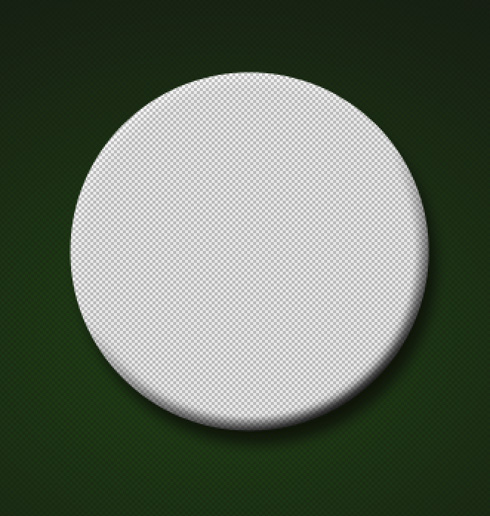
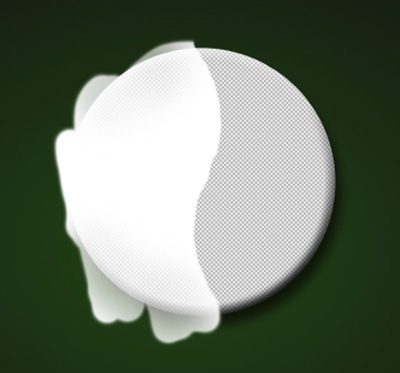
On the next new layer (Create new layer) we’ll apply the standard brush mentioned above that will be useful for painting the half of the YING YANG symbol.

Make a mouse click on the same layer on Add a Mask selection, situated on the bottom part of the layers’ panel and choose the standard brush of black color and Opacity of 25% to clean out those zones of white color along the symbol’s edges:
Press Alt button and make a click between the layer of white color and the previous layer on the layers’ panel:
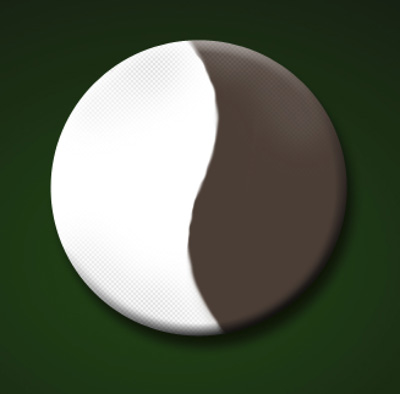
Applying the earlier described method for painting with white color of a symbol’s half, we may paint and clean out also the right side with the color #4B3B32. Don’t forget to press Alt option and click between the necessary layers:
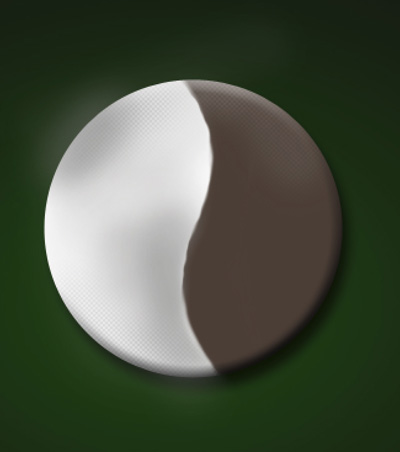
On a new layer (Create new layer) try drawing several shadows on the white half, using the earlier mentioned brush and grey color (Opacity of 10%).
 Press Alt button and click between the shadows’ layers and the previous layer on the layers’ panel:
Choose the Pen Tool (P) and the Convert Point Tool to represent a kind of deepening in relief on the symbol’s surface, using the color #656565
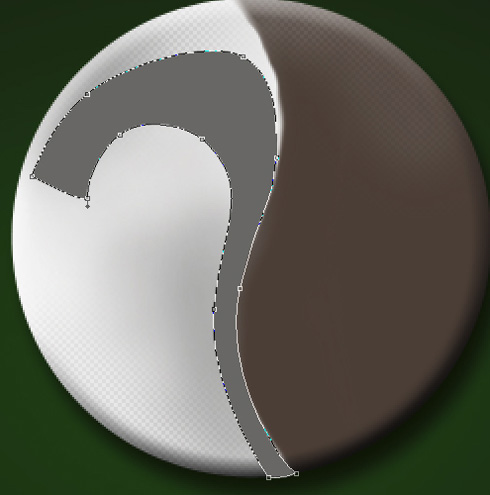
Make a mouse click on the same layer on the bottom part of the layers’ panel on Add a Mask selection and take a standard brush of black color and Opacity of 10% to erase the zones containing the deepening.

The layer’s parameters: Blending Options>Stroke
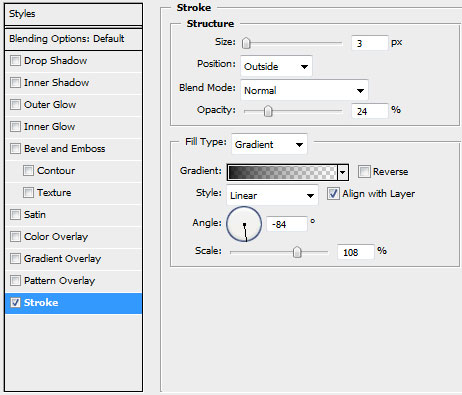
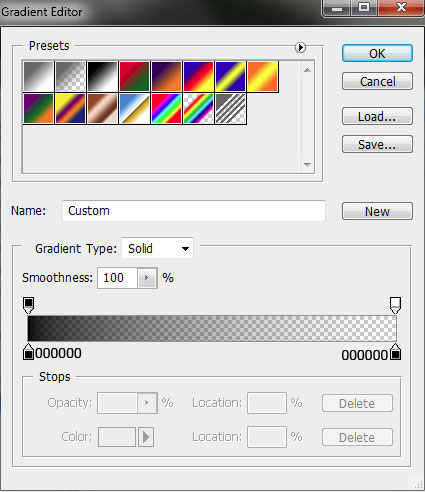
Gradient’s parameters:

On the next new layer we’ll apply the earlier mentioned standard brush to hide an edge of the deepening with the color #D2D0D0.
Make a copy of the earlier represented layer containing the deepening in relief. Select after that the Free Transform option to turn over the copy, placing it the same way as below. Change the basic color on #2D241F and try cleaning out with the usual brush those zones coming out, applying the same method described above.

Create a new layer and select the standard brush of black color and Opacity of 15% to make darker several zones of the dark symbol’s half.
Page: 1 2
Comments