
Designing Freelancer portfolio layout
Learn how to create a clean Freelancer portfolio layout design with great color.
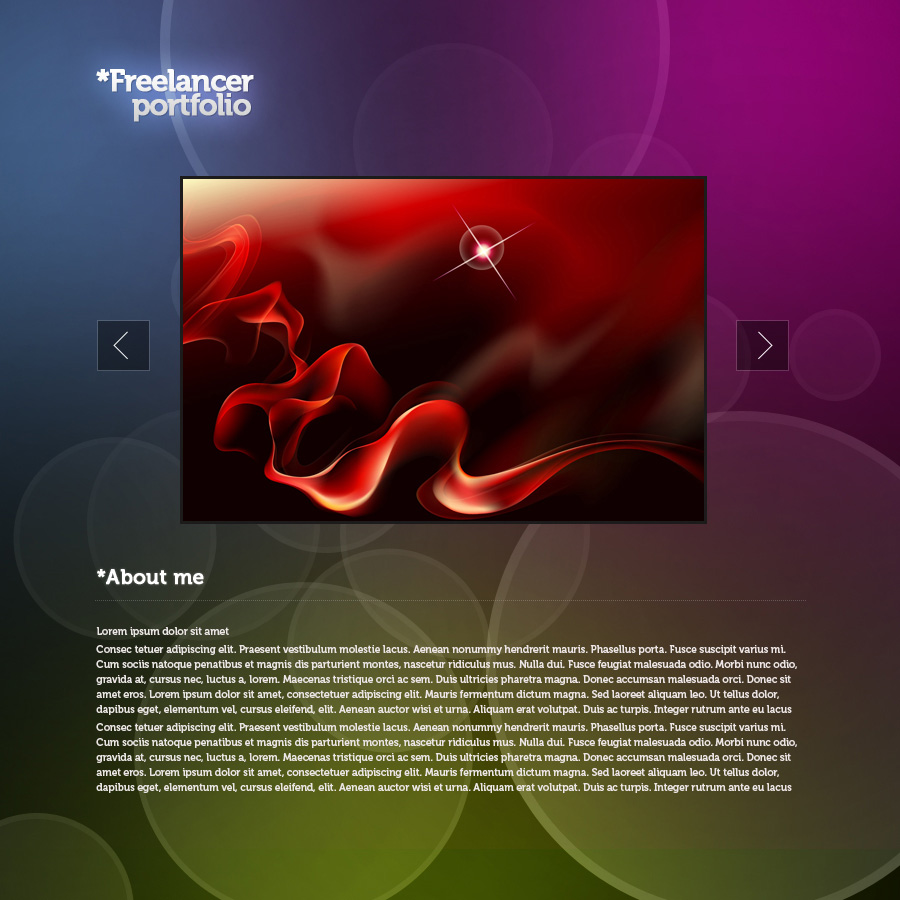
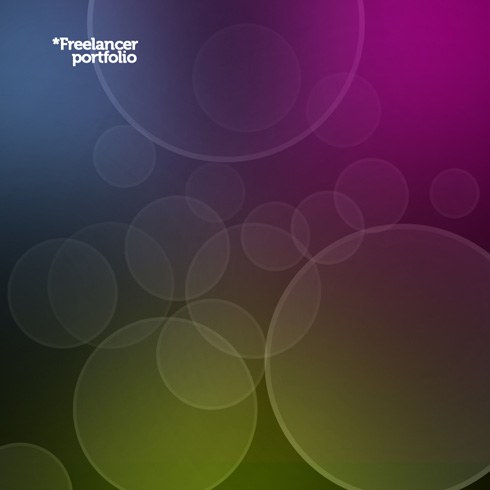
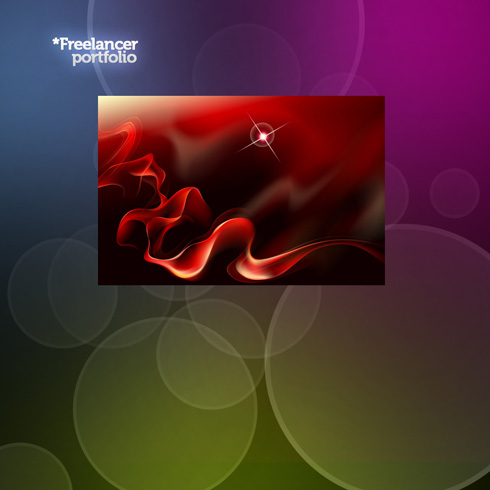
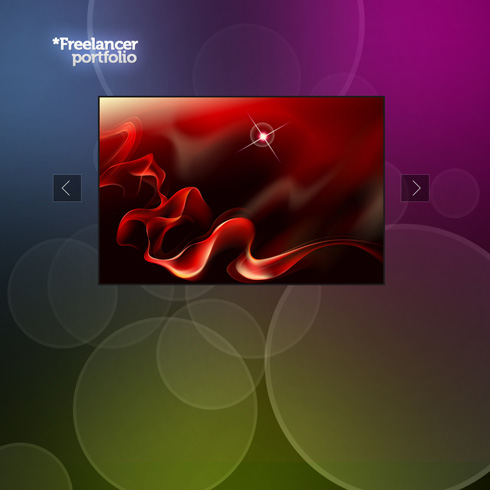
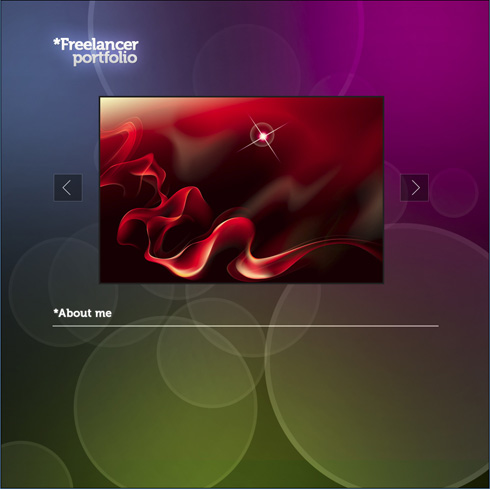
Final Image Preview
Create a new file (File>New) of 900x900px/72 dpi. Select the Paint Bucket Tool (G) to give the new background layer black color.

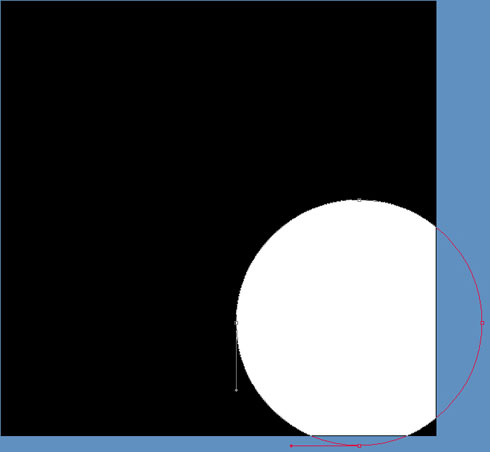
Next we’ll draw a small circle of white color with the Ellipse Tool (U).

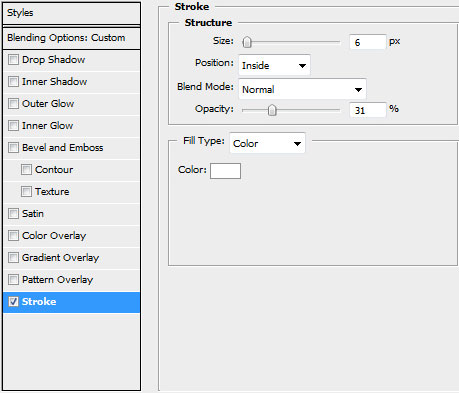
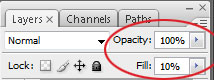
Set the next indicated styles by making a mouse click on the processed layer on the layers’ panel: Fill 20%, Blending Options>Stroke


Make a copy of the layer containing the circle and select then the Free Transform option to enlarge a little the circle and place it the same way demonstrated on the next picture. Change the corresponding parameter on the copy on Fill 10%

Make other copies of the same circle, changing the sizes for each copy with Free Transform option. Set the same parameter for the copies’ layers’ effects. Blending Options>Stroke
… and change also the Opacity and Fill parameters arbitrary:

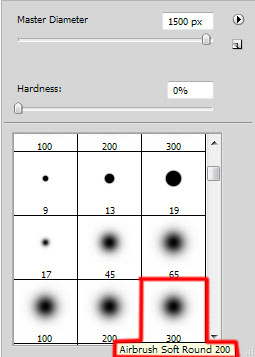
Next we’ll apply a standard brush on a new layer (Create new layer) to represent several colored spots on the picture’s background. Each spot should be represented on a separate layer:
… the color #F900C1

The layer’s parameters: Fill 69%

The next spot has the color #C2D373

The layer’s parameters: Fill 63%, Blending mode-Linear Light

The next spot has the color #6DB0F5

The layer’s parameters: Fill 60%

On the next layer we’ll apply the same standard brush, but we’ll change the Opacity on 10 % and select black color.

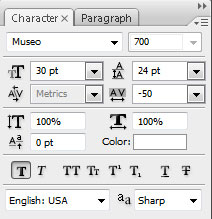
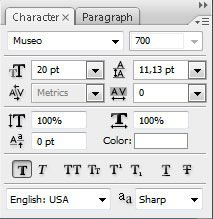
Next we’ll write the site’s name, keeping the demands from the next table (used font):

The layer’s styles: Blending Options>Drop Shadow

Blending Options>Outer Glow
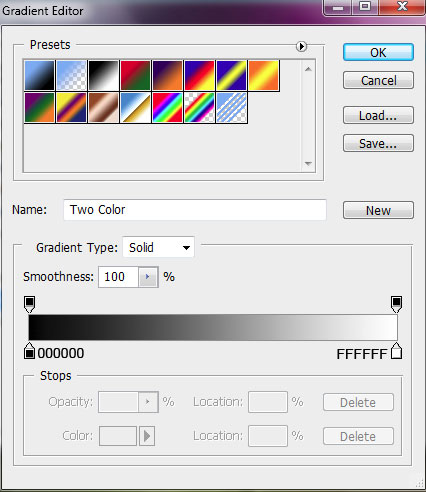
 Blending Options>Gradient Overlay
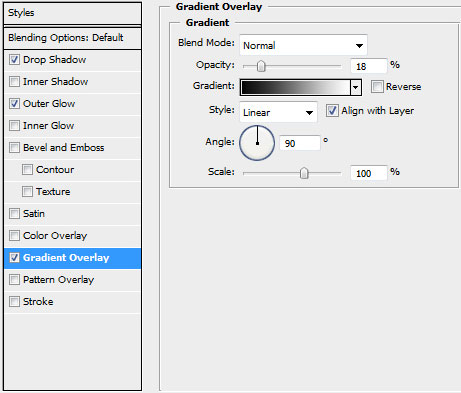
Gradient’s parameters:

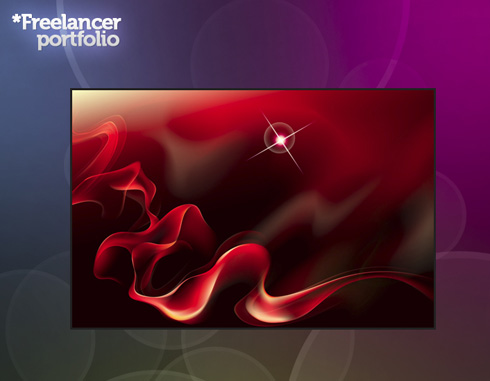
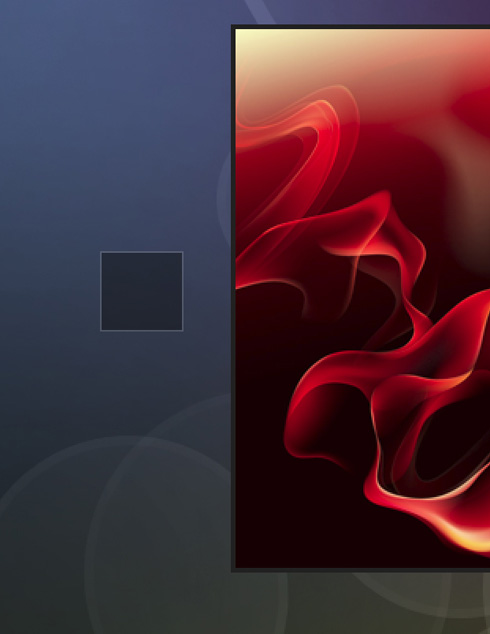
Under the inserted name we’ll add the picture we want to have there:
Use the next shown styles for the picture’s layer: Blending Options>Stroke

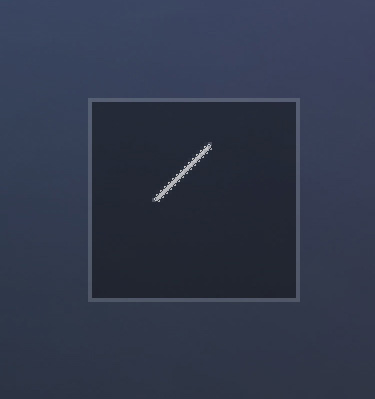
On the left part of the picture we’ll represent the primary layer reserved for a button. This time we’ll select the Rectangle Tool (U) and black color.
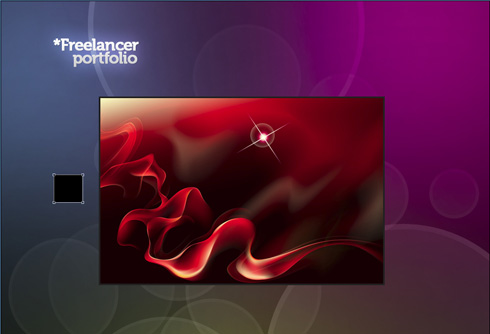
The layer’s styles: Fill 40%, Blending Options>Stroke

Let’s represent now a pointer of white color, applying by turn the Line Tool (U) (weight 1 px).
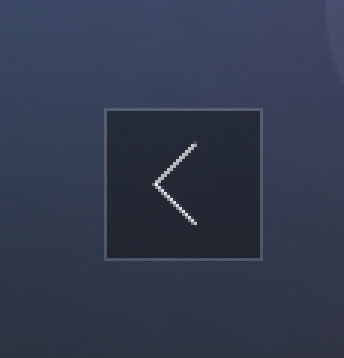
Combine in a group all the layers composing the button and its pointer (press Ctrl button to mark out the necessary layers and hold on the left mouse’s button to move the marked layers on Create a new group selection). Make a copy of the group we’ve got and select the Free Transform option to turn over the copy and place it the same way indicated below:
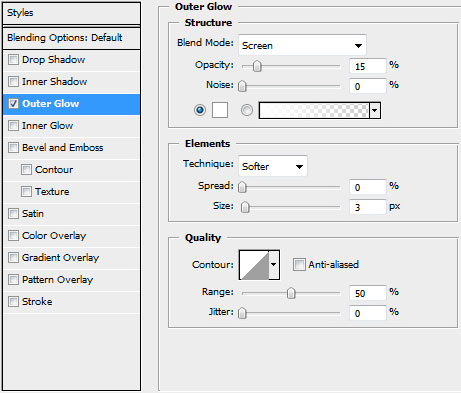
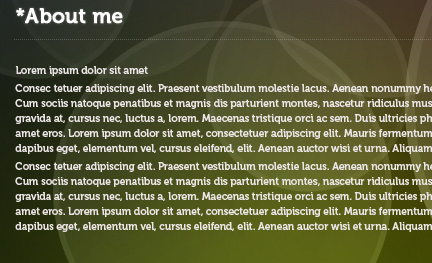
Insert the section’s name under the picture:

The layer’s styles: Blending Options>Outer Glow

Create a new file of 2x1px/72 dpi. Here we’ll use the Pencil Tool (B) (brush 1 px) to represent a pattern of white color. The background in this case is absent.

Edit>Define Pattern
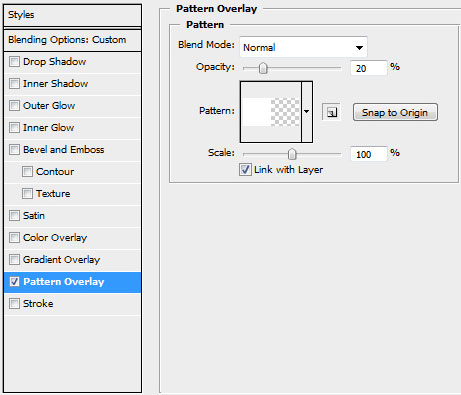
Insert a horizontal line under the section’s name, using the Line Tool (U) (weight 1 px).
The layer’s styles: Fill 0%, Blending Options>Pattern Overlay

On the last stage we’ll insert the appropriate text in the About me section:
Finished!
View full size here.
Comments