
Create a summertime compilation poster
In this tutorial is explained how to create a nice compilation poster: cutting and selecting objects from pictures, placing and combining them in beautiful artwork.
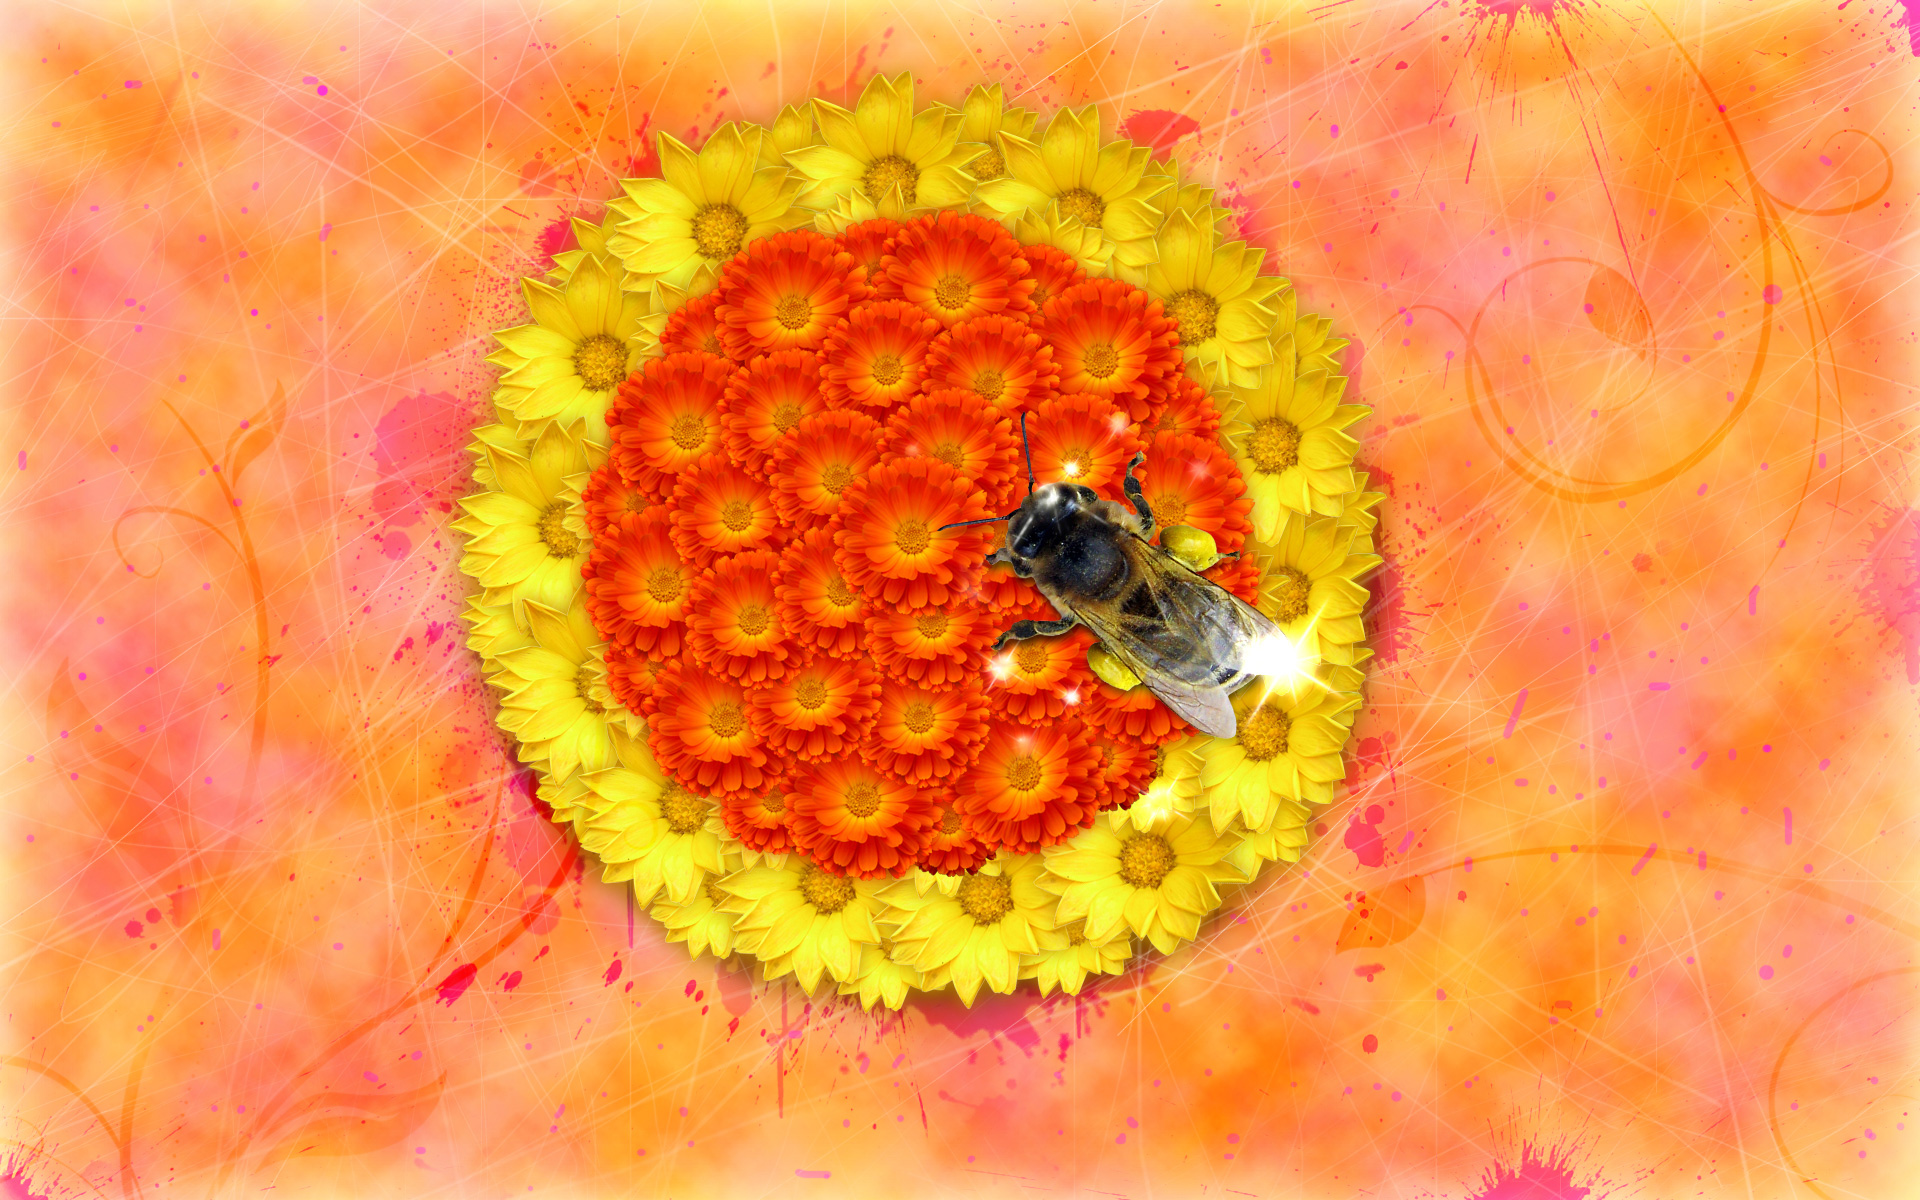
Final Image Preview
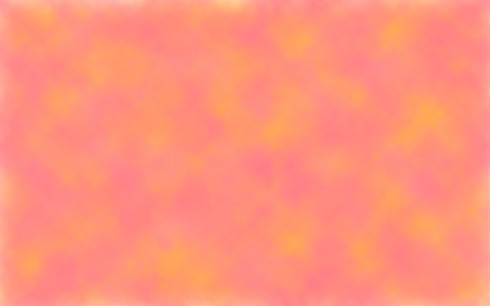
Create a new file (File>New) of 1920x1200px/72dpi. Then apply the Paint Bucket Tool (G) to give to the new background layer the color #FE939B

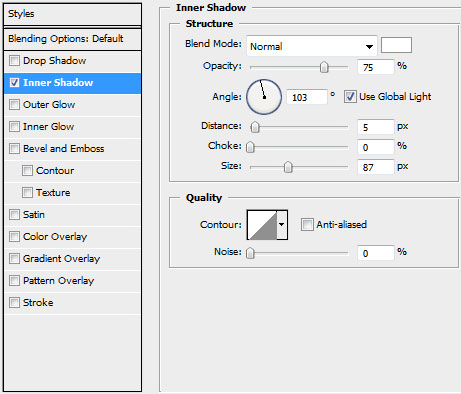
Set the next shown styles for the made layer by clicking on this layer on the layers’ panel: Blending Options>Inner Shadow

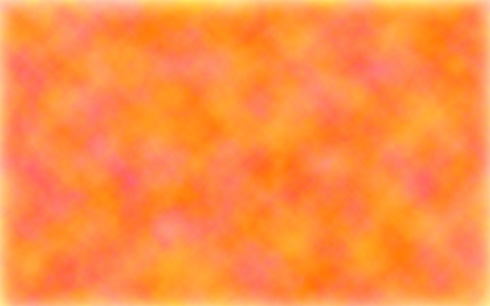
Create a new layer, applying here the same Paint Bucket Tool (G) to color the file with #FA9B41


Click on the same layer from the bottom part of the layers’ panel on Add a Mask selection and choose also Filter>Render>Clouds
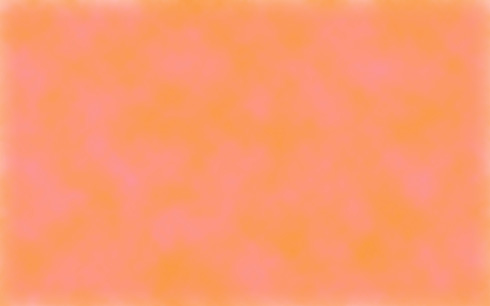
The layer’s parameters: Blending mode-Vivid Light
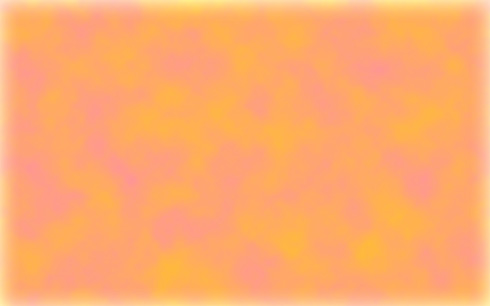
Create another new layer, using here again the Paint Bucket Tool (G) and the color #FF7B89

Make a mouse click on the same layer on the bottom part of the layers’ panel on Add a Mask option the way we did before and apply Filter>Render>Clouds
The layer’s parameters: Fill 79%, Blending mode-Color Burn
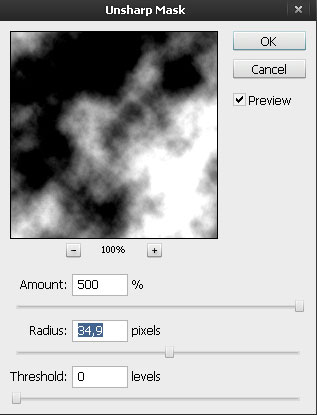
On the next new layer we’ll apply the Paint Bucket Tool (G) and white color. Then we’ll apply the mask option for the last made layer (the same way we did earlier), then we’ll choose Filter>Render>Clouds and finally the selection Filter>Sharpen>Unsharp Mask

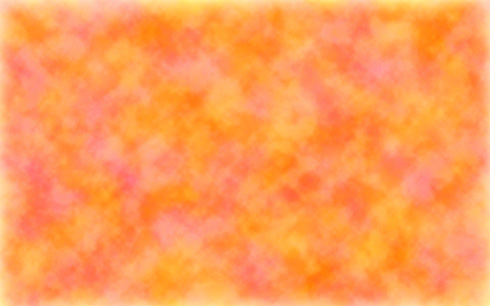
The layer’s parameters: Fill 57%, Blending mode-Soft Light
For the next new elements on the picture we need to represent a layout. Select the Ellipse Tool (U), press SHIFT button and draw two circles of different colors on your choice.

Find a stock photos with flowers on it, I used this photos: Flower and vibrant yellow from SXC. I would like to thank the authors: mzacha and yogeshnaru.
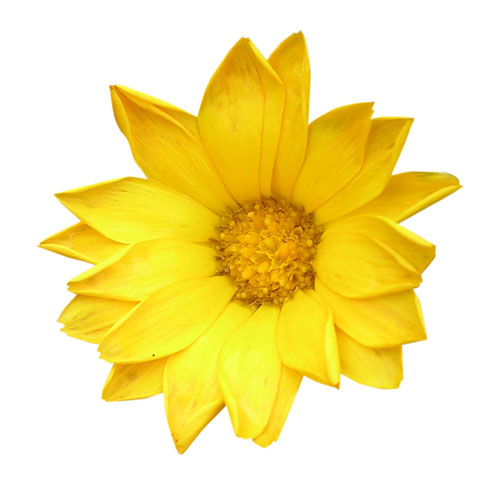
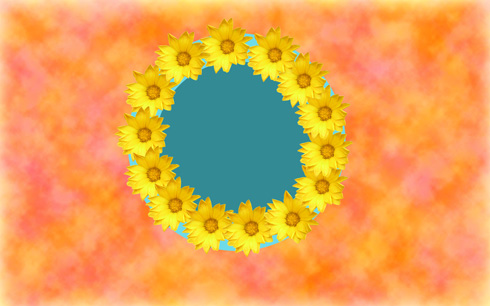
Now we need to situate the yellow flowers along the edge of the outside circle. Make so many copies of the layer containing the flowers as we need and then choose Free Transform option to change the sizes of the copies.
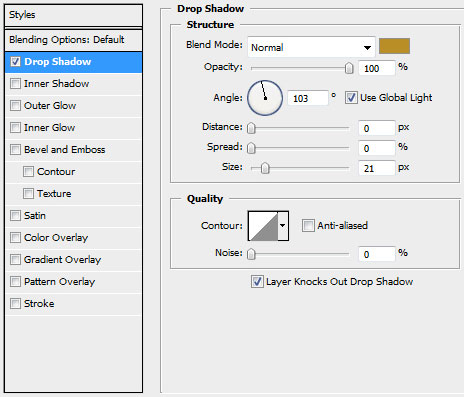
Each layer containing the flowers has the same parameters: Blending Options>Drop Shadow
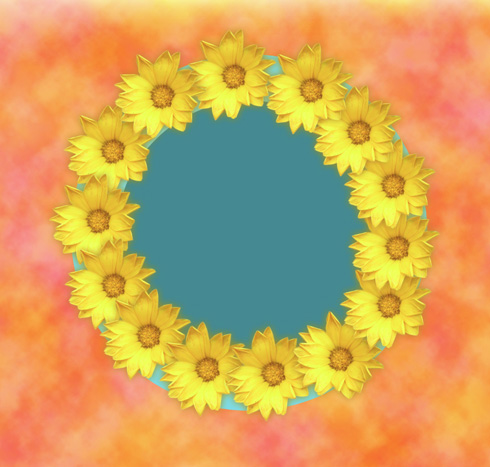 Make copies of the layer containing the yellow flowers as many as we need and then apply Free Transform option to make smaller the copies’ sizes, placing their layers under the layers with the previous flowers (on the layers’ panel).
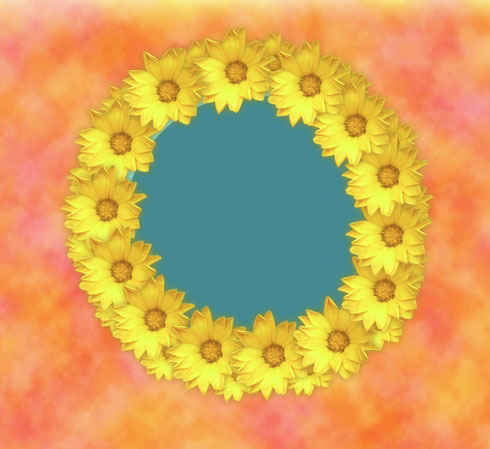
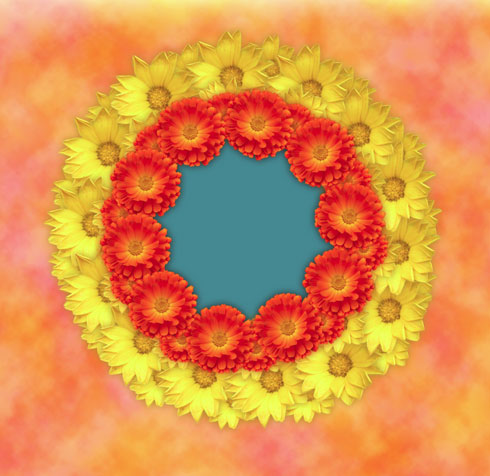
Represent several more copies of the flowers and change their sizes. The Free Transform option will be helpful in placing the copies on our picture.
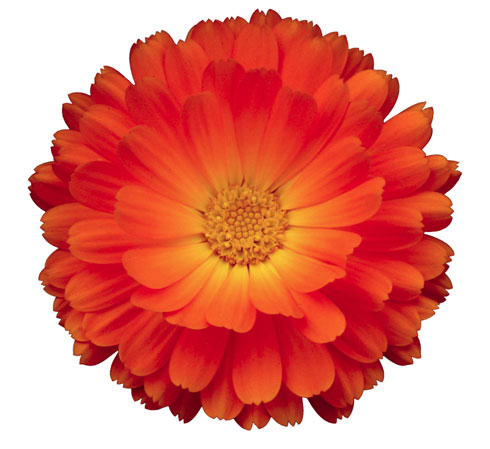
Now we’ll place the red flowers along the circle. Their sizes also need to be changed with Free Transform option. Then we’ll place them on the picture the same way demonstrated below. Finally we’ll apply copying process of the flowers’ layer.
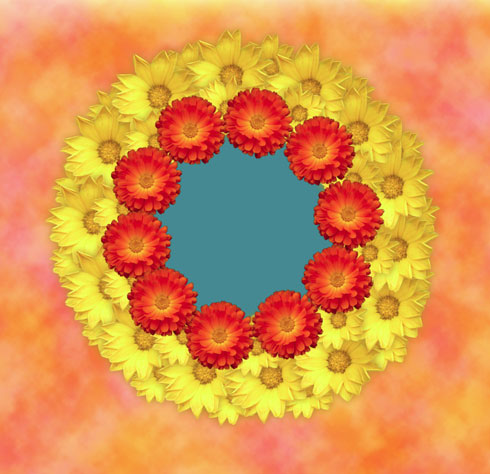
Each layer with the red flower has the parameters from below: Blending Options>Drop Shadow

Blending Options>Inner Glow
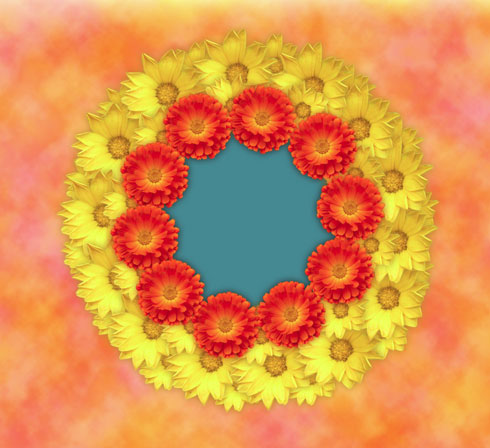
Make copies of the layers containing the red flowers, change their sizes with Free Transform option and situate them under the previous layers containing the red flowers.
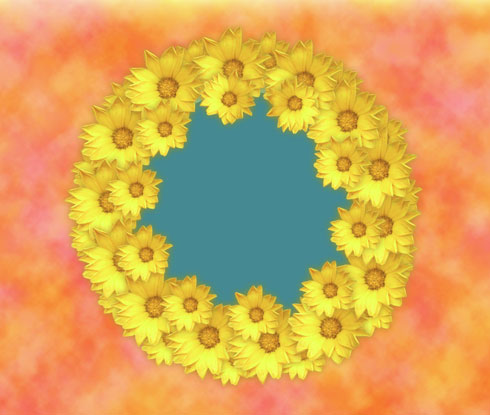
The rest of the empty space needs to be filled with the copies of the red flowers.
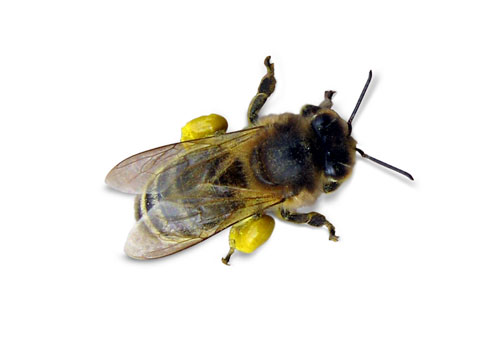
Find a stock photo with a bee represented on it, I used this photo from SXC. I would like to thank the author of this photo:
Page: 1 2
Comments