
Grunge Mercedes Wallpaper
A guide on how to design the grunge Mercedes Benz wallpaper in Adobe Photoshop. This tutorial will show you everything from start to finish on how to make this wallpaper. Have a look!
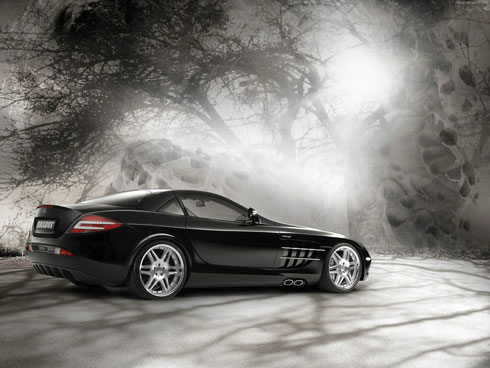
Create a new file (File>New) of 1280x960px/72dpi. Next we need a picture with a Mercedes-Benz car on it and insert it on our file.
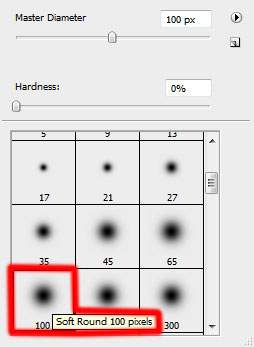
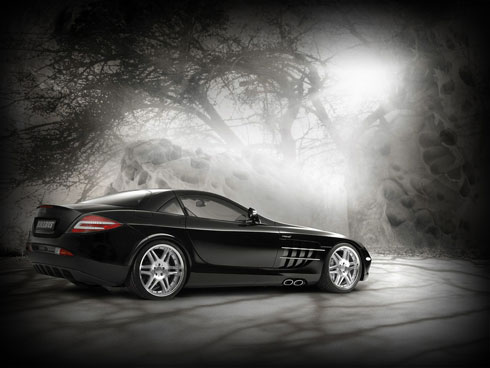
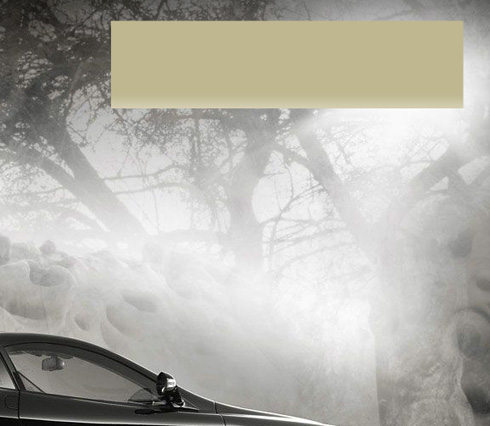
Create a new layer and apply here a standard brush (Opacity – 20%) to dark out the picture’s edges with black color.

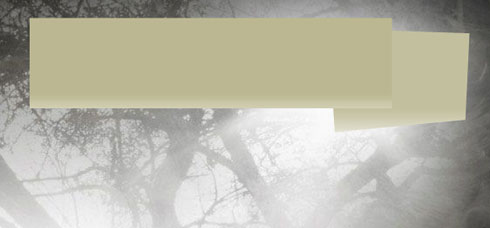
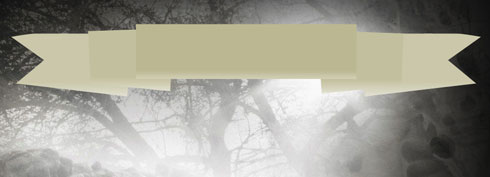
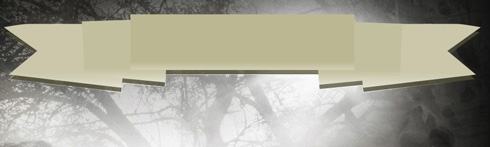
Using the Rectangle Tool (U), make a ribbon element reserved for the text. The layer’s color is #C1B994
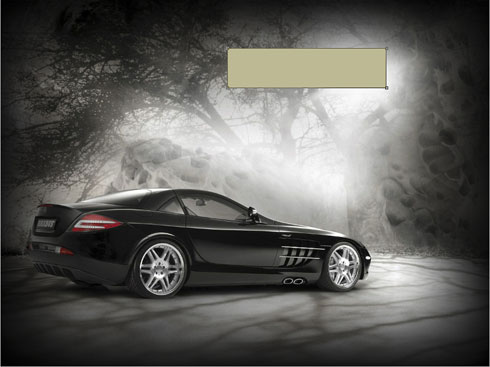
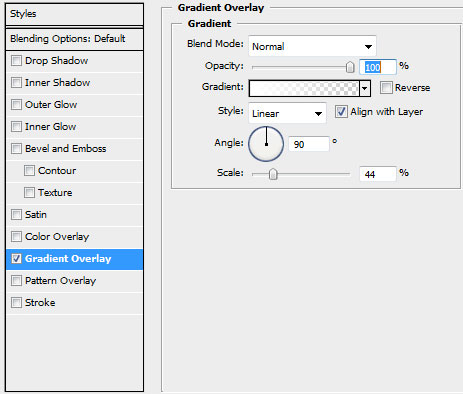
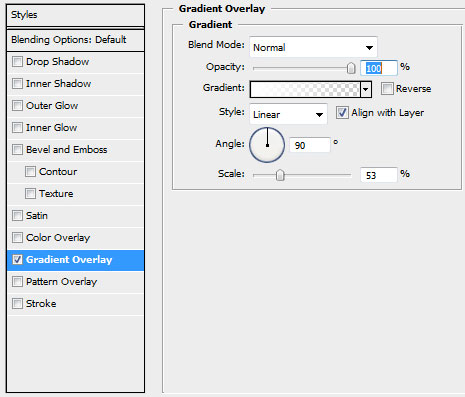
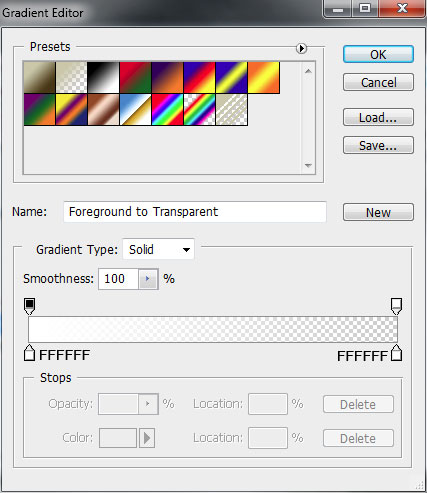
Set the next parameters for the made layer by clicking on this layer on the layers’ panel: Blending Options>Gradient Overlay 
Gradient’s parameters: 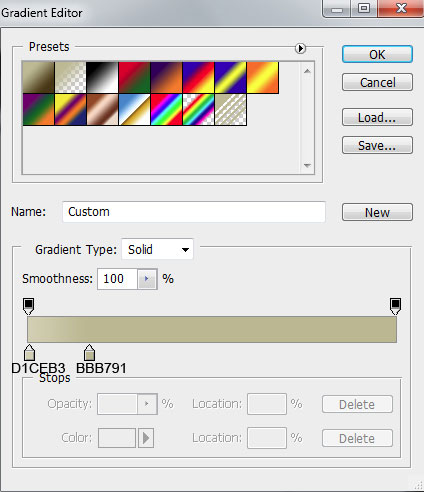
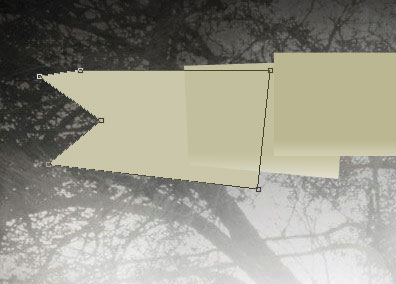
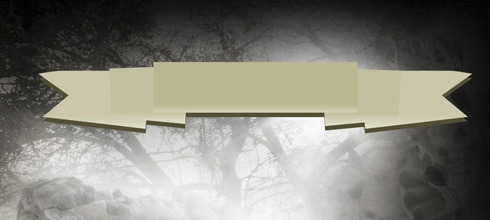
Next we’ll draw the next element of the ribbon, situated under the previous made layer. Select the Pen Tool (P) for this operation and the color #C6BF9D

The layer’s parameters: Blending Options>Gradient Overlay
Gradient’s parameters: 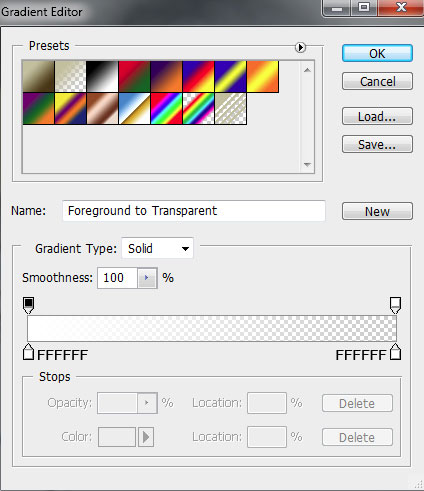
Make a copy of the last made layer and choose Free Transform option to turn over the copy, placing it as below. The layer containing the copy should be placed in such a way as to be situated under the top ribbon’s element.
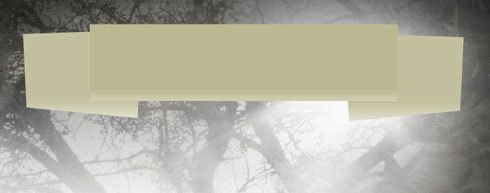
Now we’ll represent one more element of the ribbon, choosing in this case the same Pen Tool (P) and the color for the layer #CDC7AA. This layer needs to be placed under the rest of the ribbon’s elements (on the layers’ panel).
The layer’s parameters: Blending Options>Gradient Overlay
Gradient’s parameters:

Make a copy of the last made layer and select Free Transform option to turn over the copy, placing it the same way as below. The layer containing the copy should be placed in a way to be situated under the previous made elements of the ribbon:
Now we need to combine in a group all the ribbon’s elements (press Ctrl button to mark out the necessary layers and click on the left mouse’s button to take down the marked layers on Create a new group selection) Make a copy of the new group we’ve got and put together the copy to get a single layer (CTRL+E).
Select then a standard brush indicated earlier to paint the new layer. Choose for the operation regime Lock Transparent Pixel and the color #534D2E.
Using Free Transform option, place the layer with the copy lower and this layer will be situated also lower than all the ribbon’s element.
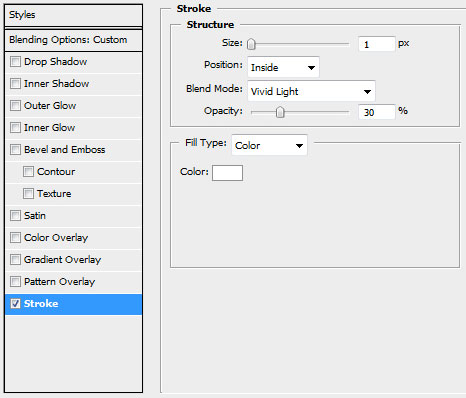
The layer’s parameters: Fill 75%, Blending Options>Stroke
Page: 1 2
Comments