
Graphic Design Studio Web Layout
Learn how to create an effective and contemporary web layout for your design studio.
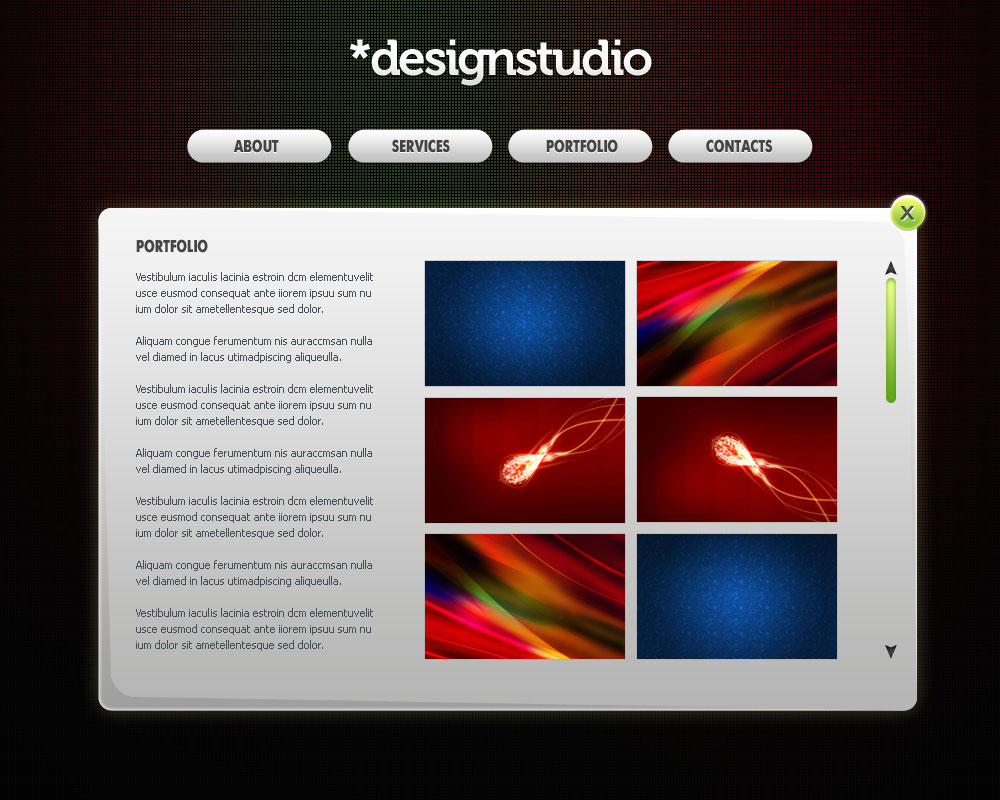
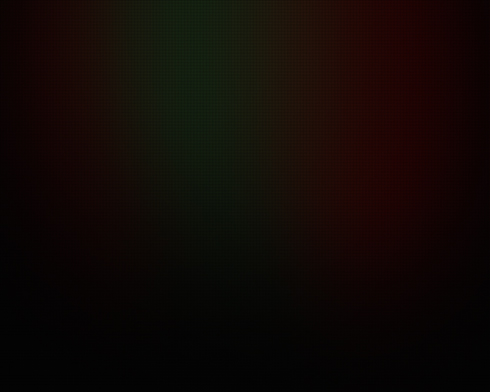
Final Image Preview
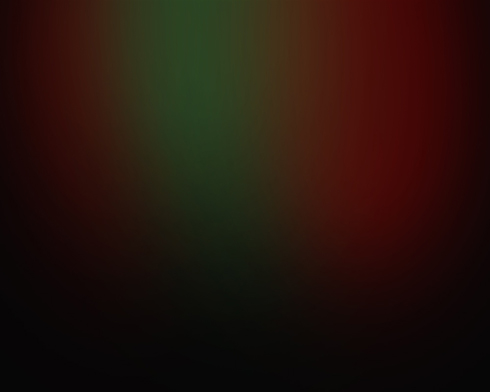
Start working by creating a new file (File>New) of 1000x8000px/72 dpi. Using the Paint Bucket Tool (G), now give black color to the new background layer.

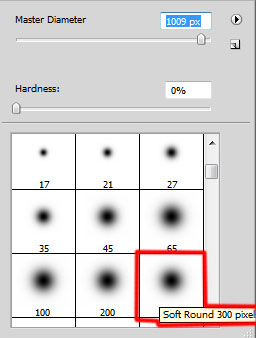
Using a standard brush with the Opacity of 20% on a new layer (Create new layer), it’s possible to represent a spot of red color and then minimize the brush’s size to add some green color by the vertical line.

Create a new file (File>New) of 3x3px/72dpi where we’ll represent the next pattern. In this case we’ll apply the Pencil Tool (B) (brush 1 px) and black color. The file’s background needs to be removed.
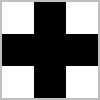
Edit>Define Pattern
Create a new layer and apply here Edit>Fill, choosing the earlier saved pattern.
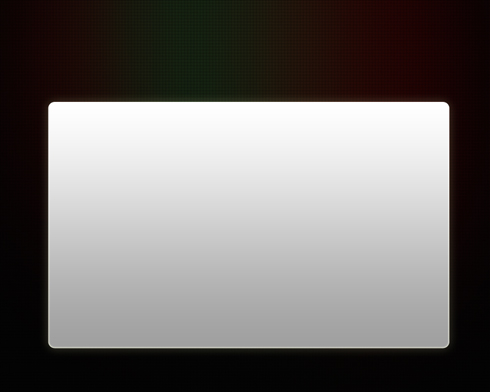
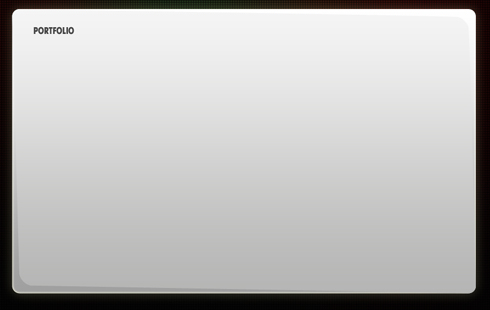
Select now the Rounded Rectangle Tool (U) (radius 10 px) to represent a panel reserved for the portfolio and the text on the site.
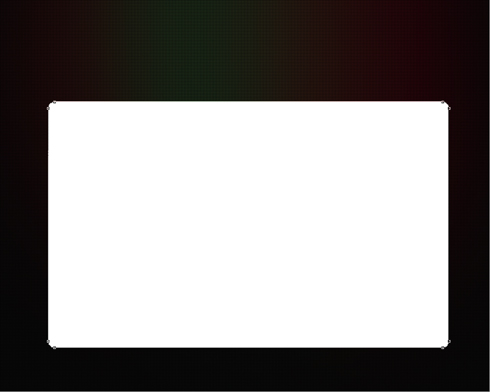
Set the next demonstrated styles by making a mouse click on this layer on the layers’ panel: Blending Options>Outer Glow
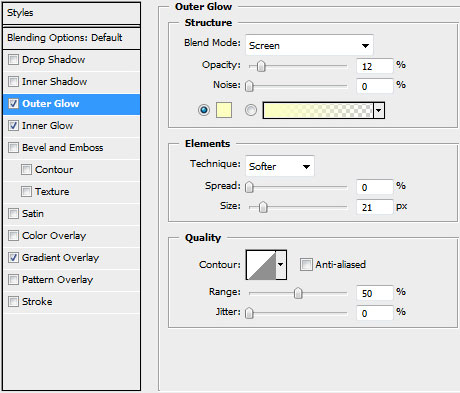
Blending Options>Inner Glow
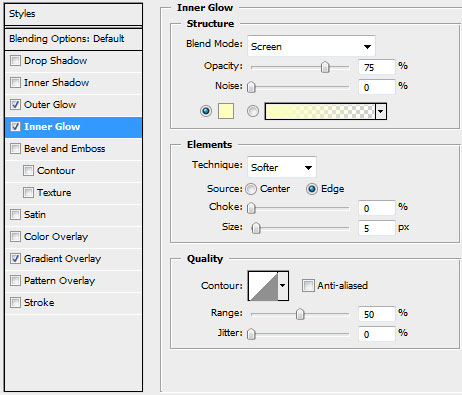
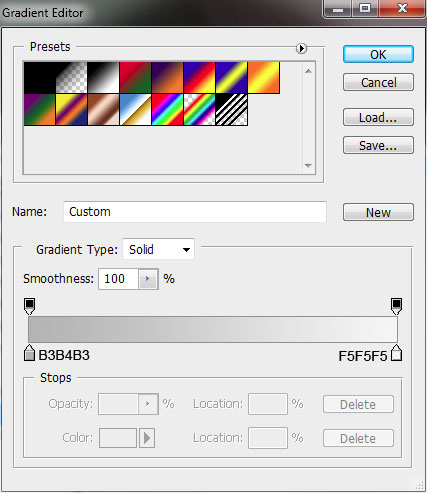
Blending Options>Gradient Overlay
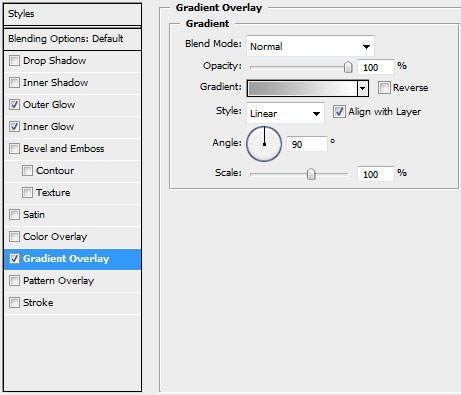
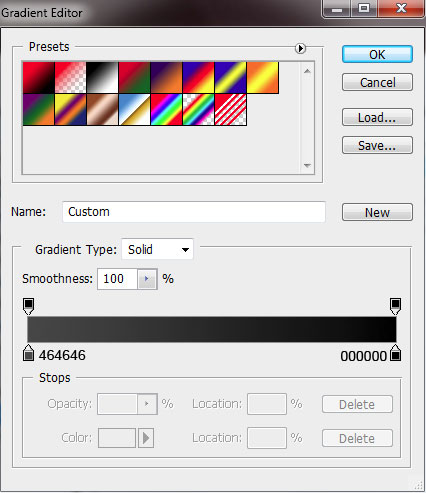
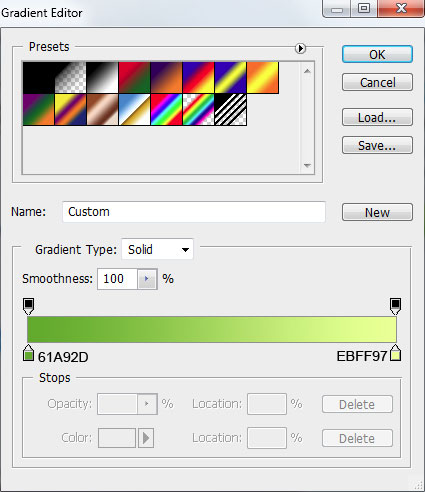
Gradient’s parameters:

Make a copy of the last made layer and select the Convert Point Tool and Direct Selection Tool (A) to change the placement of the right top corner and the left lowest corner on the picture:
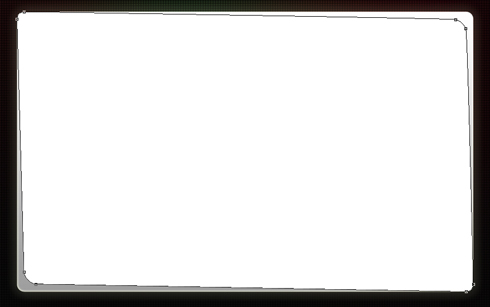
The layer’s styles: Blending Options>Gradient Overlay

Gradient’s parameters:

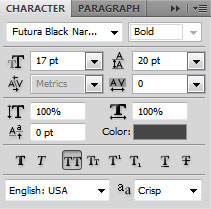
Insert the section’s name, keeping the next shown demands in the table:
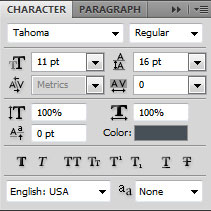
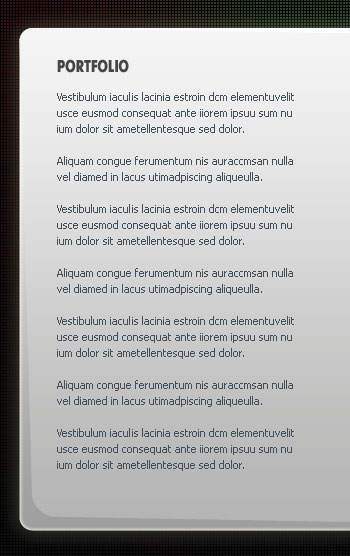
Insert the text we need under the section’s name, keeping also the demands from the table:
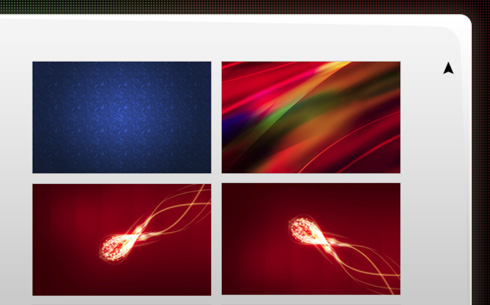
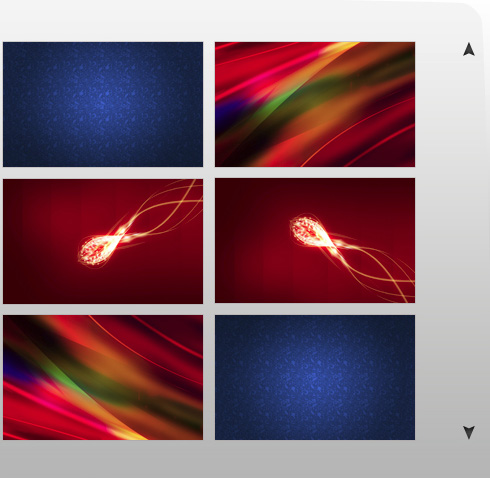
Now we’ll place the pictures on the right side of the site’s name:
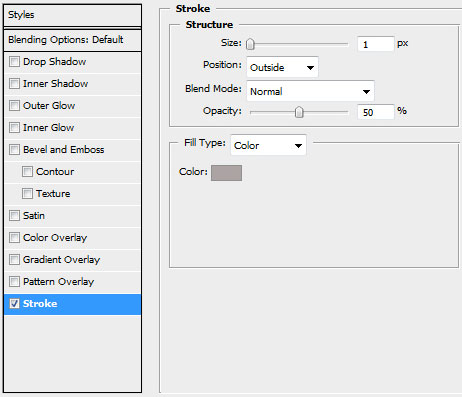
 Select the same styles for the pictures’ layers: Blending Options>Stroke

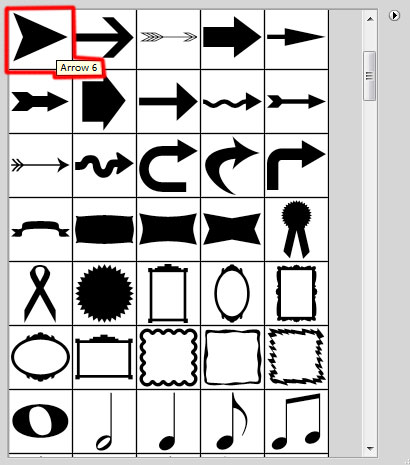
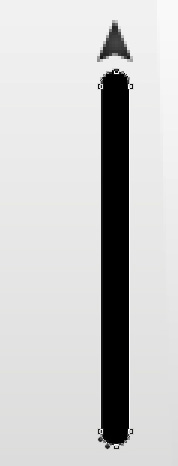
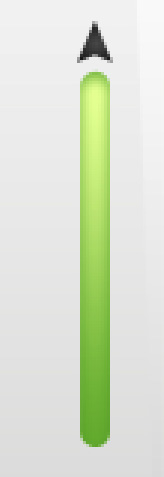
Now we’ll represent the scrolling button on the right side of the pictures, applying the Custom Shape Tool (U). The button needs to be turned over with the Free Transform option.
The layer’s styles: Blending Options>Gradient Overlay
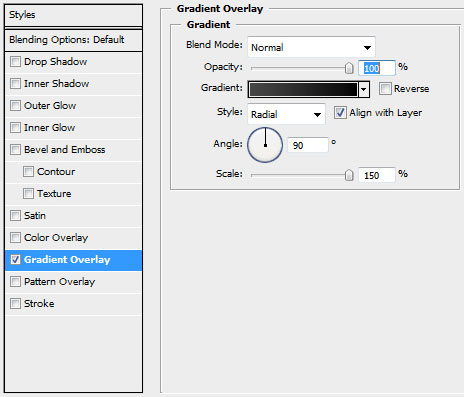
Gradient’s parameters:

Make a copy of the layer containing the button with the pointer. Using Free Transform option, try turning around the copy, situating it the same way as it is demonstrated below:
Next we’ll draw the indicator cursor under the scrolling top pointer, using the Rounded Rectangle Tool (U) (radius of 10 px).
The layer’s styles: Blending Options>Inner Shadow
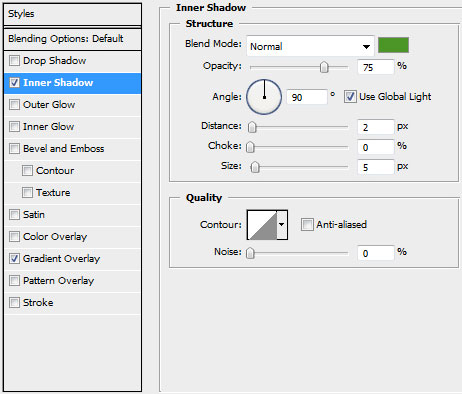
Blending Options>Gradient Overlay
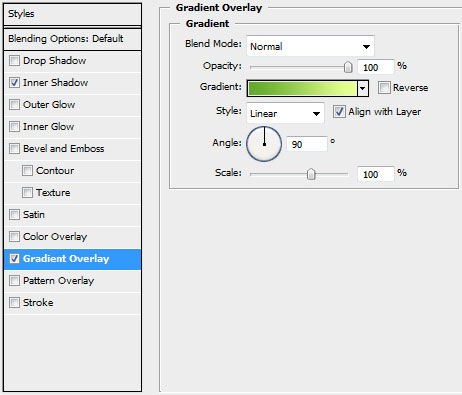
Gradient’s parameters:
Page: 1 2
Comments