
Graphic Design Studio Web Layout
April 2, 2007 | 0 comments
A simple and professional design studio layout.
Create a new file with 766×700 dpi and select the Rectangle Tool (U) to represent the background of the picture to be next:

Blending Options-Gradient Overlay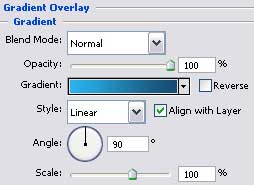
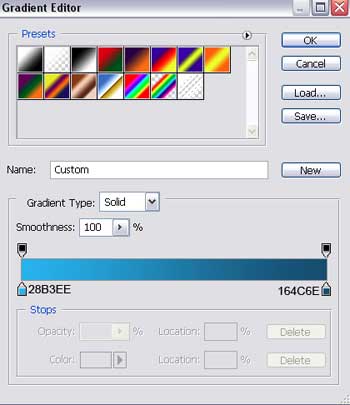
Gradient’s parameters:

Select the Pen Tool (P) to represent twenty rays, having a triangle shape.
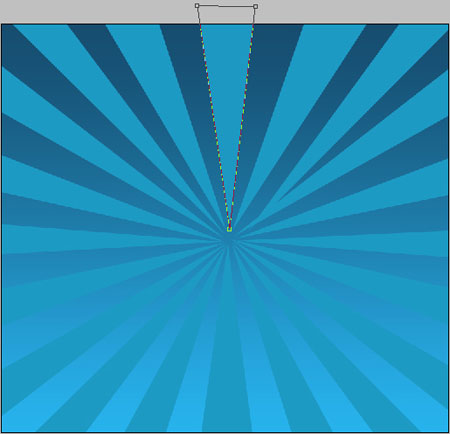

All of them have the same parameters:
Blending Options-Color Overlay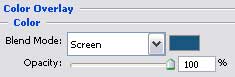
For our convenience, we have to merge down in a group all the rays and set the Blending Mode to Soft Light for this group.

Comments