
Magic and special light effects
This tutorial will teach you to create amazing “magic” green color effects using some simple methods. It will greatly beautify every fantasy-style work.
Final Image Preview

Create a new file (File>New) of 1920x1200px/72dpi. Select then the Paint Bucket Tool (G) to paint into black the new background layer.

Select now the Rectangle Tool (U) to continue representing the background:


Set the next demonstrated styles for the last made layer by clicking on it on the layers’ panel: Fill 0%, Blending Options>Gradient Overlay

Gradient’s parameters:


Create a new layer which must be processed with a standard brush of white color to include on the picture several spots and lines as you may see on the next picture:


Select the next indicated option Filter>Blur>Radial blur (2 times)


Using Free Transform option, press Maintain aspect ratio to resize uniformly the rounded lines:

Select the next styles for the layer containing the rounded lines: Blending Options>Color Overlay


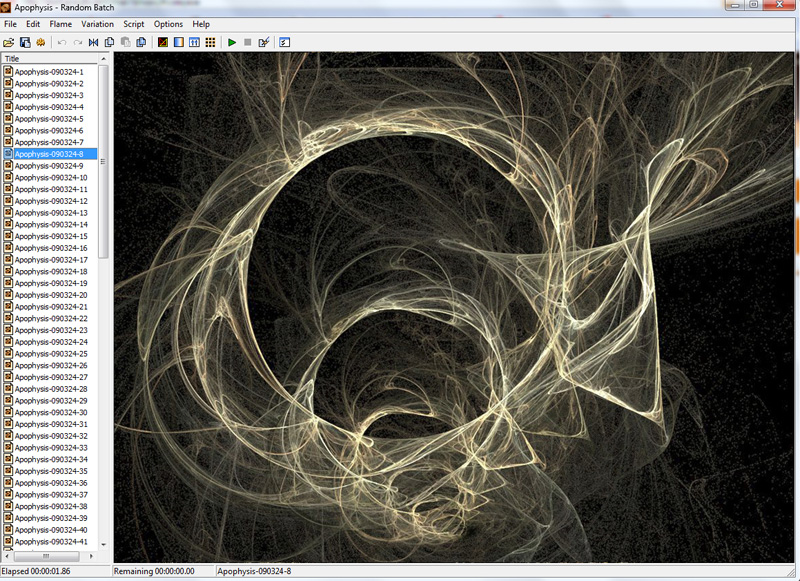
In the next step we’ll use Freeware fractal flame editor for Windows – Apophysis to generate the fractal. Install the program and choose out of the list the next demonstrated picture:

Import CTRL+X and add the saved picture to a new layer:

Comments