
Awesome Grunge Music Poster
This tutorial uses a variety of techniques to create a grunge music poster!
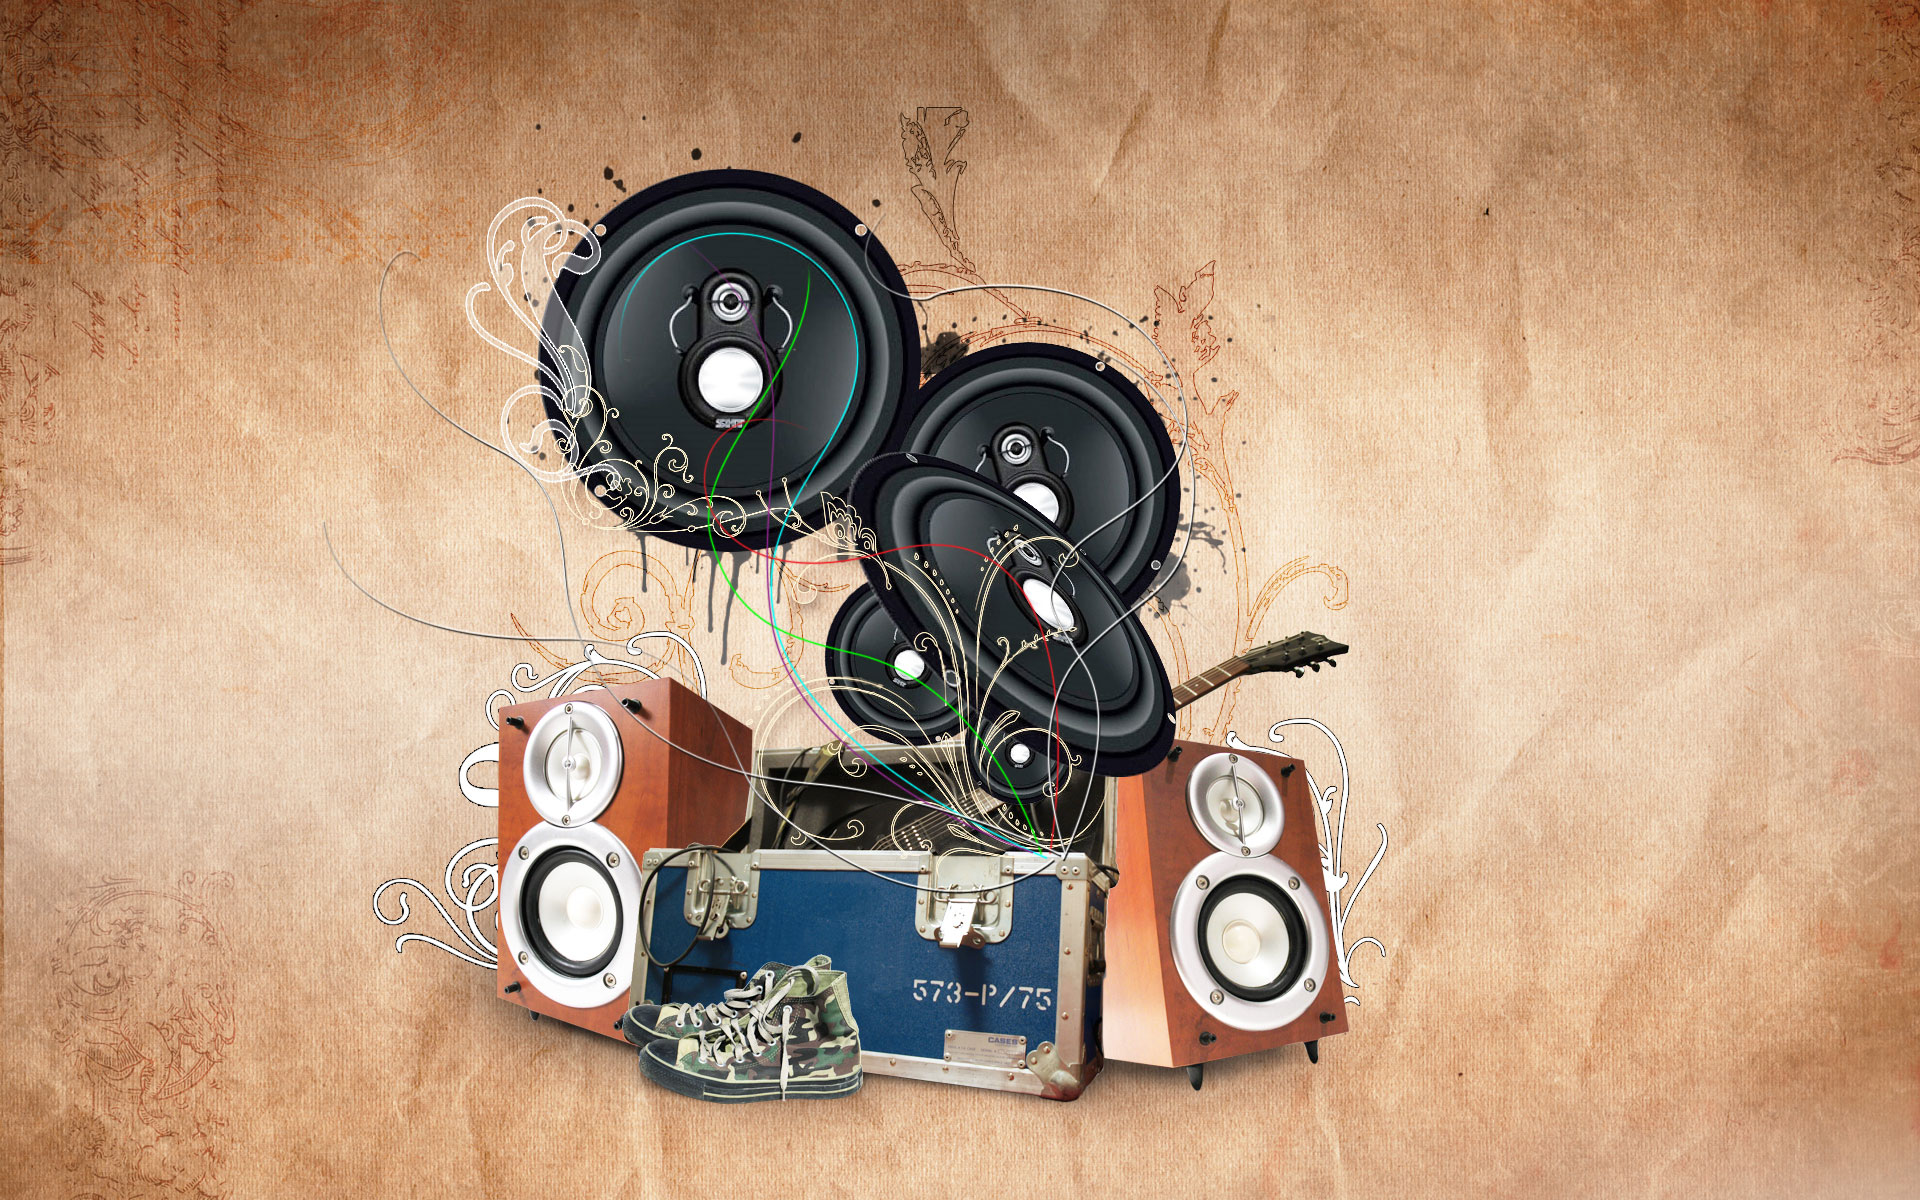
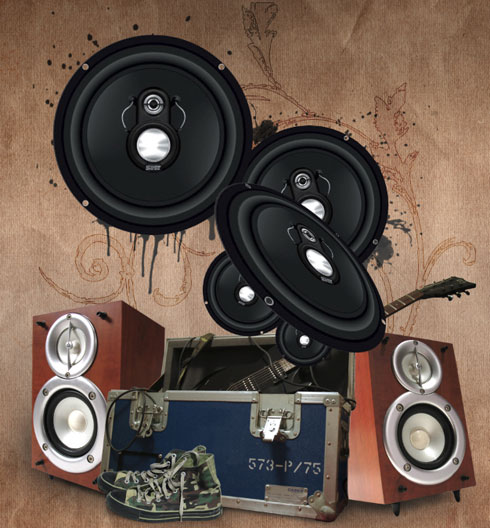
Final Image Preview
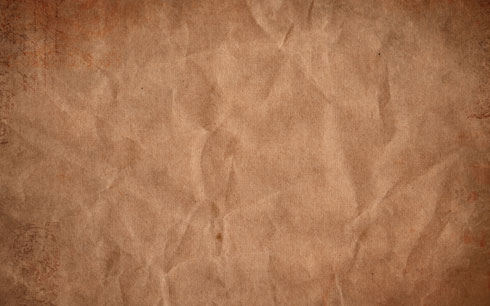
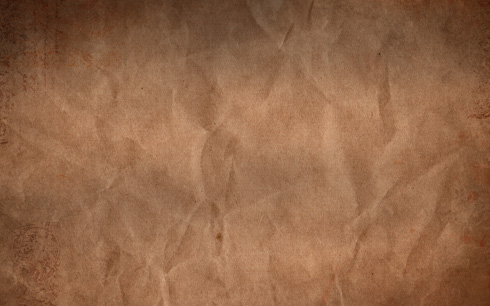
Begin your work by creating a new file (File>New) of 1920x1200px/72dpi. Open the next page: Grungy Paper textures and download out of it the paper textures. One of the textures should be chosen as the background for our poster to be.
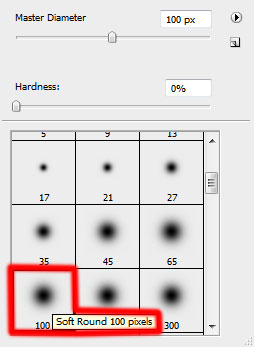
Create a new layer and select for it a standard brush to tone smoothly the top and middle parts of the picture. The brush is of the color #959594 (Opacity 10%)

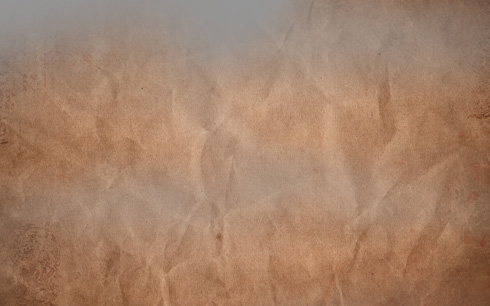
The layer’s parameters: Blending mode-Multiply
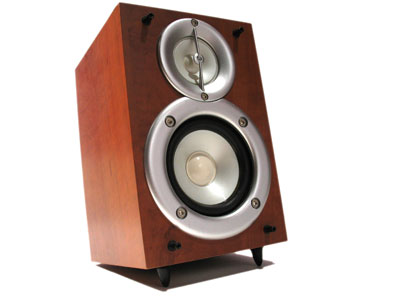
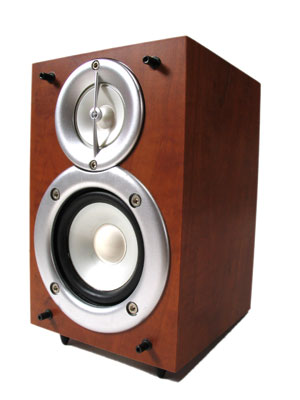
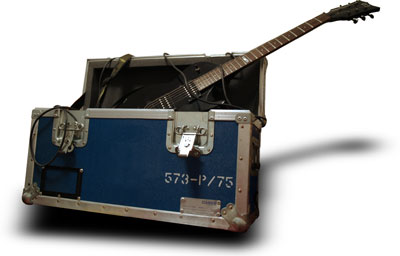
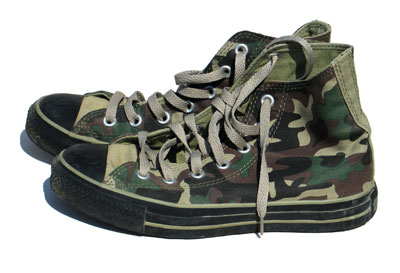
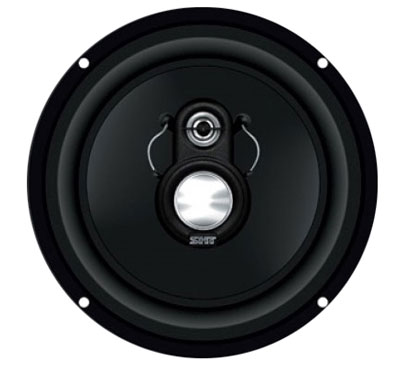
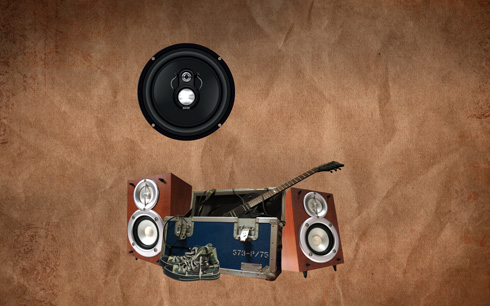
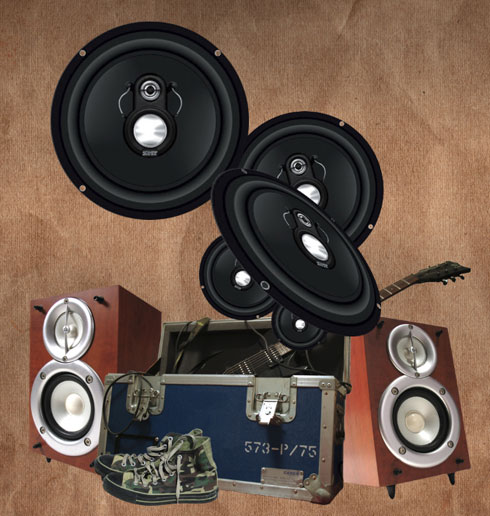
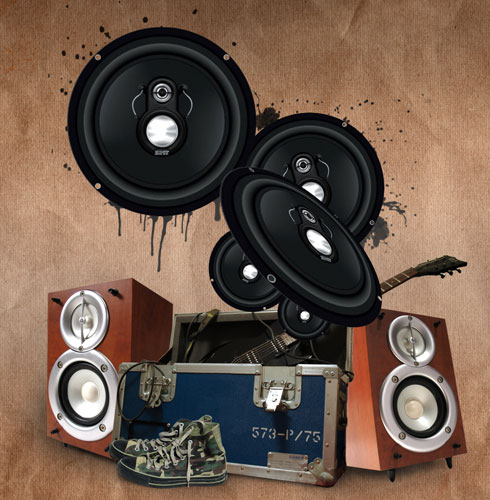
Find a stock photos with the Speakers, Road Case and Worn shoes on it.
I used this photos: Speakers 1, Speakers 5, Road Case and Worn shoes 3 from SXC. I would like to thank the authors: Paul Preacher, Zach Haddock and Sanja Gjenero.
Cut out by turn the objects and insert them on the new layers. Their sizes will be changed with Free Transform option.
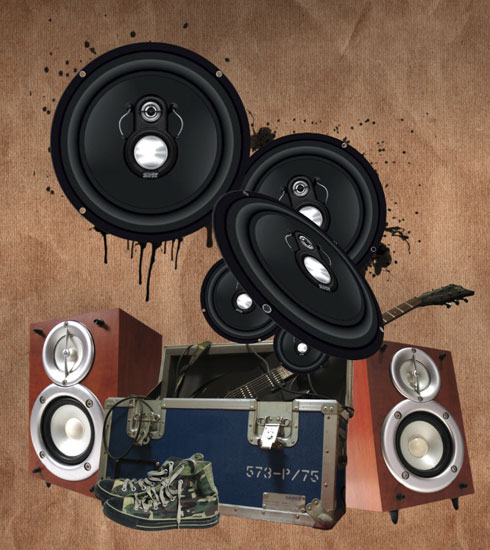
Make three copies of the layer containing the black speaker and apply Free Transform option to change the copies’ sizes and their angle of inclination.
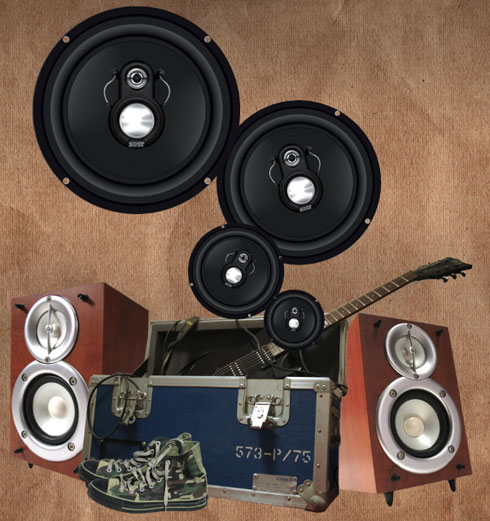
Make one more copy of the layer with the black speaker and choose Free Transform option to change the copy’s shape as it is demonstrated below:
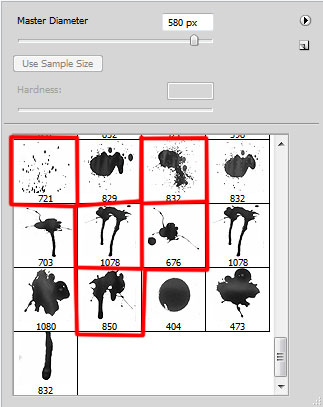
Download out a set of ready to use brushes in Adobe Photoshop, named BloodPack1__invaynestock, Brushes-swirls.
Create a new layer and use on it the brush out of the set BloodPack1__invaynestock of black color. This layer should be situated lower than the layers containing the objects.
 On the next new layer (Create new layer) we’ll apply a standard brush of black color (Opacity 20%) to represent the shadow under the objects. This layer will be situated lower than the layers of the objects.

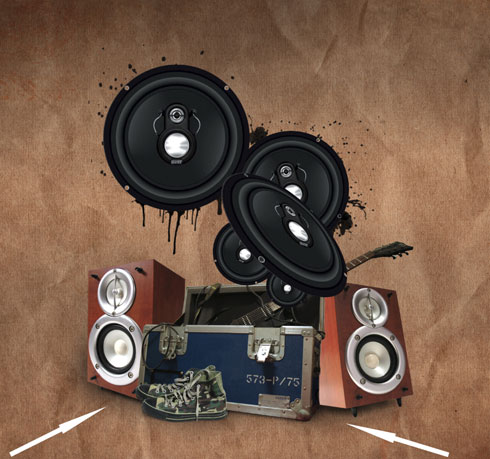
Create a new layer again to use here a standard brush of white color this time (Opacity 10%) to make lighter the middle part of the picture. This layer needs to be placed lower than the layers containing the objects.
Create a new layer for applying here Brushes-swirls of white color. This layer will be placed lower than the layers of the objects.
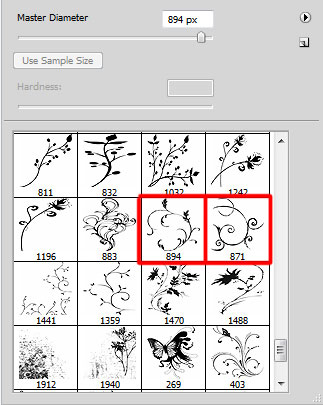
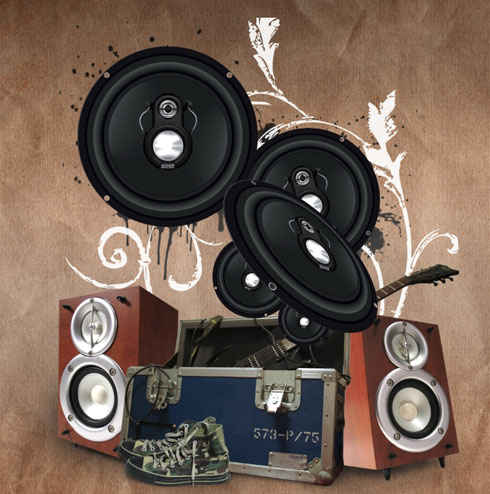
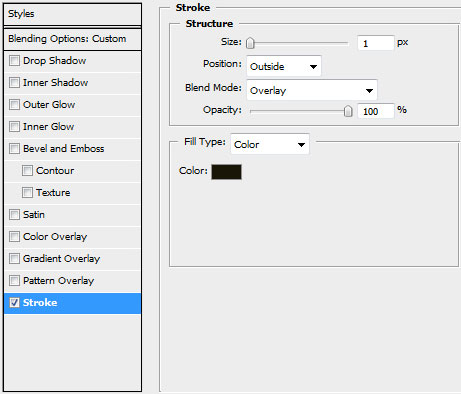
Set the next demonstrated styles for the brushes’ layer by clicking on this layer on the layers’ panel: Fill 0%, Blending Options>Stroke
Page: 1 2
Comments