
Need for Speed ProStreet
This tutorial will teach you how to make a cool “Need for Speed ProStreet” wallpaper for you desktop for instance, the main idea is to teach you how to get cool effects.
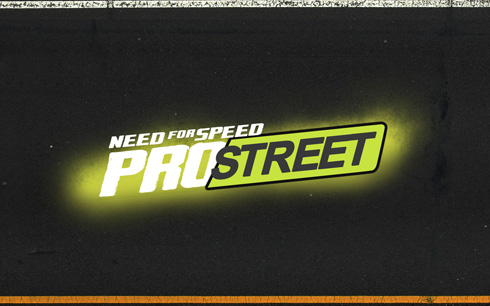
Create a new file (File>New) of 1920x1200px/72 dpi. For background layer a have used the texture of asphalt from CGtextures. Insert it in a new layer and select later the Free Transform option to turn over the texture, placing it the way from below:
Now we’ll make a copy of the last made layer and select the Move Tool (V) to let the copy down until getting appeared a white stripe. Select the zone of the white stripe with the Rectangular Marquee Tool (M), click on the right button inside the made marking on the Layer via Copy. Move off the layer containing the texture’s copy, leaving a fragment of the white stripe on the top part of the picture.
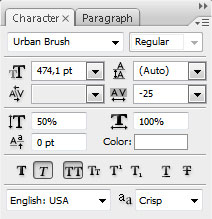
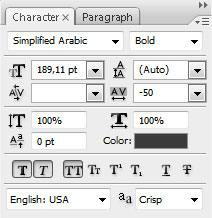
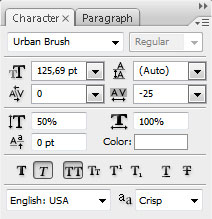
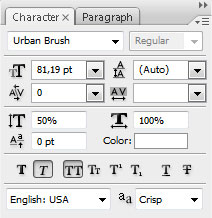
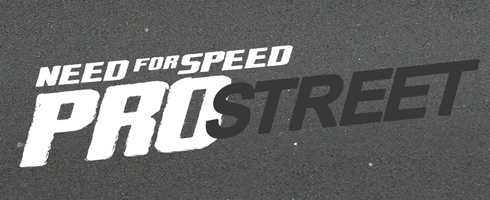
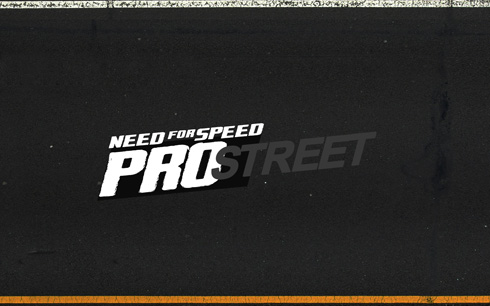
On the central part of the texture we’ll insert the text we want to have there. Make the appropriate corrections of the text’s fragments and their inclining with the Free Transform option. I have used this font from dafont.

Pro
street
need speed
for
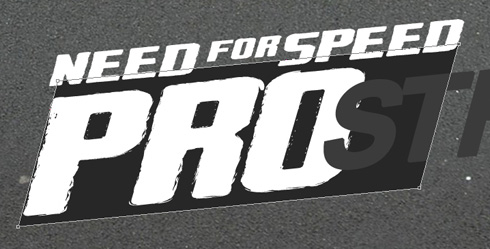
Under the layers containing the text and the letters (PRO), we need to represent with the Pen Tool (P) a flatness, colored with #222222
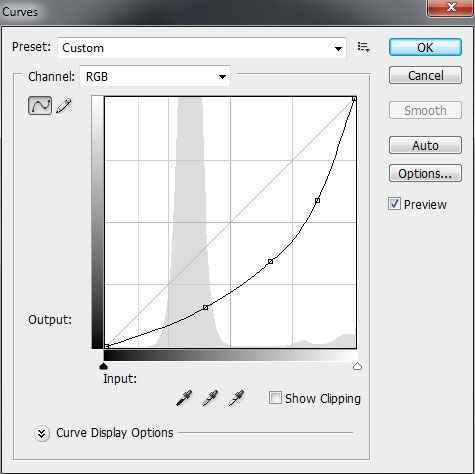
Make a mouse click on the bottom part of the layers’ panel on Create new fill or adjustment layer>Curves. This layer needs to be situated lower than the text’s layers.
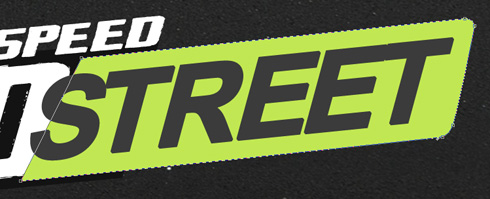
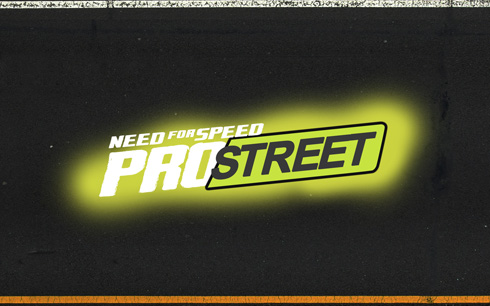
Using the Rounded Rectangle Tool (U) (radius of 10 px), we’ll represent a flatness of the color #C6E340. It should be situated above the letters PRO, but under the STREET word. We’ll choose also the Direct Selection Tool (A) for the correction of the inclining effect and the Convert Point Tool. Erasing the unnecessary anchors may be done with the Delete Anchor Point Tool.
Set the styles from below: Blending Options>Outer Glow 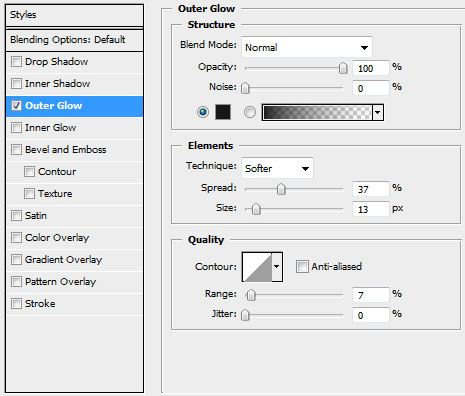
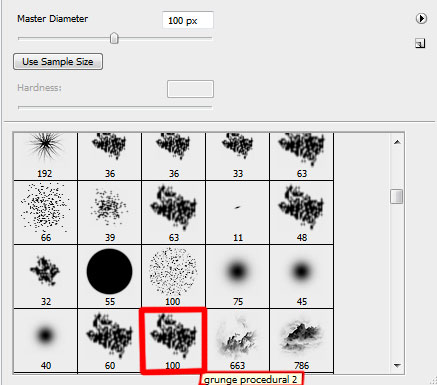
Next we’ll download a set of ready to use brushes for Adobe Photoshop, named: grunge procedural.
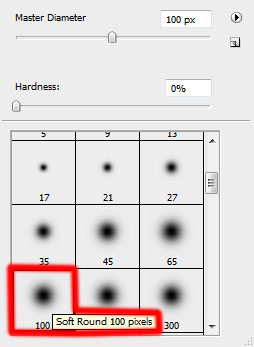
Create a new layer and apply here a standard brush to represent a colored background under the made text. The brush’s color is #CCD341. This layer will be situated above the dark flatness of PRO letters, but under the text’s layers:
Make a mouse click on the bottom part of the layers’ panel on Add a Mask selection and choose the brush out of the set grunge procedural, the black color will be used for erasing the green background of the text.
The layer’s parameters: Blending mode-Color Dodge 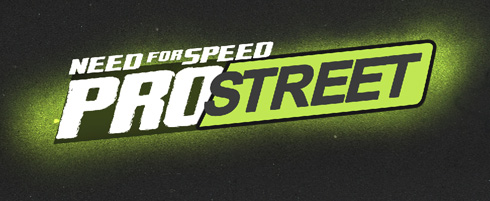
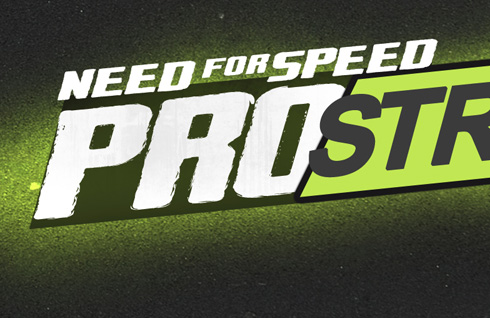
Let’s represent now the grunge effect on the PRO word. Create a new layer in this case and select the brushes out of the set grunge procedural. The brushes have grey color and this layer needs to be situated above the PRO letters.
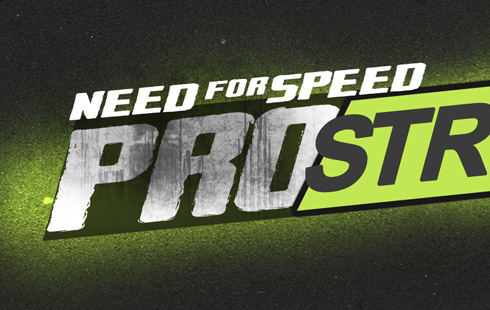
Set the next demonstrated parameters for the made layer: Fill 12%
Page: 1 2
Comments