Girl Photo Manipulation
July 31st, 2009 by ART-D Posted in Adobe Photoshop, Photo Editing
In this tutorial I will teach you how to make a beautiful design from just a photo.
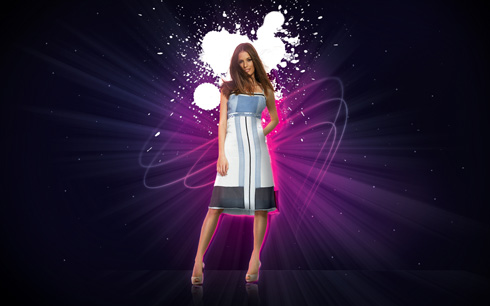
Final Image Preview

Create a new file (File>New) of 1920x1200px/72 dpi. Using the Paint Bucket Tool (G), fill the background with black color.

Let’s represent a separate file (File>New) of 1000x1000px/72 dpi.

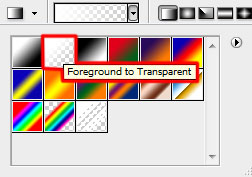
Using the Gradient Tool (G), try to represent a light passage the same way demonstrated below:


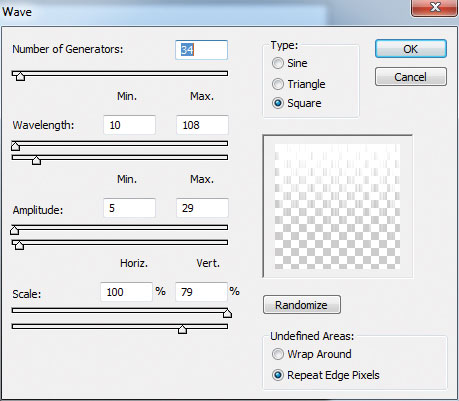
Select on the same layer Filter>Distort>Wave


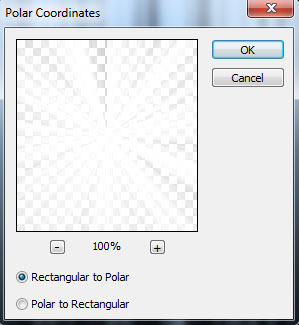
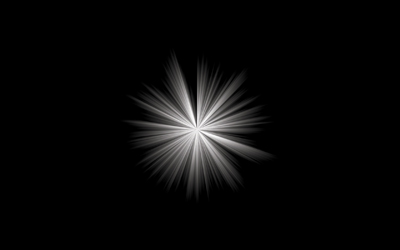
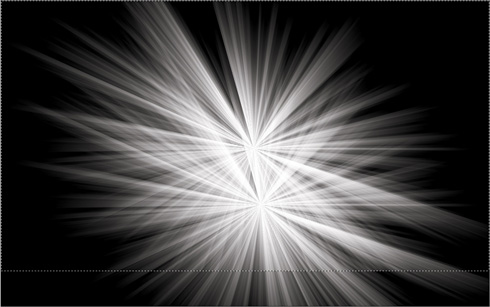
Apply on the same layer the next option: Filter>Distort>Polar Coordinates


Put the rays’ bunch on the first created file:

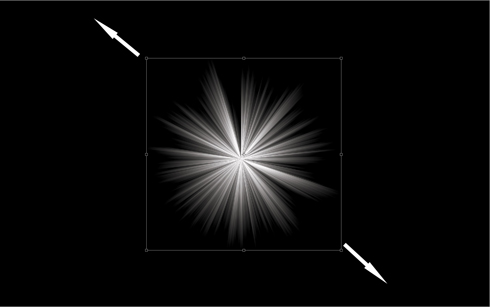
Using the Free Transform option, enlarge a little and stretch out the bunch.


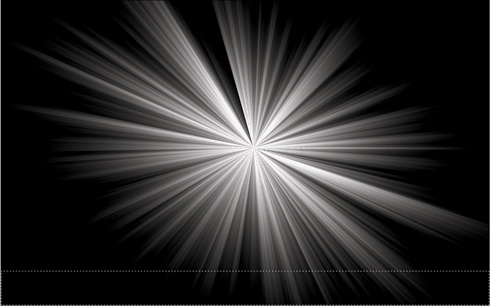
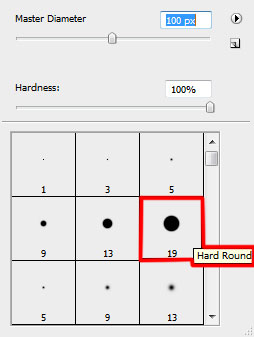
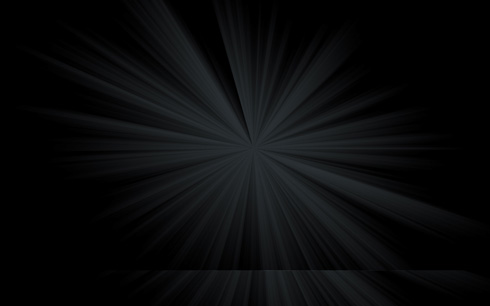
Click on the same layer on the bottom part of the layers’ panel on Add a Mask option and select the Rectangular Marquee Tool (M) to mark out the zone the same way as it is shown on the picture. Using a standard brush of black color, try to clean out the zone with the marking.


Make a copy of the layer containing the rays’ bunch. Move of the mask from the layer’s copy and move the copy’s layer downwards, applying Free Transform

Insert the mask on the copy’s layer the same way we did earlier for the layer with the rays’ bunch. Using the Rectangular Marquee Tool (M) and the Brush Tool (B), mark out the zone the same way from below, cleaning it out with the brush of black color.


Set the same parameters for both layers of the rays’ bunch: Blending mode-Overlay

Tags: beautiful, blending-mode, filters, photo-effect, Photoshop, texture, wallpaper


Teodoro Salvatierra
20/08/2009
Thanks for this tutorial, i’ve learned a lot.
Thanks
cronix
20/08/2009
how did u get those lines to fade out in teh end ? it doesnt seem to work when i try it other than that very nice tut
khalilzip
20/09/2009
Thanks For This Tutorial
Amro
28/09/2009
waaaaw. It’s amazing tutorial. I hope u add new tutorials like this. nice job and thanks again
Daniboy
28/09/2009
Hmm, nice idea and I managed to assemble everything required. But the instructions were not that easy to understand, especially at the beginning with the layers.
Tom
03/11/2009
I can’t get the gradient tool to go from black to transparent, it just stays black, help?
Dorienne
23/11/2009
Very nice tut
Learned a lot, though it took me a lot of time to do the layer because I didn’t understand them immediately :/ If they were easier it would have been a relief to most of the users trying to do it
Especially for ones like me, a beginner.
Also it took me a long time to figure out that the mode used was CYMK not RGB….
King
07/01/2010
Thanks for the tut. I can’t seem to get the blend-option overlay right.
When I change the layers from normal to overlay .. everything turns black. Am I doing it wrong?
robson
04/05/2010
Fixe!!!
Mattias
12/10/2010
Excellent stuff, thanks!
Poul
23/01/2011
Cool! Thanks for sharing