
Glowing Neon Effects
In this Photoshop tutorial, you will going to learn how to create a Glowing Neon Effects form a scratch.
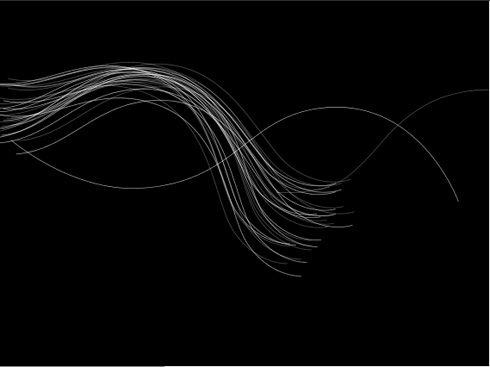
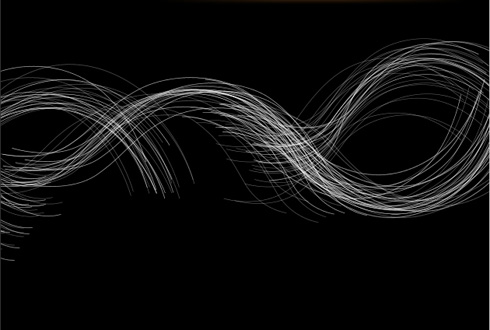
Final Image Preview

Start working by creating a new file (File>New) of 1920x1200px/72dpi. Select after that the Paint Bucket Tool (G) to fill the new layer with black color.

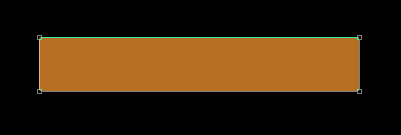
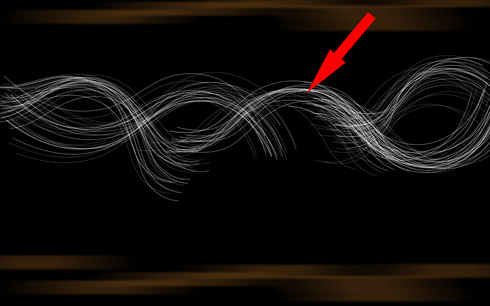
Apply next the Rectangle Tool (U) to represent several rectangles on the bottom part of the file. Firstly we’ll draw just one, then make six copies of it and finally choose Free Transform option to situate the copies the same way as on the picture below. The color chosen for them is #B66F22

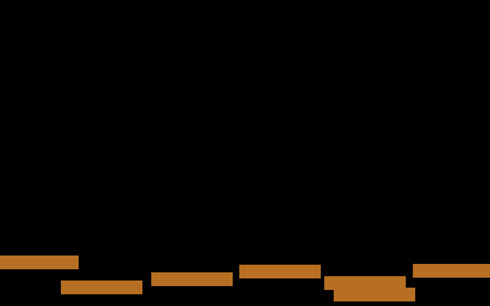
Combine all the rectangles in a single group (hold on Ctrl button to mark out the corresponding layers and then press the left mouse’s button when moving the marked layers on Create a new group option).
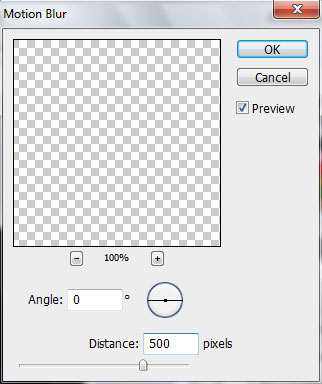
Select the group and then press CTRL+E. Select after that on the rasterized layer the solution from here: Filter>Blur>Motion Blur
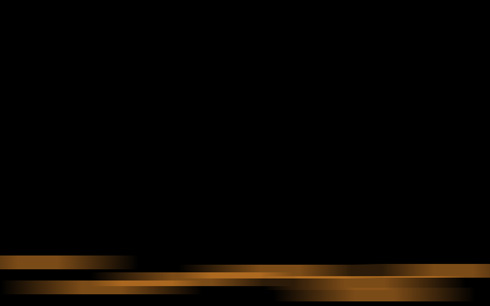
Make a copy of the layer with the blurred rectangles. Place the copy the way from below by applying Free Transform option for this operation.

Put together both layers (press Ctrl button, mark out the layers and finally press CTRL+E).
Set the next indicated parameters on the layer we’ve got: Fill 41%

Next we’ll draw several lines on the picture. For the beginning draw their paths with the Pen Tool (P) (Path mode)

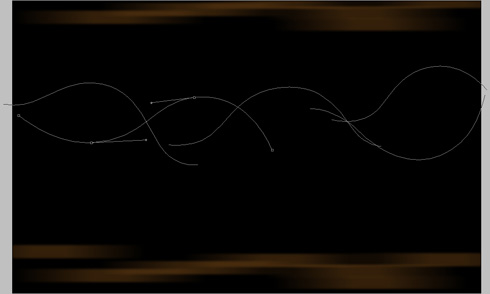
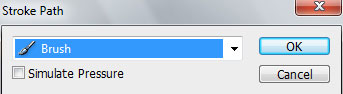
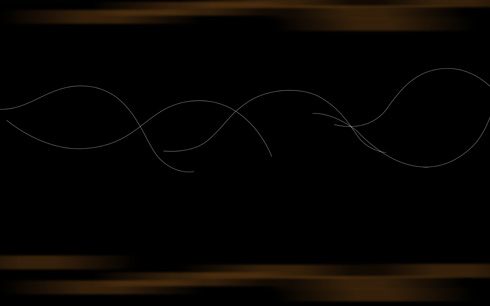
Next we’ll represent new layer (Create new layer) where we should apply a standard brush of white color (Diameter 2, Hardness 100%). Using the Direct Selection Tool (A), mark out the line and then change the tool with the Pen Tool (P) and make a right click on the marked line to select Stroke Path (Brush mode). This is what we have to do with each of the lines.
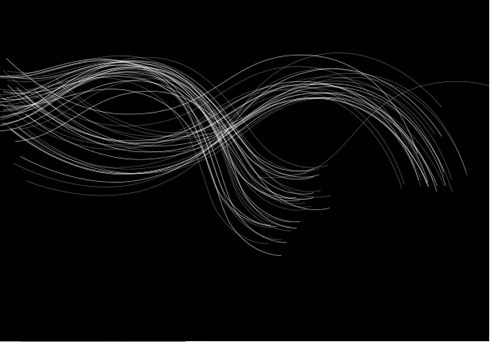
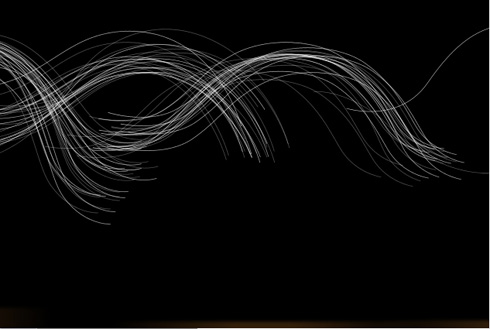
Each layer of those 5 lines should be copied several times, changing by turn the Fill parameter. One copy should have Fill – 100%, the next one – 50% and so on, creating the volume effect. Place the copies’ layers on the file the way from below:
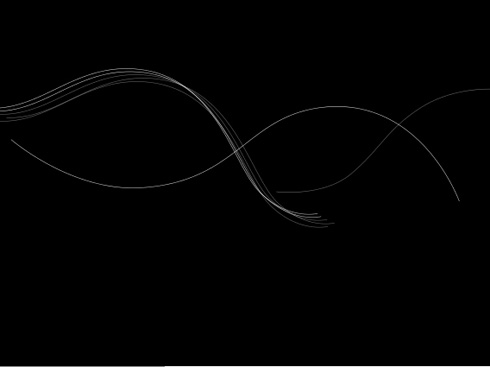
Creating lot of copies of each line needs after that to be placed in a group (press Ctrl button when marking the appropriate layers and then hold on the left mouse’s button while taking the marked layers on Create a new group option). Do the same operations with the rest of the lines.
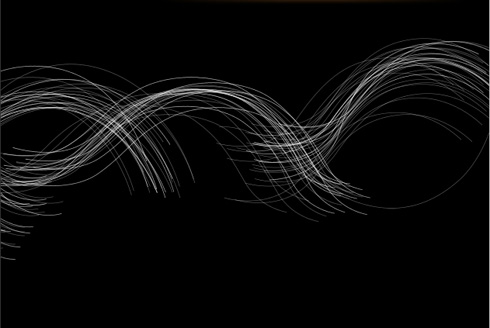
Next we’ll make two copies of the third line’s group.
Page: 1 2
Comments