
Swirl Girl in Photoshop
In this tutorial, it will show ways to create swirls, and by mixing them you will learn some very powerful techniques that will allow you to easily make tons of different styles of swirls. The tutorial is all about combination. Nice to have a try!
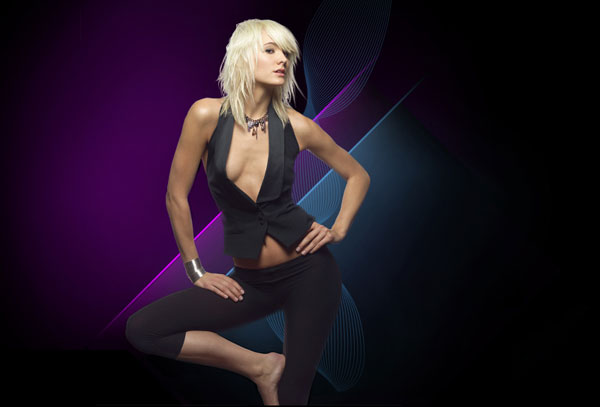
Final Image Preview

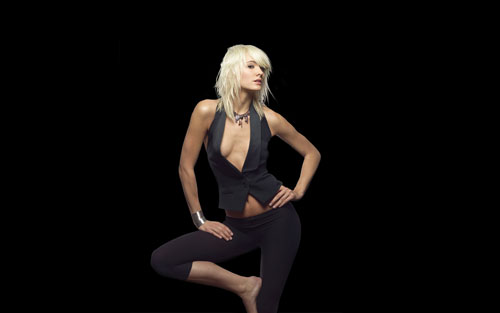
Begin working by creating a new file (File>New) of 1920x1200px/72 dpi. Choose then the Paint Bucket Tool (G) to give the new background layer black color.

Find a stock photo with a model represented on it, I used this photo from deviantart. I would like to thank the author of this photo:
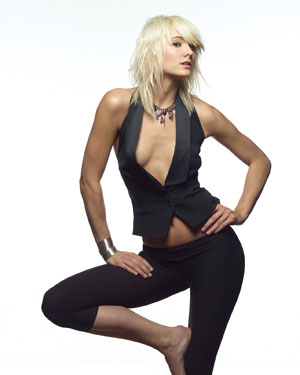
Cut out her image and insert it on the new layer.
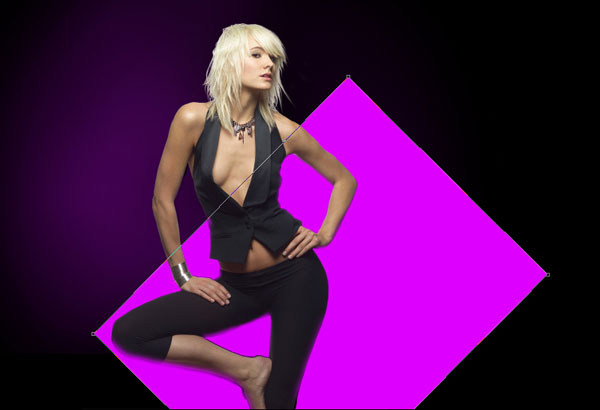
Create a new layer and apply here a standard brush to represent the background behind the girl’s layer. The brush’s color is #CD00FE (Opacity 20%)


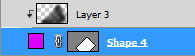
Continue creating the background with the Rectangle Tool (U) to draw a rectangle of the color #DD00FF. It should be inclined a little with the Free Transform option. The layer needs to be situated lower than the girl’s layer.
Create a new layer, applying here the standard brush, mentioned above of black color (Opacity 20%) and dark out the layer of the pink rectangle. This new layer needs to be placed also lower than the girl’s layer.

Press Alt button and click between the layers of the pink rectangle and the layer of the black brush (on the layers’ panel).

Next we’ll use the Line Tool (U) (weight 5 px) to draw a line along the edge of the pink rectangle. The line has the color #DD00FF. Its layer should be placed lower than the layer containing the girl’s image.

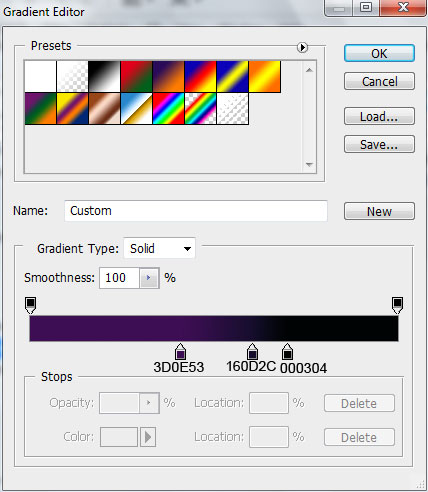
Set the next Layer Styles for the layer containing the pink rectangle by clicking on this layer on the layers’ panel.
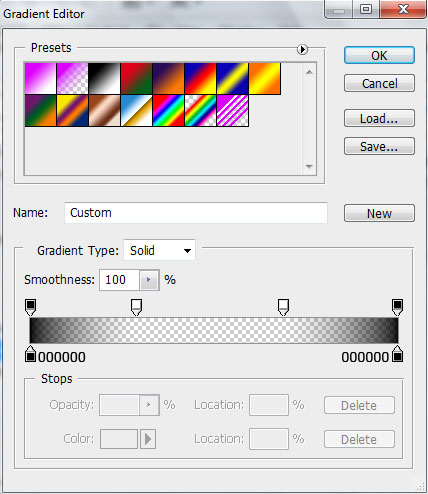
Blending Options>Gradient Overlay
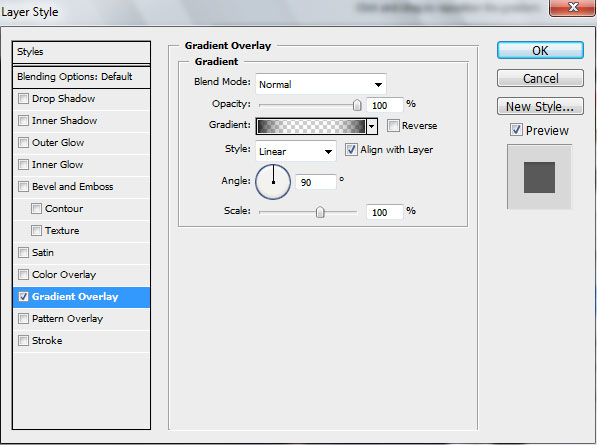
Gradient’s parameters:

Getting the best result is possible if combining in a group all the layers composing the pink rectangle, its shadow and the line on the edge (press Ctrl button to mark out the corresponding layers and hold on the left mouse’s button while moving the marked layers on Create a new group option).
Make a copy of the group and change the color of the rectangle on the copy and the line’s color on the edge on this one – #4F92C7. Using the Free Transform option, place the copy the same way indicated below:

Next we’ll open the Adobe Illustrator program. Choose the Pen Tool (P) and draw two lines of black color.
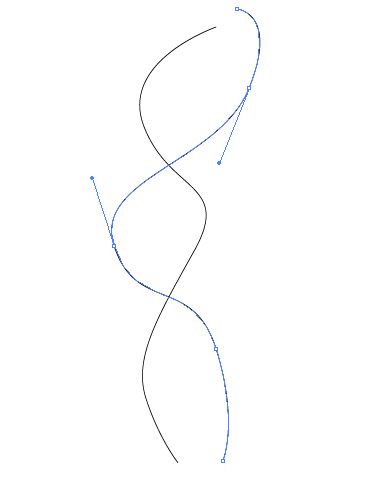
Using the Direct Selection Tool (A), mark out both lines and apply for them Object>Blend>Blend Options
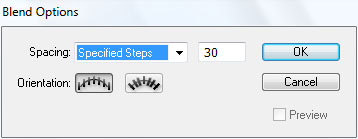
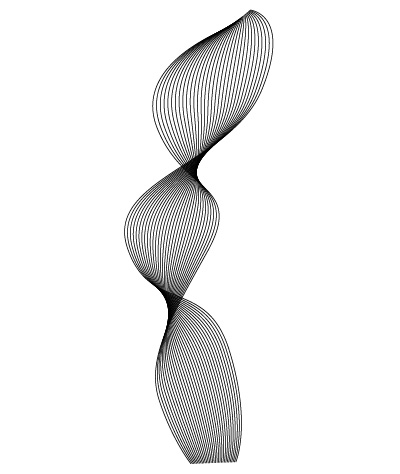
Mark out the lines of the ornament and then press CTRL+C and pass on Adobe Photoshop program. Press CTRL+V (select Smart Object). Select for the line’s layer the next Layer Styles:
Blending Options>Color Overlay
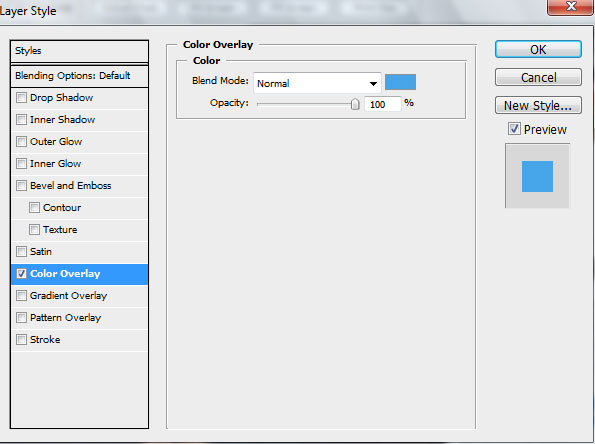

The layer’s parameters:
Opacity 34%

Create a new layer and apply the standard brush of black color (Opacity 10%) to dark out the line’s edges.
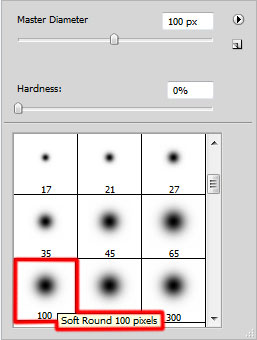
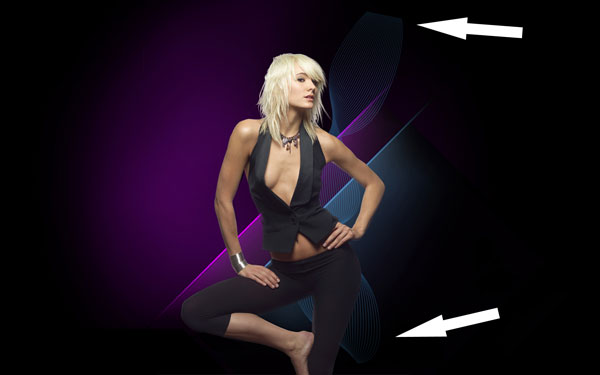
On the next new layer (Create new layer) we’ll apply the standard brush mentioned above to make lighter the zone situated behind the girl. The brush has the white color (Opacity 15%). This layer needs to be placed lower than the girl’s layer.
Now we’ll create a circle on the girl’s head zone, applying the Ellipse Tool (U).
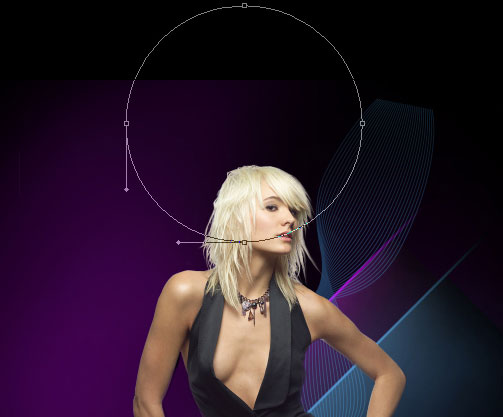
The layer’s parameters:
Fill 0%
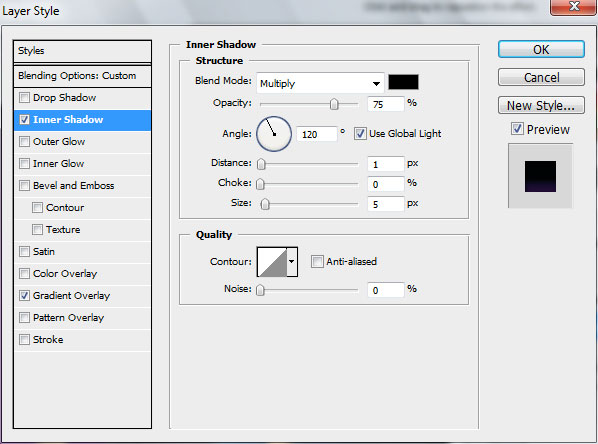
Blending Options>Inner Shadow
Blending Options>Gradient Overlay
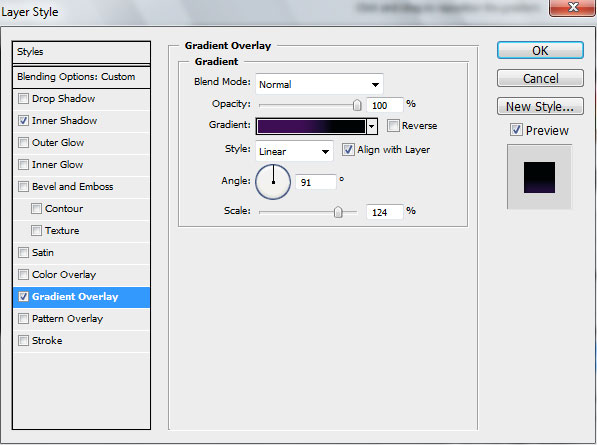
Gradient’s parameters:

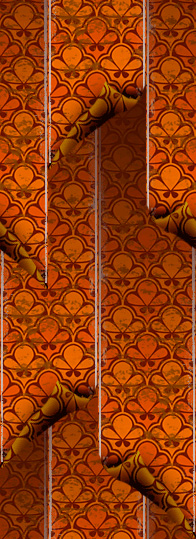
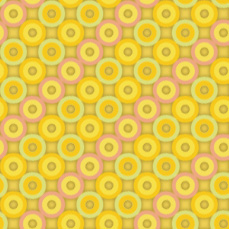
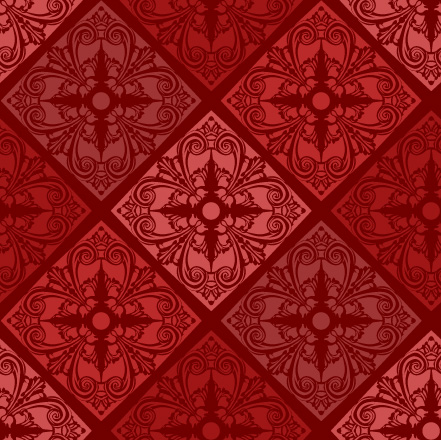
For this tutorial I have used from DinPattern the next patterns:
Dead Kings
Now we’ll represent several swirls near the girl’s hands, choosing in this case the Pen Tool (P) and the Convert Point Tool.

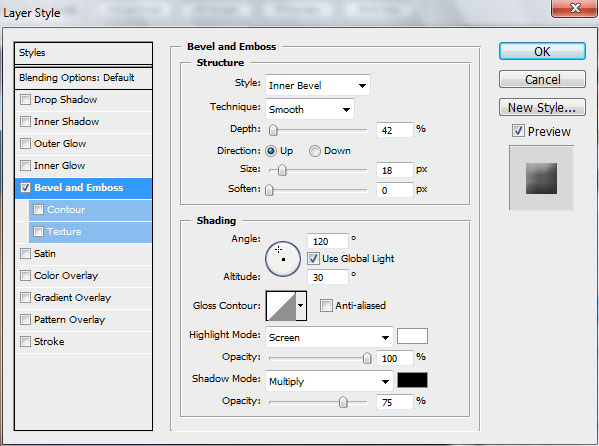
The Layer Style:
Blending Options>Bevel and Emboss

Comments