
Create a glossy emblem
This post will present you how to make a special metallic emblem with flames. Emblems normally look very simple and unique, as its job is to send the impression of your company/product to the reader or customers. Just try to make an emblem for yourself!
Final Image Preview

For the beginning let’s create a new file (File>New) of 1920x1200px/72dpi. Then take the Paint Bucket Tool (G) and fill the new background layer with the color #B2B3B5

Now we have to enter Filter>Noise>Add Noise and choose the next parameters:
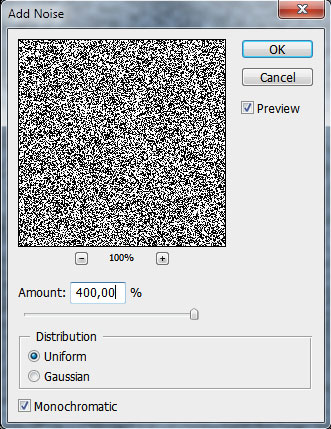
We’ll get the next result:

Now enter Filter>Blur>Motion Blur and set the next parameters:

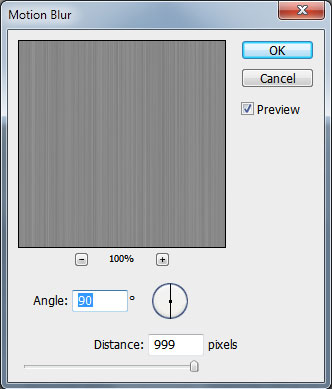
It’s the result we must get:

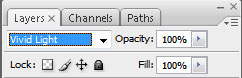
Press Ctrl+T and stretch out the layer, turning it over.

Select the next parameters for the last made layer:
Now press Ctrl+M and select the next demonstrated parameters:
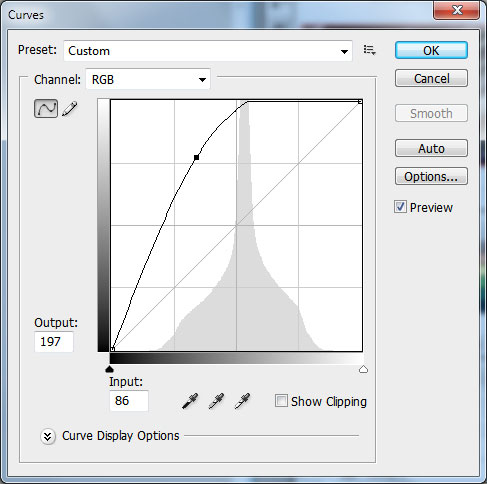
It’s the result we get for now:

Change now the background’s opacity:
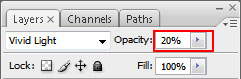
We’ll get the next background:

Now we’ll select the Brush Tool (B) of black color with the next adjustments: Master Diameter – 300 px, Hardness – 0%, Opacity – 100%.

Now we have to choose the Pen Tool (P) to draw a flame, like the next one:


Next we’ll select the Layer Style, make a double left click on this layer on the layers’ panel and set the Blending Options – Inner Glow:

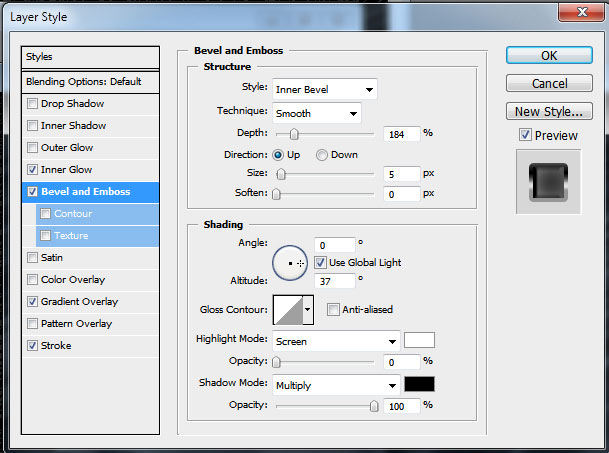
Blending Options – Bevel and Emboss
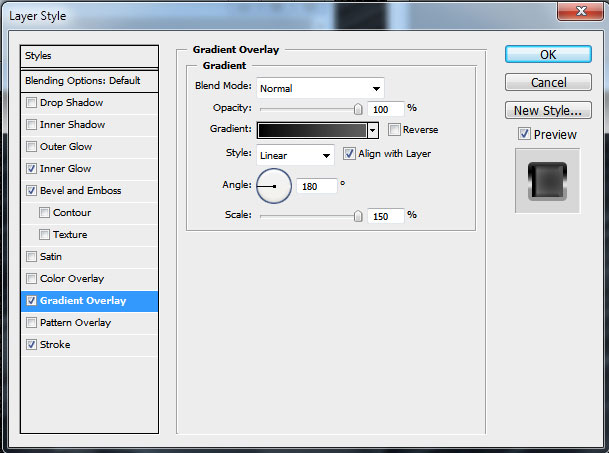
Blending Options – Gradient Overlay
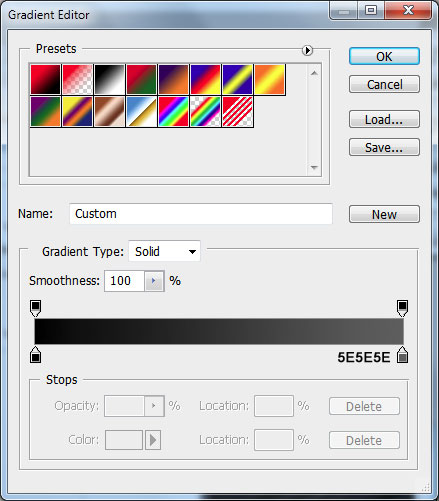
Gradient Editor
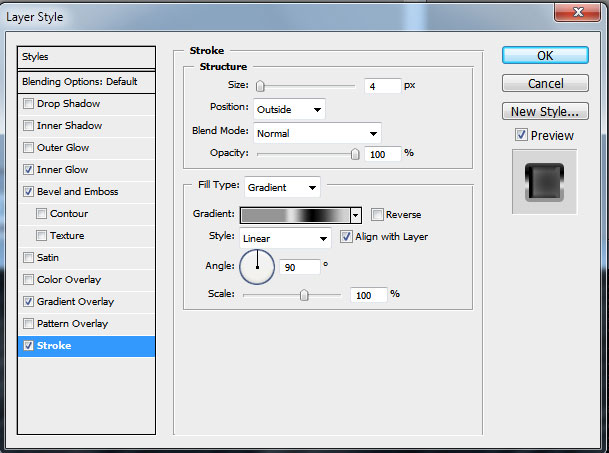
Blending Options – Stroke
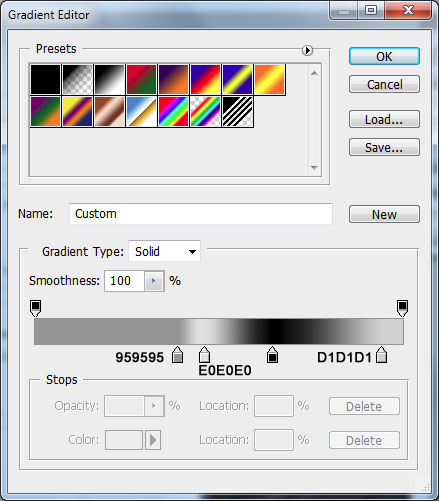
Gradient Editor
It’s the flame we’ll get:

Make a copy of the flame Ctrl+J (moving off the copy all the Blending Options parameters) and make some corrections on it with the Direct Selection Tool (A), the same way as in the next image:

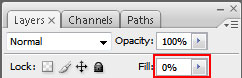
Set the layer’s Opacity as in the picture below:
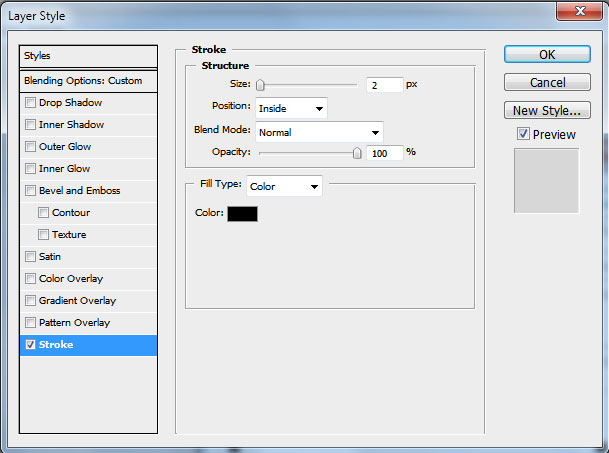
Then apply the Layer Style: Blending Options>Stroke
We’ll get the next result:

Make a copy of the last made layer and correct it by moving off the anchors with the Delete Anchor Point Tool, to get the next result:

Set the next Layer Style:
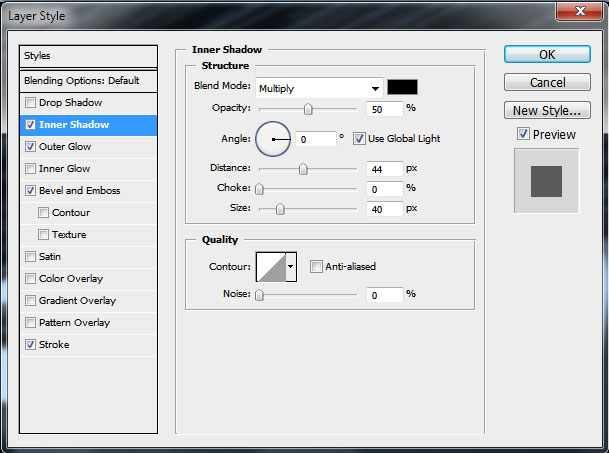
Blending Options – Inner Shadow
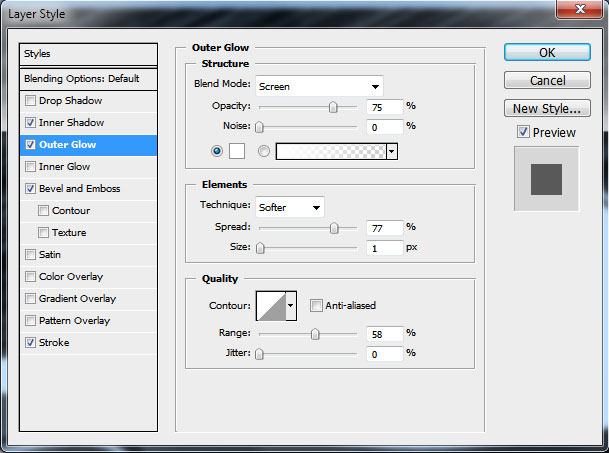
Blending Options – Outer Glow
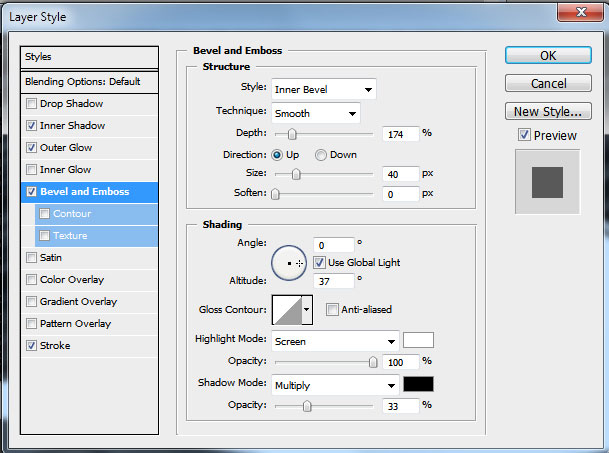
Blending Options – Bevel and Emboss
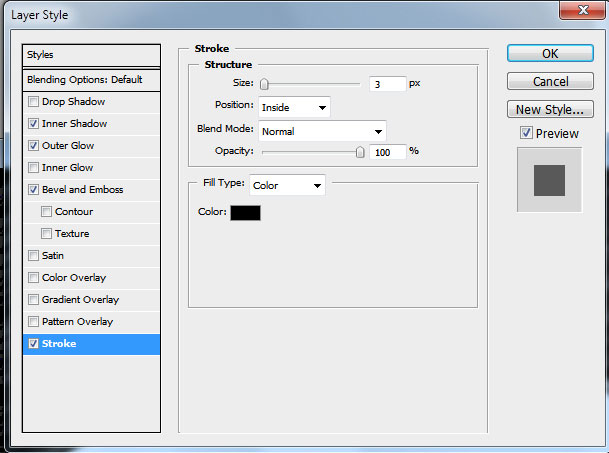
Blending Options – Stroke
Page: 1 2
Comments