
Create Fantasy Wallpaper in Photoshop
This tutorial will give you an idea to create magical fantasy wallpaper.
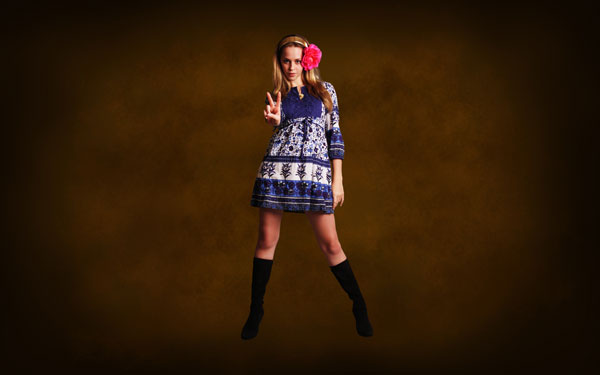
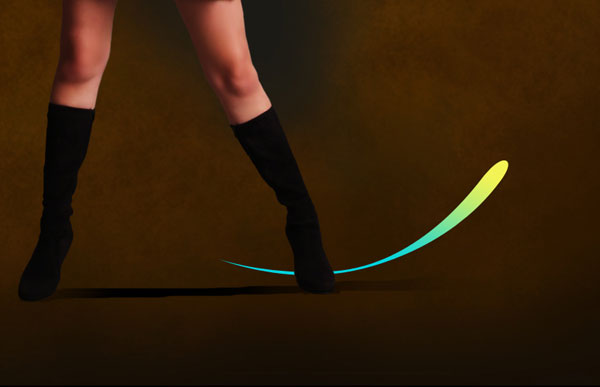
Final Image Preview

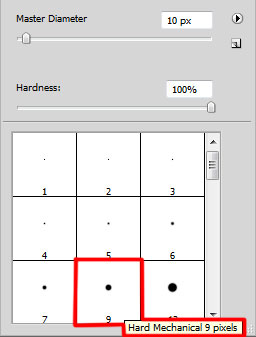
Create a new layer (File>New), having 1920x1200px/72dpi. Using the Paint Bucket Tool (G), fill the new background layer with black color.

Next we’ll use a standard brush (Brush Tool (B)) on a new layer to insert this color #FF9100 on the background (Opacity 20%).


Make a click on the same layer on the bottom part of the layers’ panel on Add a Mask selection and apply here the standard brush of black color (Opacity 15%) to clean out the picture’s edges:


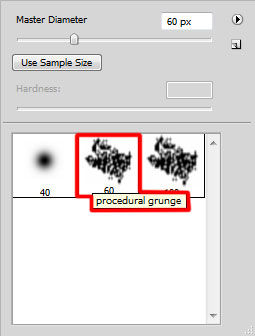
Next step we’ll download a set of brushes for in Adobe Photoshop, named: grunge procedural
Create a new layer and use the brush out of the grunge procedural set. The brush’s color in this case is #442001
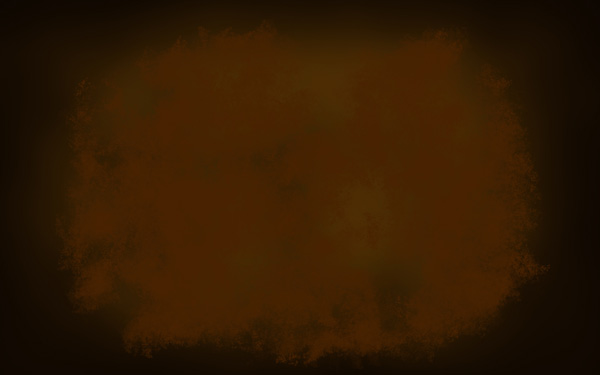
The layer’s parameters:
Fill 60%
Blending mode-Color Dodge
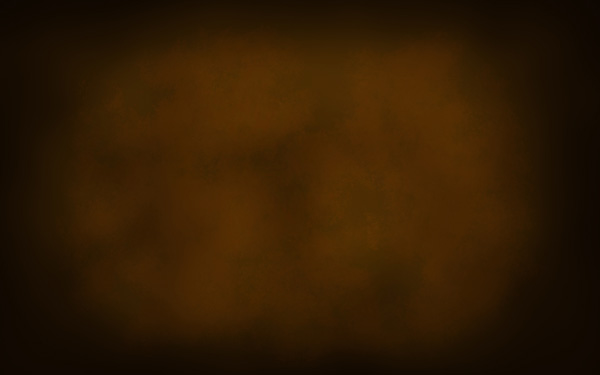
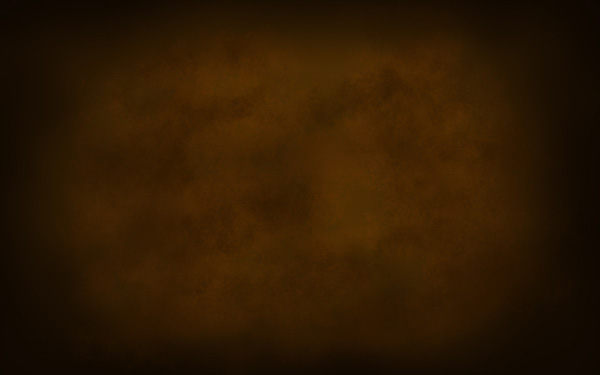
On the next new layer (Create new layer) we’ll use again the brush out of the same set, the brush having the color #371D01
Find a stock photo with a model represented on it, I used this photo from deviantart. I would like to thank the author of this photo:
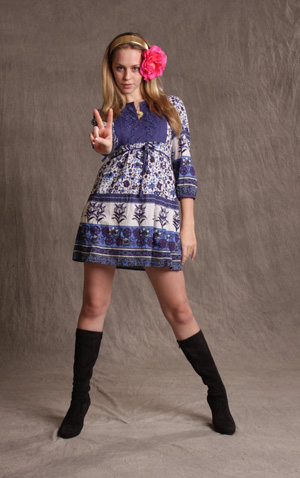
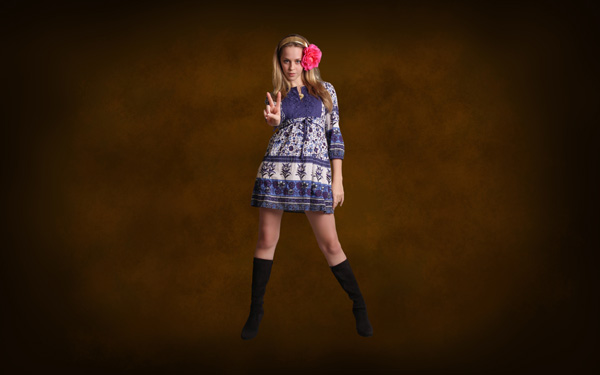
Cut out the photo and insert it on the new layer:
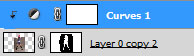
Click on the bottom part of the layers’ panel on the next option: Create new fill or adjustment layer>Curves
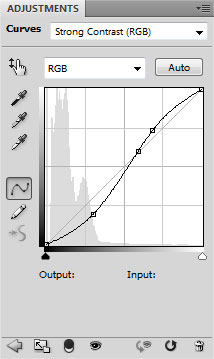
Press Alt button and click between the Curves effect’s layers and the girl’s layer (on the layers’ panel)
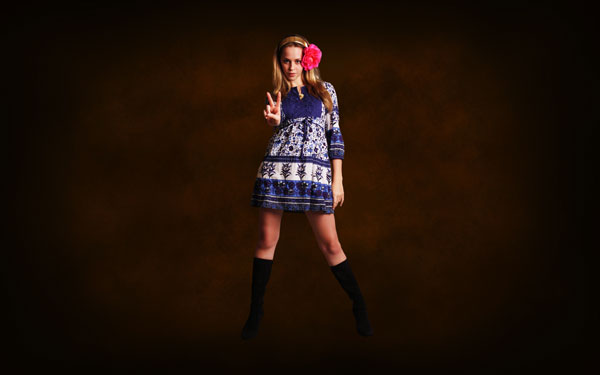
Create a new layer and apply the standard brush of black color (Opacity of 40%) to dark out the background behind the girl. This layer needs to be placed lower than the girl’s layer:
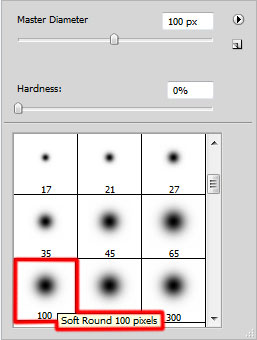
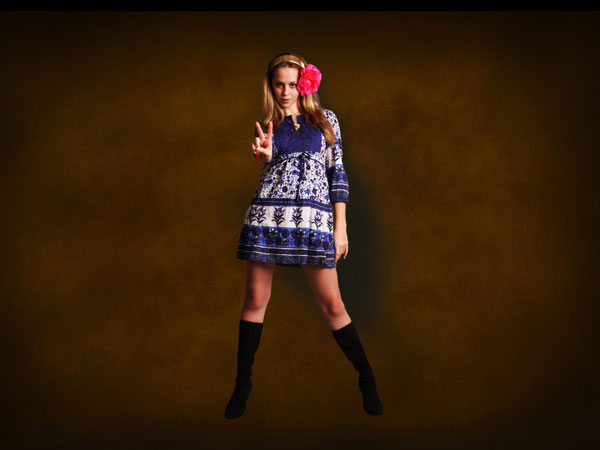
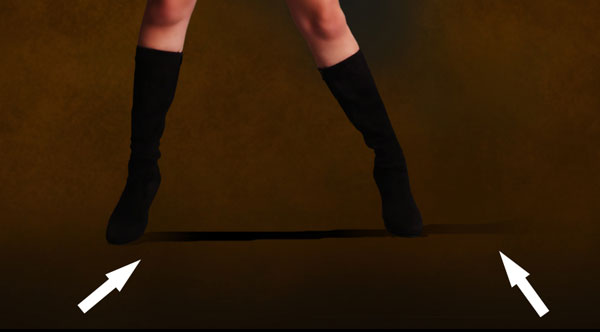
Create a new layer again and choose a standard brush of black color (Opacity 30%) to dark out the zone on the girl’s legs level. Clean out the shadow, applying the Eraser Tool (E) on those places mentioned with the pointer. This layer will be situated also lower than the girl’s layer.
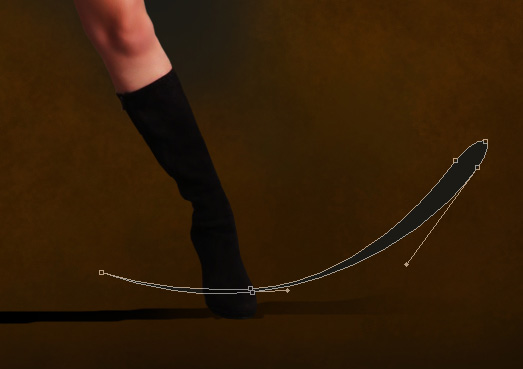
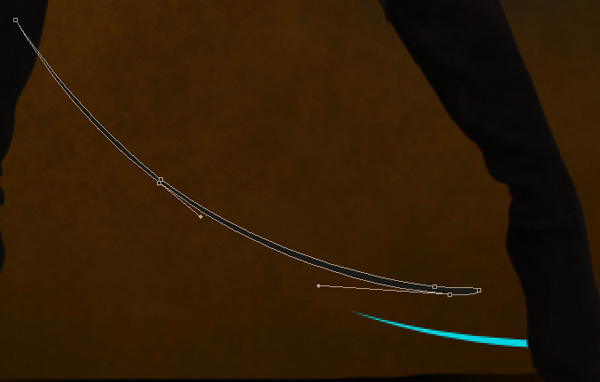
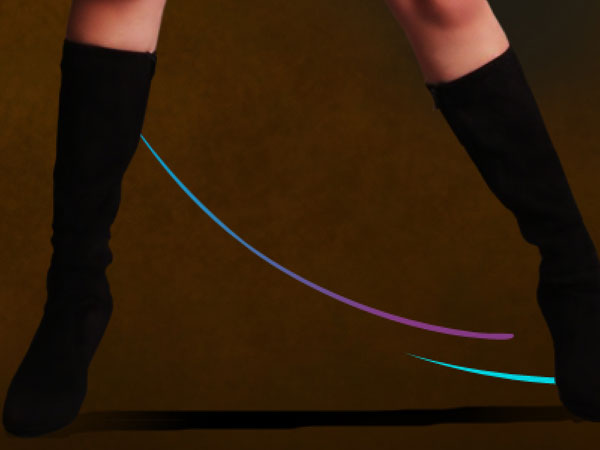
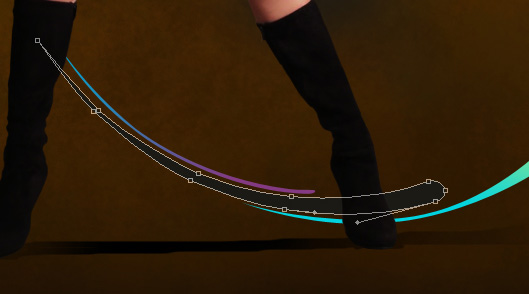
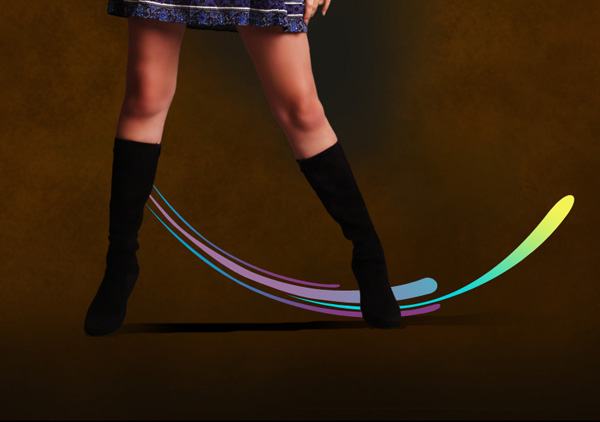
Choose after that the Pen Tool (P) and the Convert Point Tool to represent several lines for the ornament behind the girl. Try to represent the lines as to keep the roundness’ contour. This layer will be placed lower than the girl’s layer:
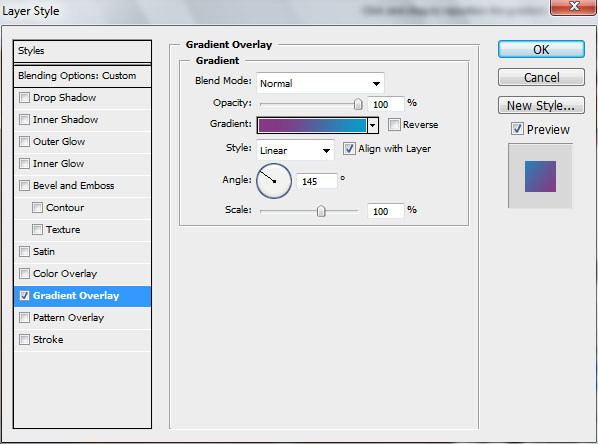
Set the next parameters for the made layer by clicking on this layer on the layers’ panel
Fill 52%
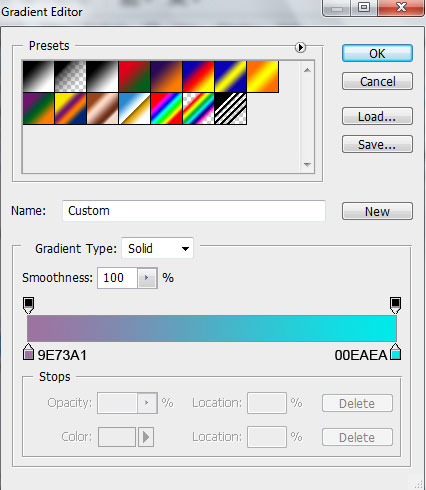
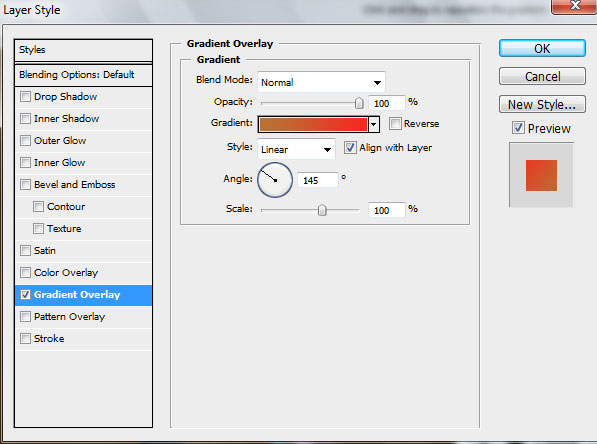
Blending Options>Gradient Overlay
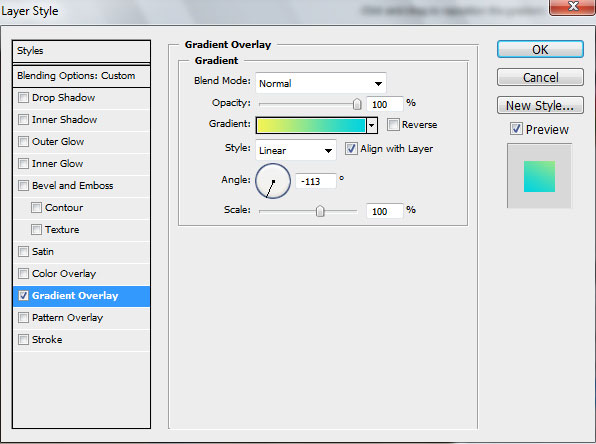
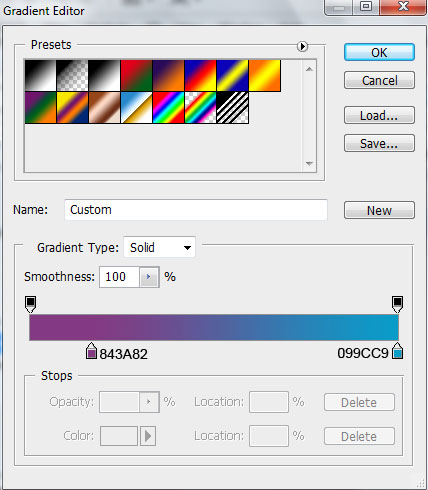
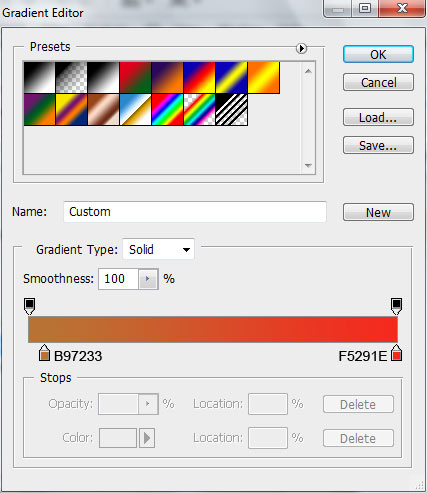
Gradient’s parameters:

The layer’s parameters:
Fill 52%
Blending Options>Gradient Overlay
Gradient’s parameters:
The layer’s parameters:
Fill 52%
Blending Options>Gradient Overlay

Gradient’s parameters:
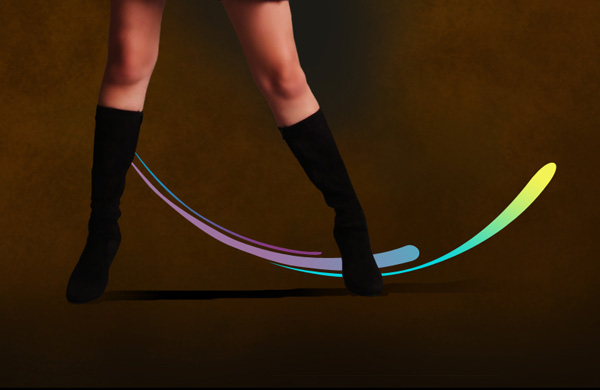
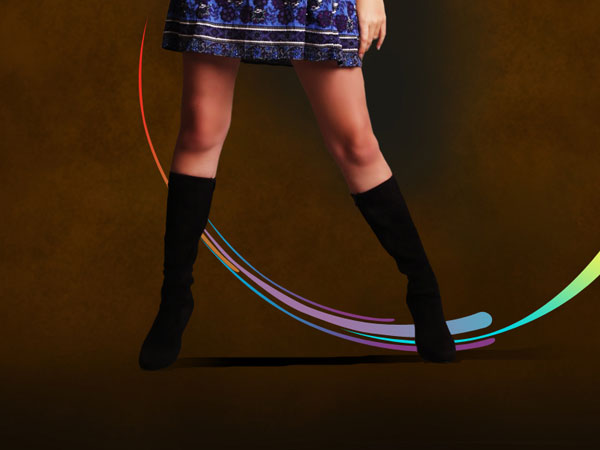
Make a copy of the last made layer containing the line and choose Free Transform option to enlarge the copy, placing the copy as below:

The layer’s parameters:
Fill 52%
Blending Options>Gradient Overlay
Gradient’s parameters:
Comments