
Abstract Windows 7 wallpaper
In this tutorial I will show you how to create abstract Windows 7 wallpaper using Adobe Photoshop basic techniques. Let’s get started!
Final Image Preview

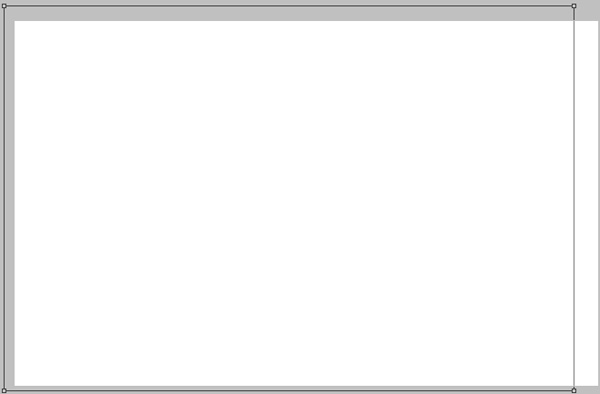
Let’s create a new file (File>New), having 1920x1200px/72ppi with white background. Then choose the Rectangle Tool (U) and represent a rectangle as shown:
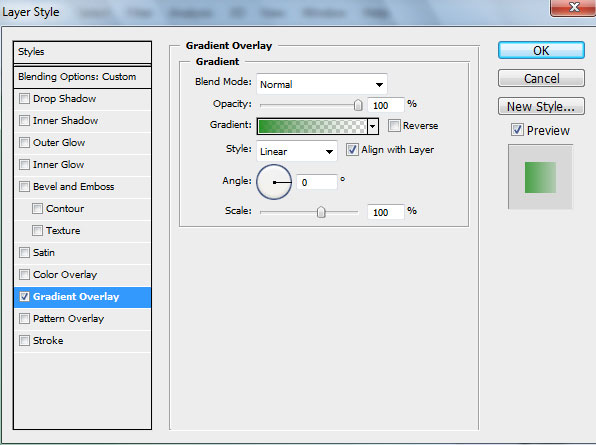
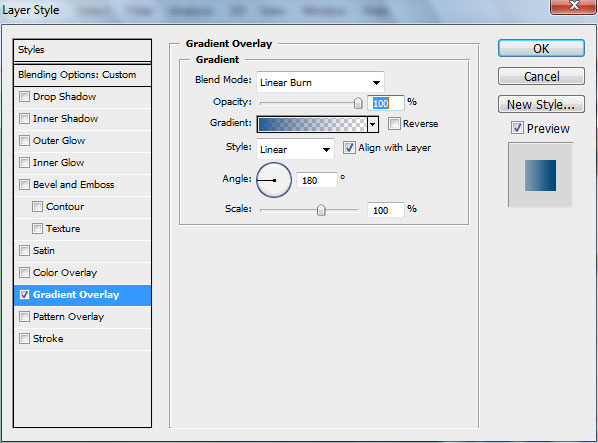
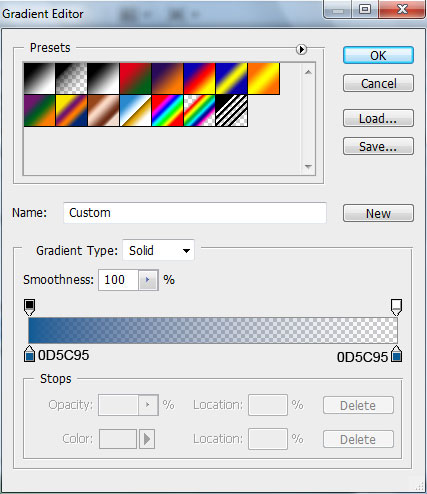
Set Fill to 0% and go to Layer Style by clicking on this layer on the layers’ panel:
Styles>Gradient Overlay
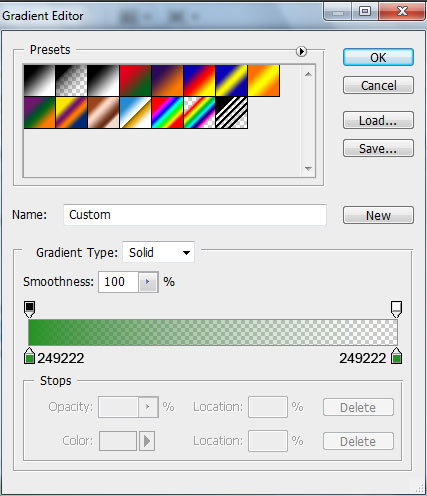
Gradient Editor:

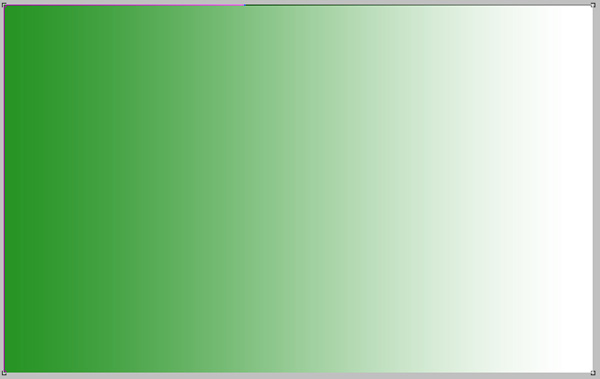
Using the same tool, try to create the next layer for the background.

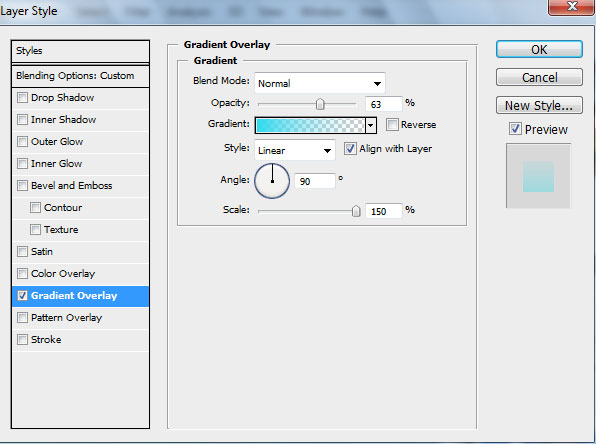
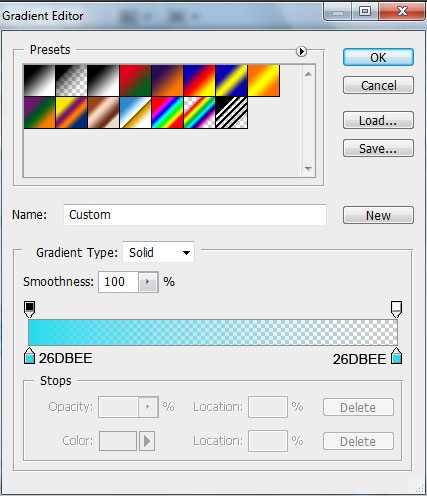
Set Fill to 0% and select Layer Style to add Gradient Overlay
Gradient Editor:

Continue, applying the same tool (Rectangle Tool (U)) and fill our background with new gradient:

Set Fill to 0% for this layer, go to Layer Style and add Gradient Overlay:
Gradient Editor:

Next we’ll put together all those three layers of the background. Hold in this case CTRL button, select the layers and press CTRL+E to Merge Down. Make a copy of this layer and apply on it Filter>Render>Lighting Effects
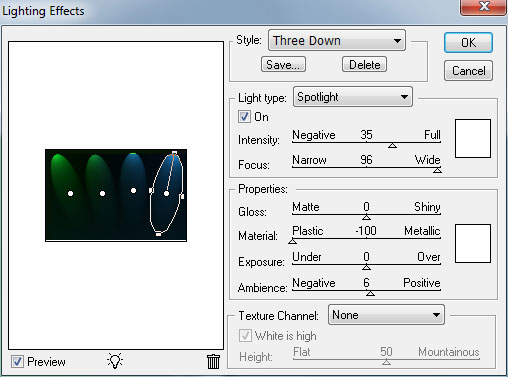

Set the Blend Mode for the layer containing the lighting effects to Screen.

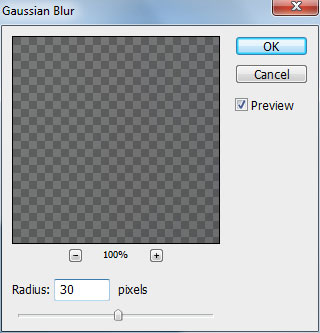
… and also blur this layer using Filter>Blur>Gaussian blur

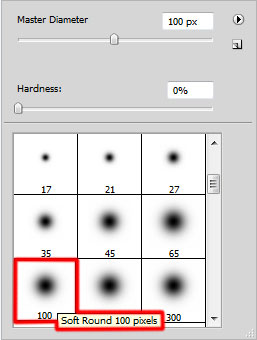
Create a new layer and using the next brush paint the bottom part of the layer. The brush’s color is R:5, G:80, B:210.

Add a Layer Mask to the layer by clicking on the Add Layer Mask icon on the bottom part of the Layer panel. Make sure you have the Layer Mask selected by clicking on its icon and using a brush of black color with Opacity – 30%, clean out the blue color on the necessary parts of the background:

Set the Blend Mode for this layer to Luminocity.

On the next new layer we’ll apply the same brush of white color (Opacity 10%) to light out the bottom part of the picture:


Set the Blend Mode for this layer to Overlay.

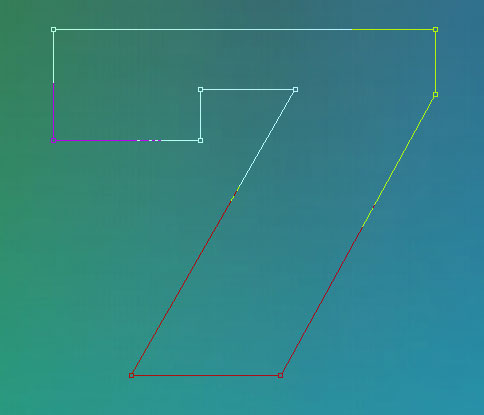
Next we’ll select the Pen Tool (P) to draw 7 on the middle part of our wallpaper:
Set Fill to 0%. Go to Layer Style and select Drop Shadow
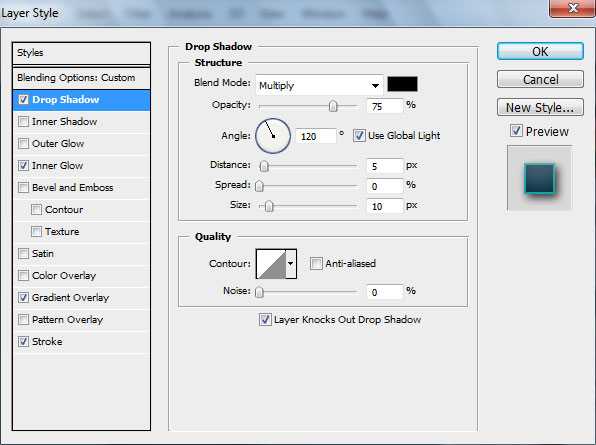
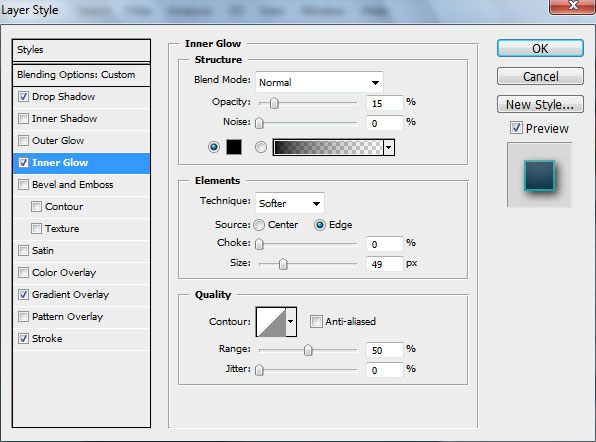
Add Inner Glow
Set the Gradient Overlay
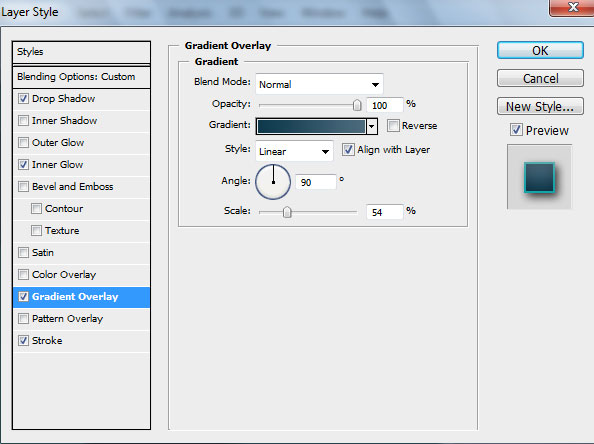
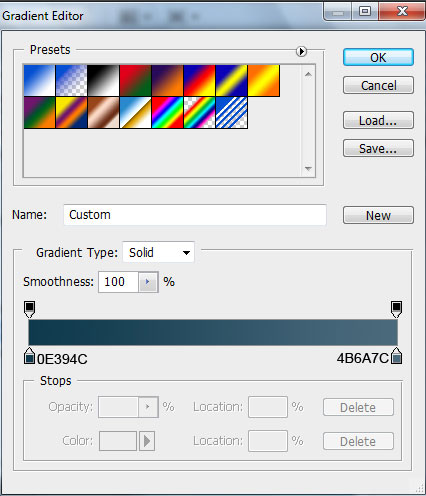
Gradient Editor:
Page: 1 2
Comments