
How to Create a Vintage Radio Poster in Photoshop
In this tutorial, we’ll learn how simple it is to create a vintage poster using different brushes, blend mode, adjustment layers and some very simple filters in Photoshop. Let’s get started!
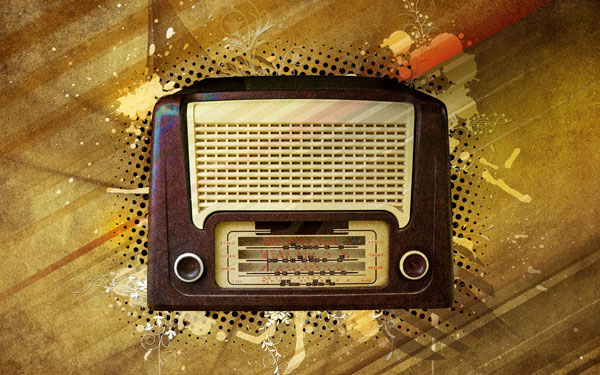
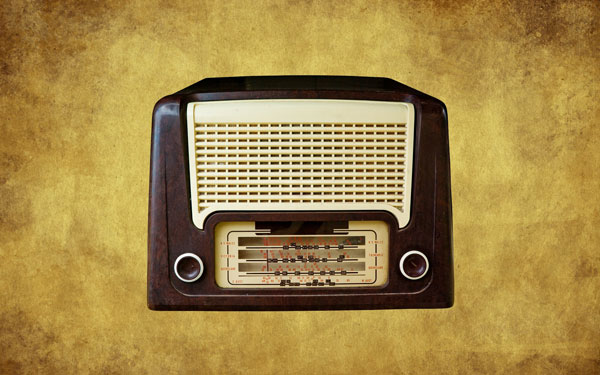
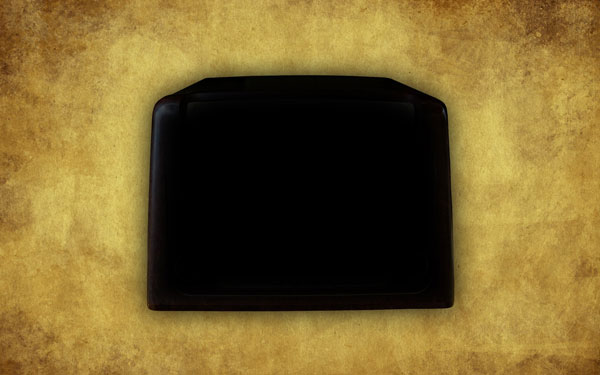
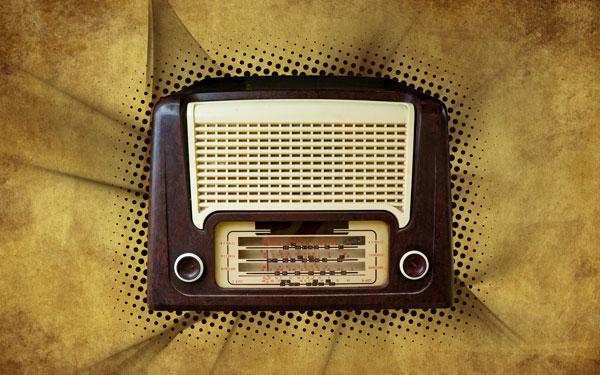
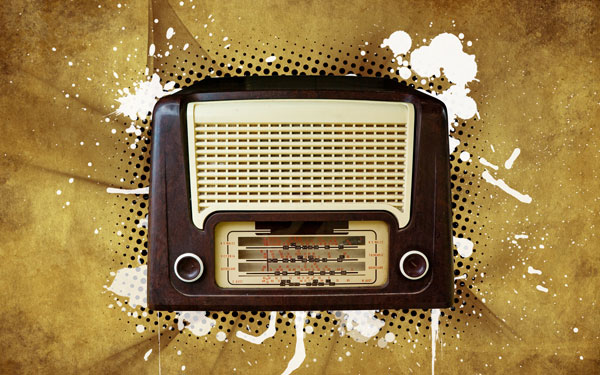
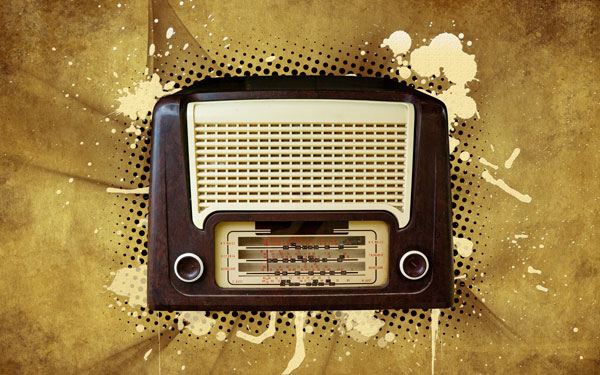
Final Image Preview
Start working by creating a new file (File>New) of 1920x1200px/72 dpi. Open the next page: Grungy Paper textures and download out of it the paper textures. Insert one of the textures as a background for our poster to be.

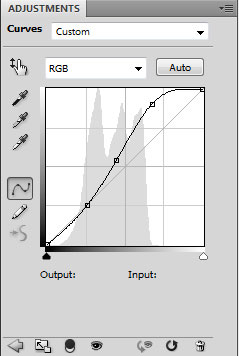
Now we’ll make some color correction. Click on the bottom part of the layers’ panel on the Create new fill or adjustment layer>Curves

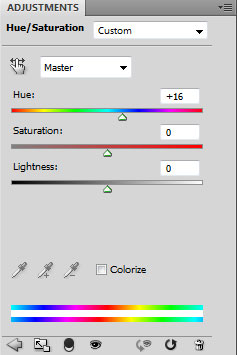
… and then on the Create new fill or adjustment layer>Hue/Saturation


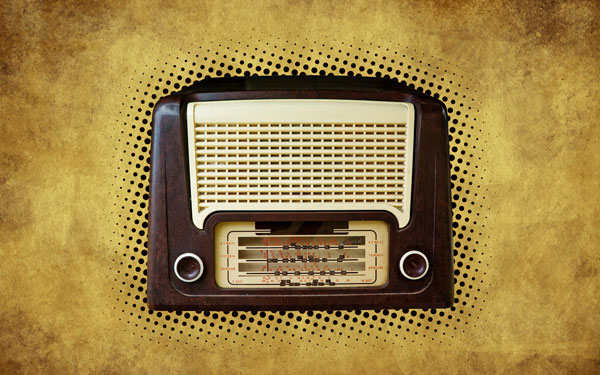
Find a stock photo with the old radio on it. I have used this photo: Vintage Radio from SXC. I would like to thank the author: Craig Jewell.
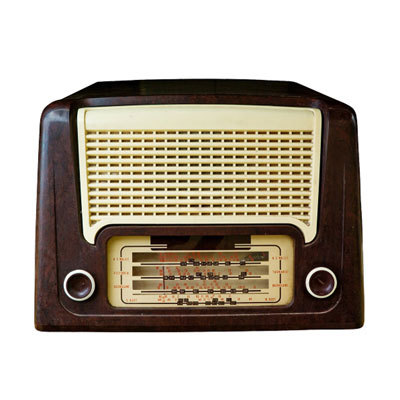
Cut it out, inserting it on the new layer:
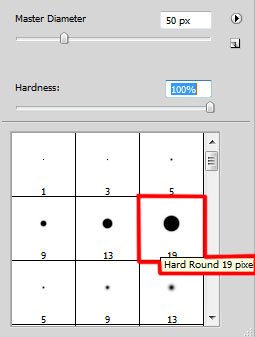
Make a copy of the radio’s layer. Click on the layers’ panel on Lock Transparent pixel and select a brush of black color to paint the copy’s layer.
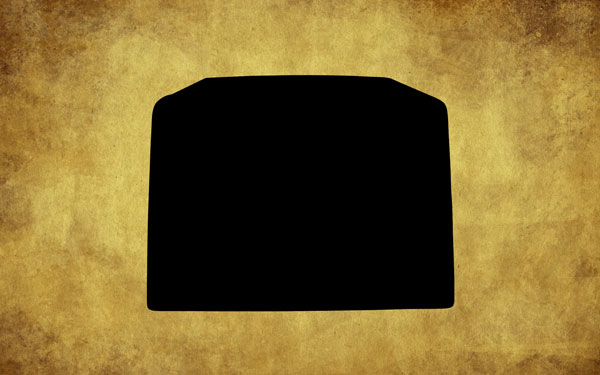
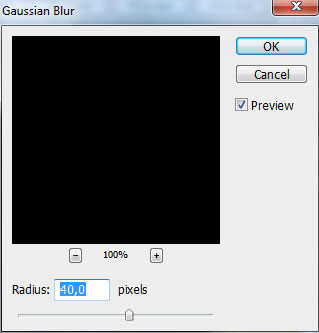
Switch off the Lock Transparent pixel on the layers’ panel and select for the layer Filter>Blur>Gaussian blur
Create a new layer under copy of the radio’s layer and choose the Paint Bucket Tool (G) to fill this new layer with white color.

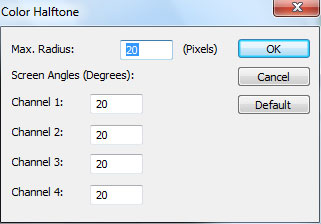
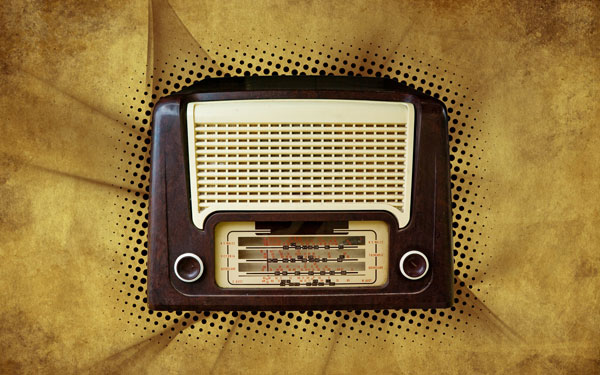
Put together both layers (the copy of the radio’s layer and the layer filled with white color). Hold CTRL button, select the layers and finally press CTRL+E to Merge Down. On the rasterized layer we’ll apply Filter>Pixelate>Color Halftone
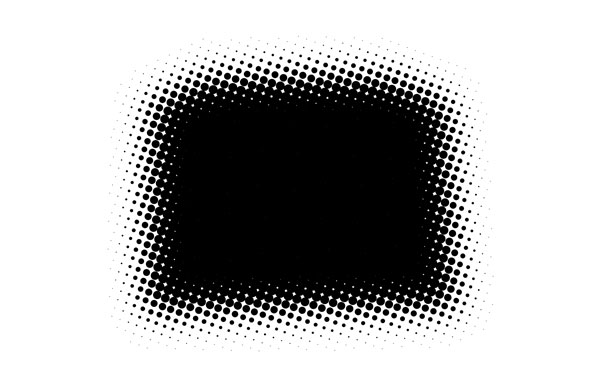
Place this layer under the layer with vintage radio. Set for this layer Blend Mode to Multiply:
Next we’ll download a set of ready to use brushes for Adobe Photoshop named: extremelyABSTRACT_by_env1ro, Floral_by_solenero73, bloodbrushes2_invaynestock. Create a new layer and choose for it the set’s brushes, named: extremelyABSTRACT_by_env1ro
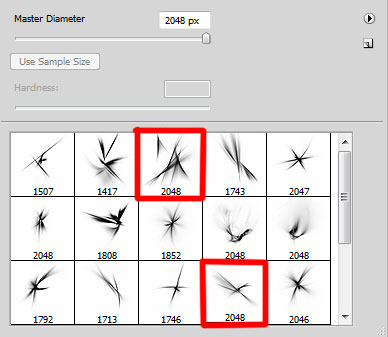
Make some brushstrokes and place this layer lower than the radio’s layer:
Set for this layer Blend Mode to Pin Light:
On the next new layer we’ll apply the brushes of white color, named bloodbrushes2_invaynestock
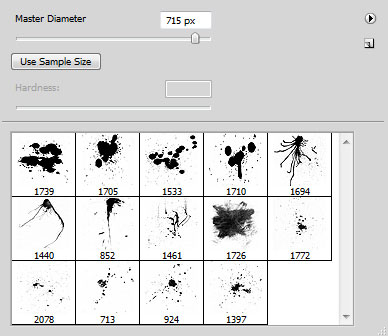
Make some brushstrokes and place this layer above the previous layer, but under the layer containing the vintage radio.
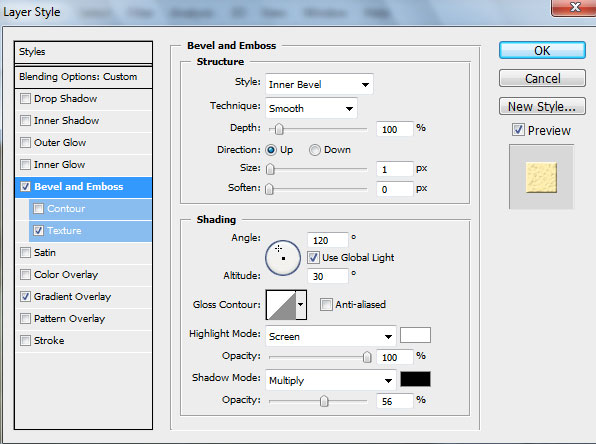
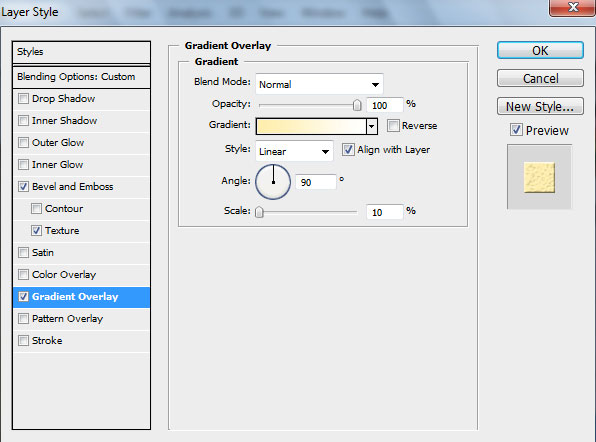
Set for this layer Blend Mode to Linear Light. Next select the Layer Style. Make a double click on the left mouse’s button on this layer on the layers’ panel and set the Bevel and Emboss as shown:
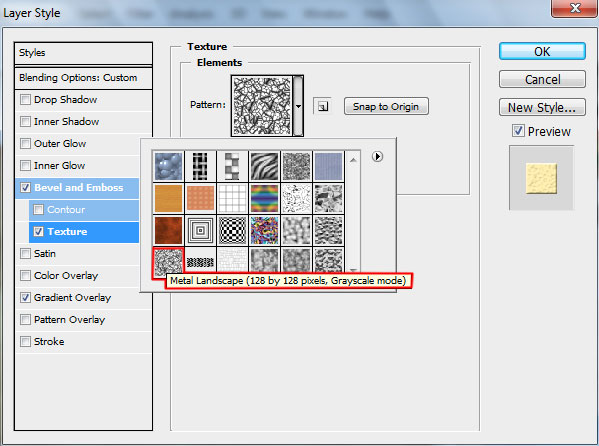
Add Bevel and Emboss>Texture (Patterns)
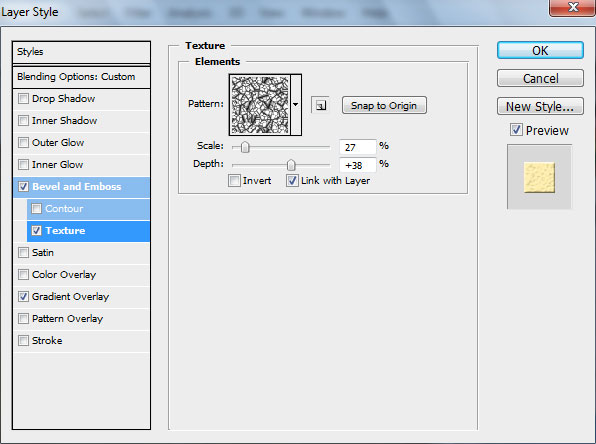
Settings for Bevel and Emboss>Texture
Set options for Gradient Overlay
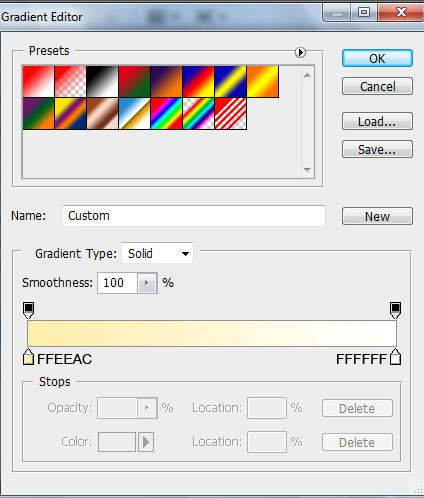
Gradient Editor parameters:
Page: 1 2
Comments