
Abstract Glowing Background
Following this tutorial, you will learn how to draw different shapes, apply gradient, blend different shapes in the background, and more – all to create an abstract glowing background. So, let’s start!
Final Image Preview

Start working by creating a new file (File>New) of 1920x1200px/72 dpi. Choose the Paint Bucket Tool (G) to fill the new background layer with black color.

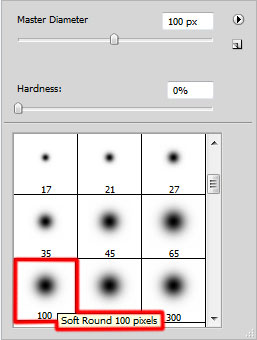
Create a new layer, applying here some brushstrokes on the background using Brush Tool (B). The brush color is #0E77FF and the Opacity – 15%.

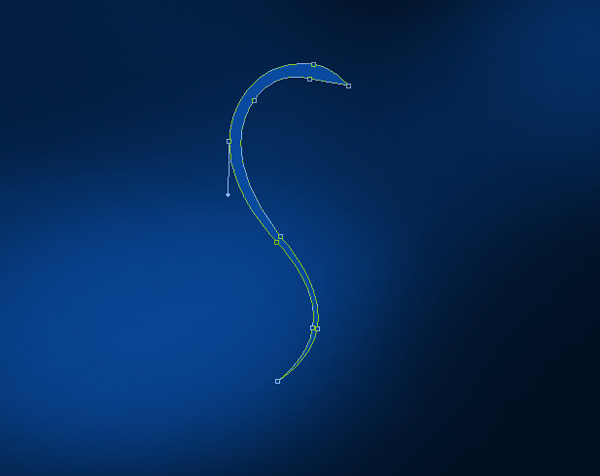
Next we’ll begin representing the shapes. Start with the first one, draw with Pen Tool (P) the path and using the Convert Point Tool you can adjust path segments as shown. The color is #094A9F

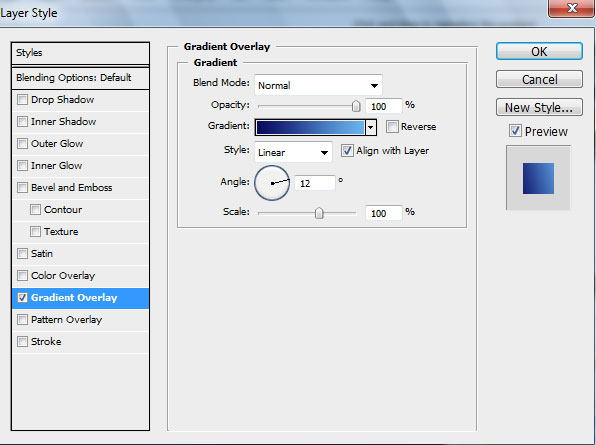
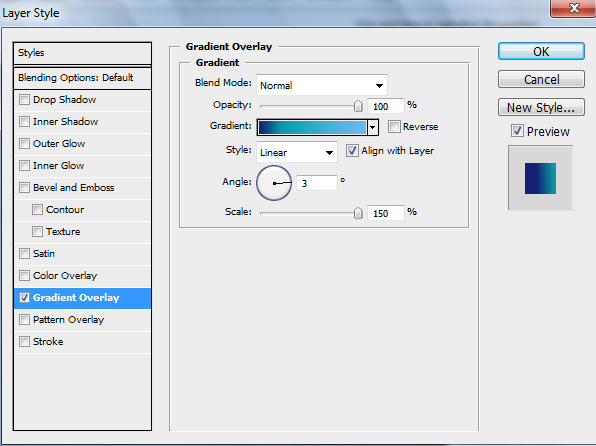
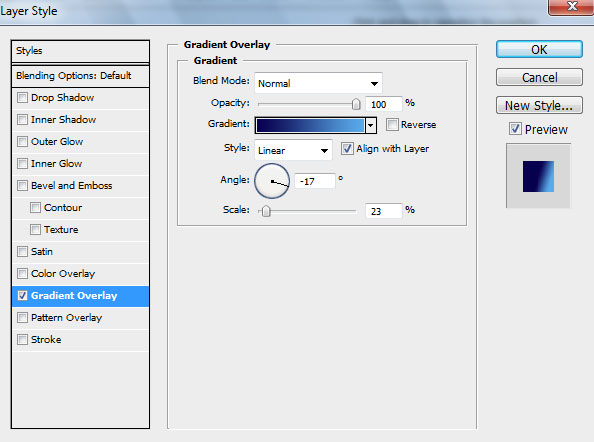
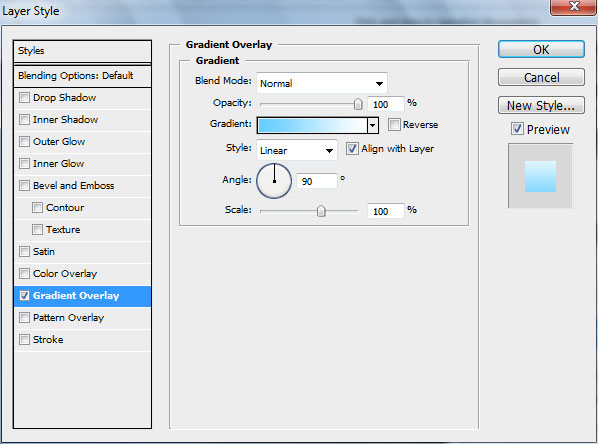
Go to Layer Style and add Gradient Overlay by clicking on this layer in Layers panel:
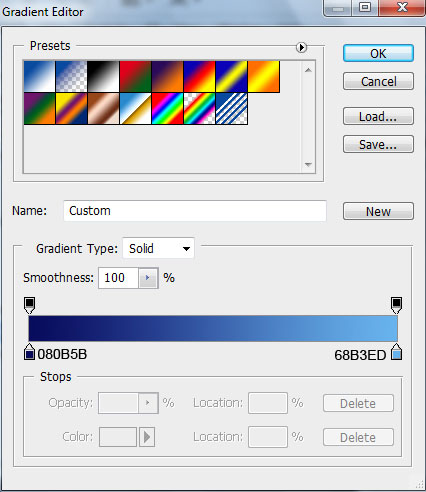
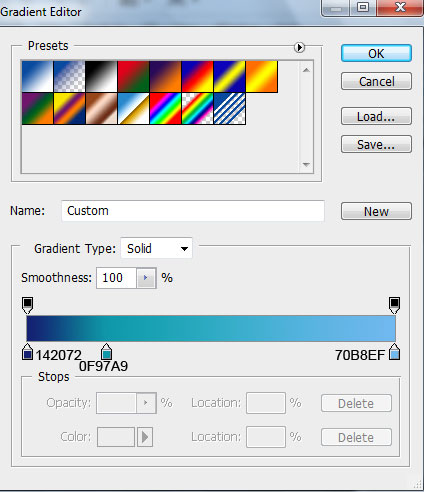
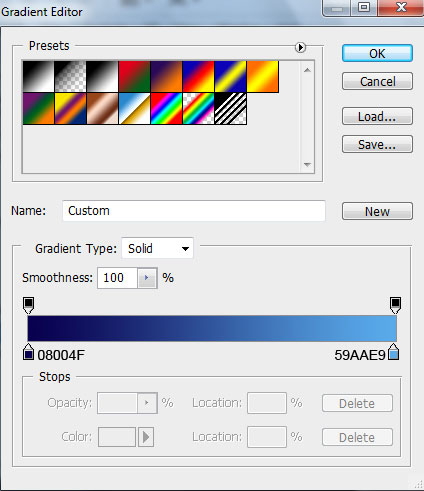
Gradient Editor settings:


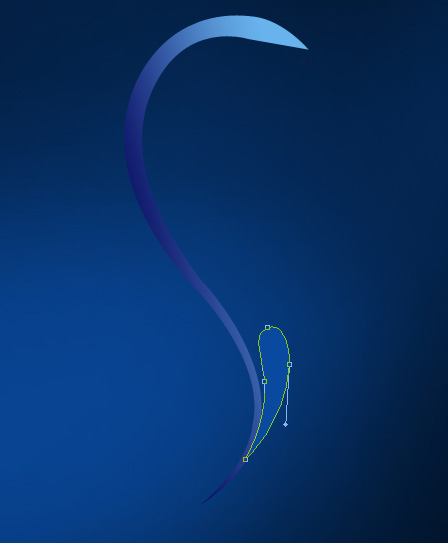
Next we’ll represent another shape, using the same Pen Tool (P) and the Convert Point Tool.
Add Layer Style > Gadient Overlay:
Gradient Editor settings:

Using the same tools, continue drawing the shapes:
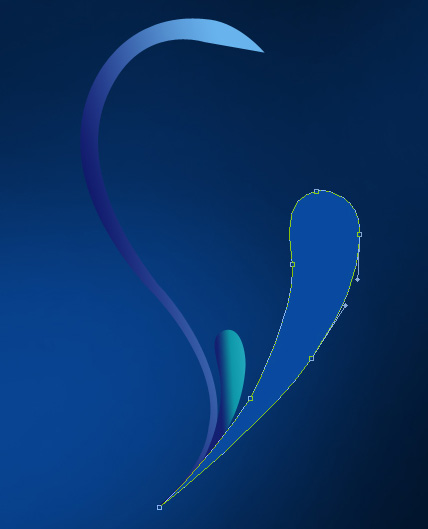
Add Layer Style >Gradient Overlay
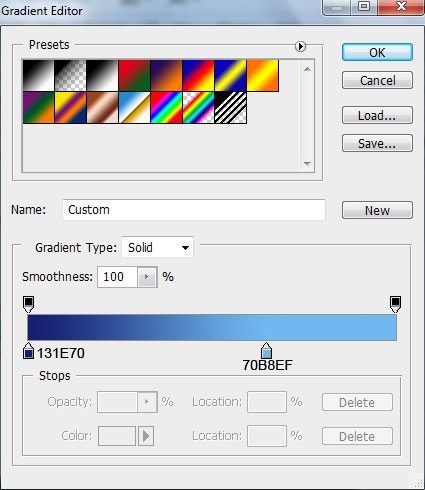
Gradient Editor settings:

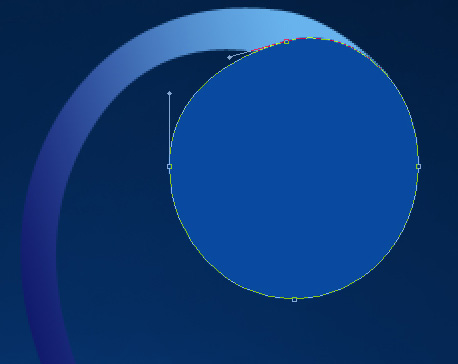
Using the Ellipse Tool (U) make a small circle on the shape’s end:
Go to Layer Style and add Gradient Overlay by clicking on this layer in Layers panel:

Gradient Editor settings:

Next we’ll make a highlight on the circle’s edge, using the Pen Tool (P) and the Convert Point Tool.

Add Layer Style > Gradient Overlay
Comments