
How to Create and decorate Christmas tree in Photoshop
In this tutorial I will give you some tips on how to create and decorate Christmas tree with balls and stars. You will learn how to add a Layer Style, draw Christmas balls with Ellipse Tool, apply brushes, customize brushes etc. So let’s get started!
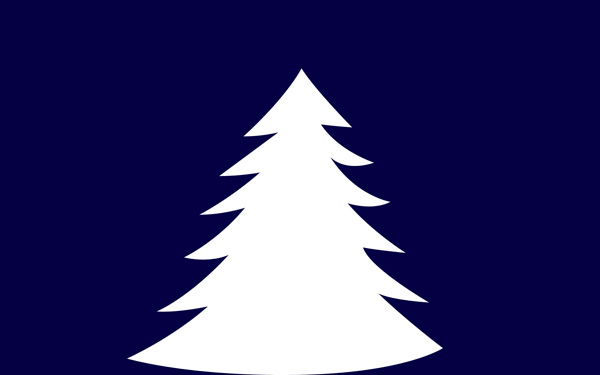
Final Image Preview

Create a new document (Ctrl+N) in Photoshop with the size 1920px by 1200px (RGB color mode) at a resolution of 72 pixels/inch. Using the Paint Bucket Tool (G), fill the new background layer with #050043 color.

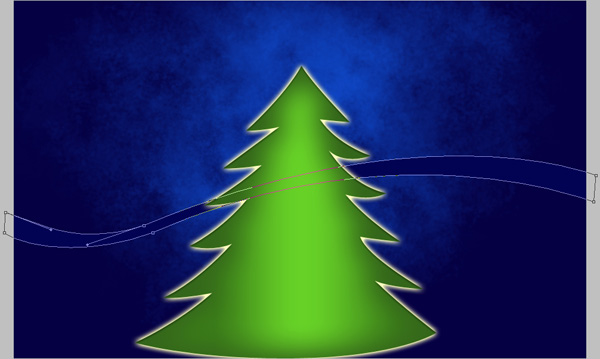
Take after that the Pen Tool (P) to create the shape of the Christmas tree.

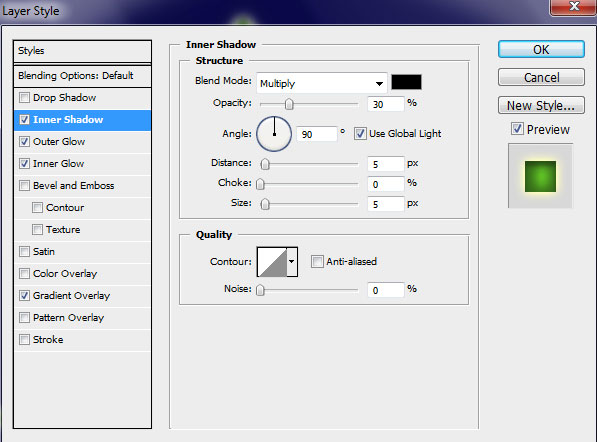
Select Add a layer style icon from bottom part of the Layers panel and click to Inner Shadow:

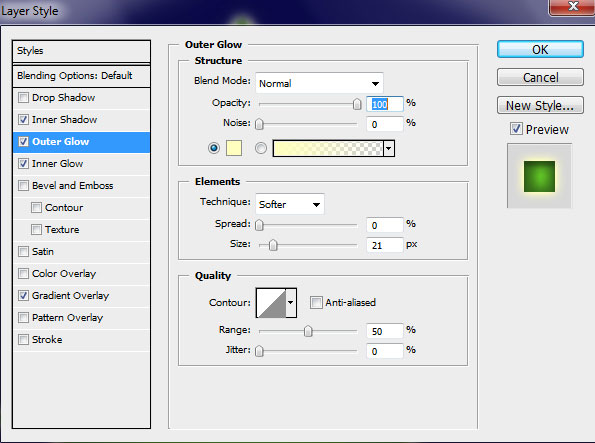
Set the Outer Glow
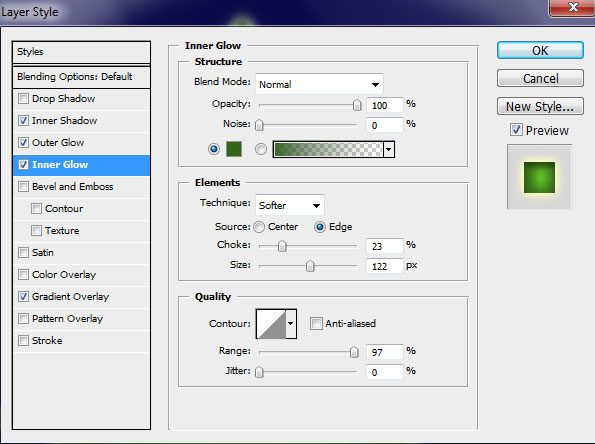
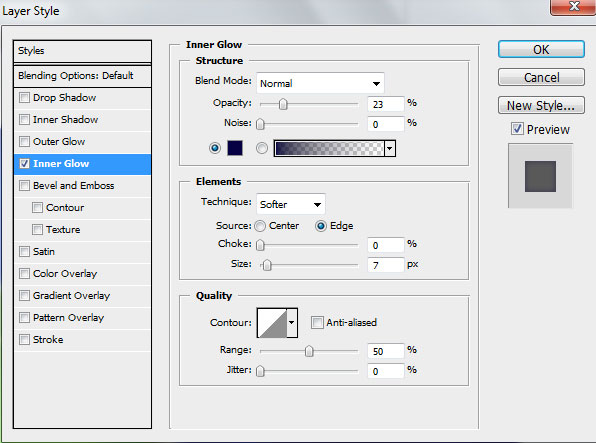
Add Inner Glow
Also set the Gradient Overlay
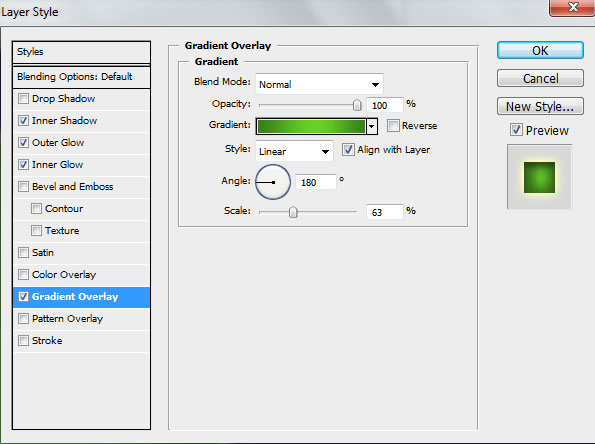
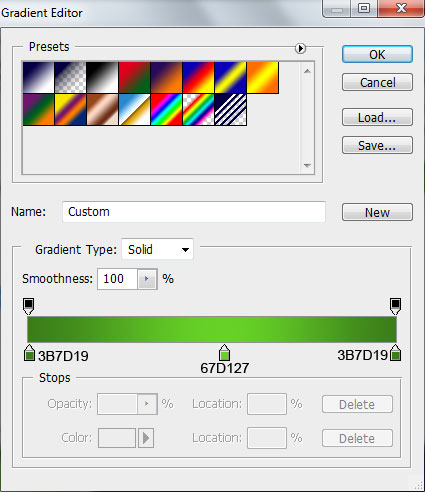
Click in the color bar to open the Gradient Editor and set the color stops as shown. Click OK to close the Gradient Editor dialog box.
We’ve got the next fir tree:

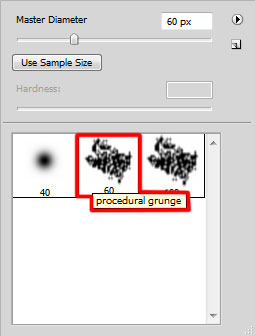
Next step we’ll download a set of brushes for in Adobe Photoshop, named: grunge procedural. Create a new layer and select the brush out of the earlier downloaded set. Set the Opacity to 10% in Options bar.

Paint with color #4D80E8 as shown. Place this layer containing the brush under the tree’s layer:

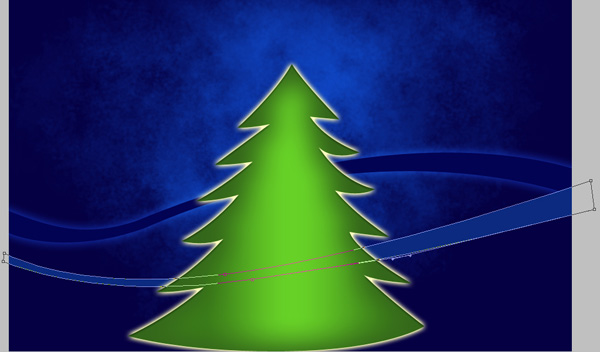
Next we’ll draw several shapes, using the Pen Tool (P). The shape’s color is #020353. Place this layer under the Christmas tree’s layer:
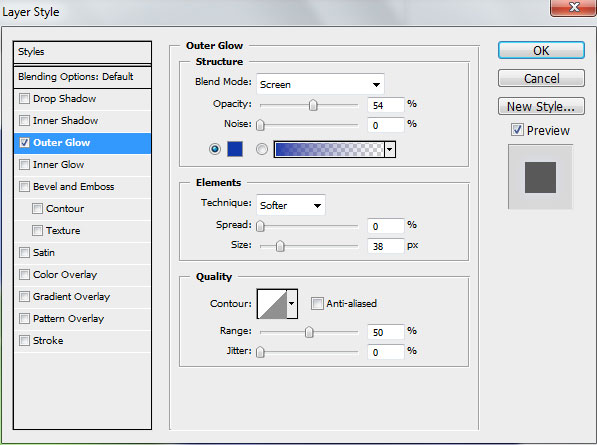
Select Add a layer style icon from bottom part of the Layers panel and click to Outer Glow:
We’ve got the next shape:

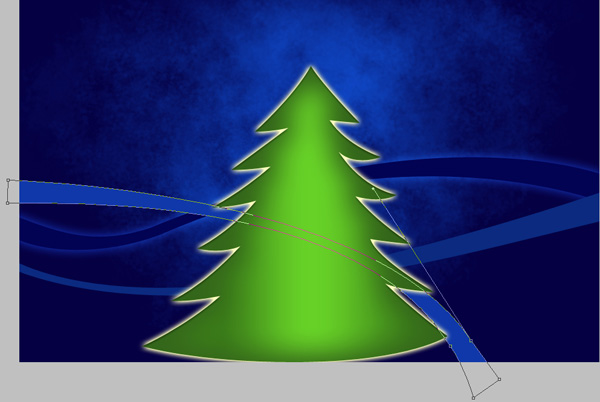
Using the same tools, we’ll represent one more colored shape with #0B2A80 color. This layer will be situated under the tree’s layer:
… and one more shape, colored with #1038AA. The tool applied in this case is the same with the previous ones. The layer will be situated under the tree’s layer:
Go to Layer Style and select Inner Glow:
We’ve got the next background:

On the next layer (Create new layer) we’ll use the brush out of the grunge procedural set of white color (Opacity 10%) to make lighter the background behind the tree’s top.

Create a new layer and choose the Soft Round brush of white color, set Opacity to 80% in Options bar.
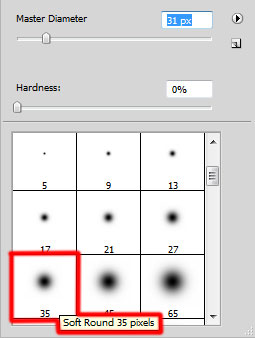
Using Soft Round brush represent the snowflakes. This layer needs to be placed under the layer containing the tree.

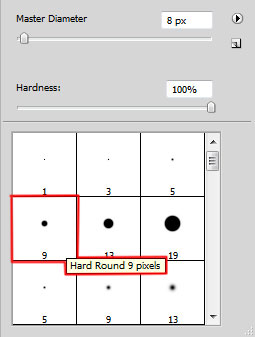
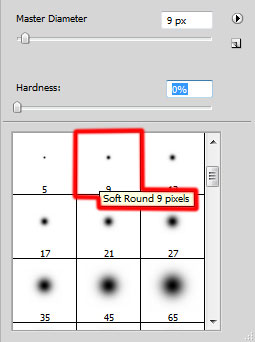
On the next new layer we’ll paint again with brushes (two types – the hard and soft round brushes) of white color to add more snowflakes. The layer will be also placed under the layer having the Christmas tree on it.
We’ve got the next background:

Create a new layer to represent here the snow on the tree. Select Spatter brush from Brush Tool (B).
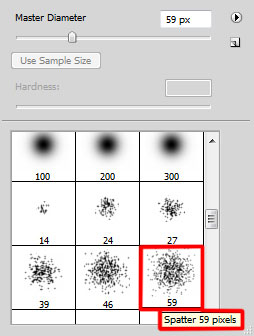
We need to customize our brush in Brushes panel (F5), select the Brush Tip Shape. Click and drag any of the sliders to change the size, the roundness and brush angle as show. The Preview window displays the changed brushstroke.
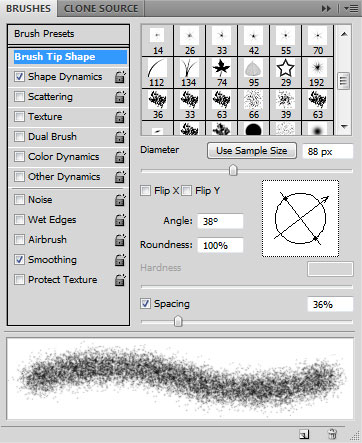
Go to Shape Dynamics:
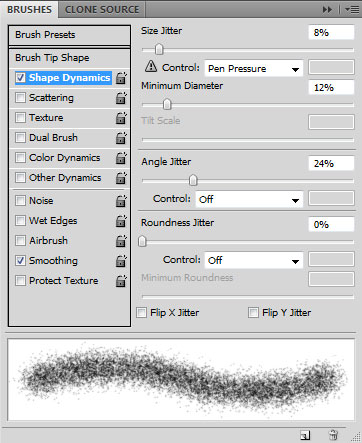
Now you can paint the snow as shown on the Christmas tree.

Select Add a layer style icon from bottom part of the Layers panel and click to Drop Shadow:
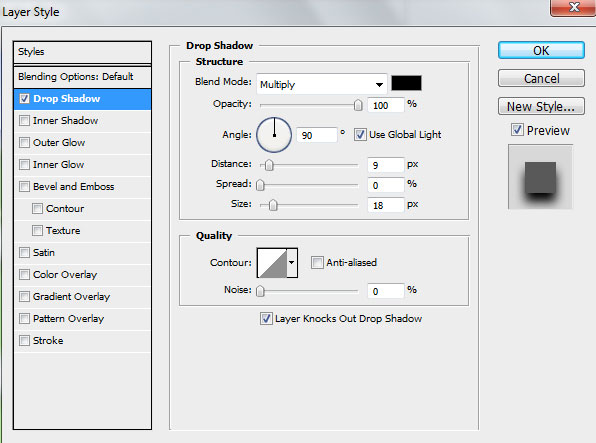
We’ve got the next snow on the fir tree:

On the next new layer we’ll apply the earlier brush of white color (Opacity 20%) to paint several more lines, representing the snow on the tree.

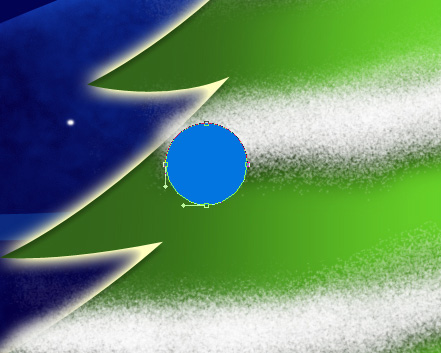
Take the Ellipse Tool (U) now to represent a Christmas ball for the tree. The layer has the color #0375E0
Page: 1 2
Comments