
Create a galactic girl photo manipulation in Photoshop
In this tutorial you will learn how to create a galactic girl photo manipulation in Photoshop. You will learn how to combine multiple images, applying different layer styles, create your own galactic background etc. So let’s get started!
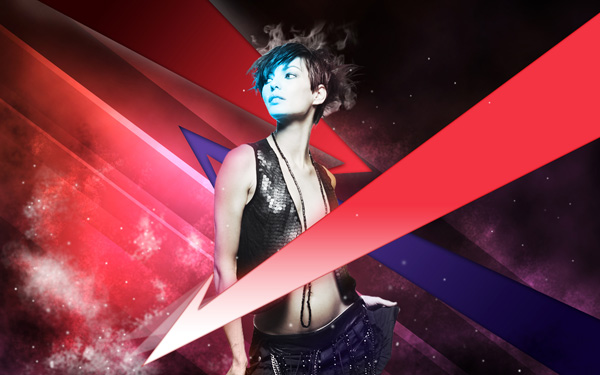
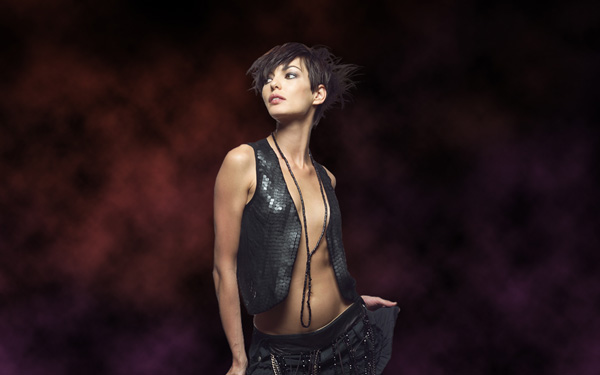
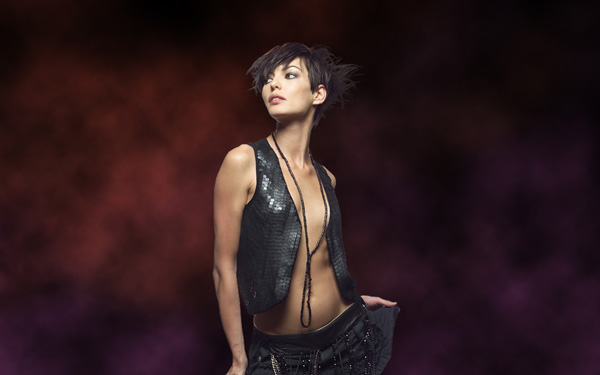
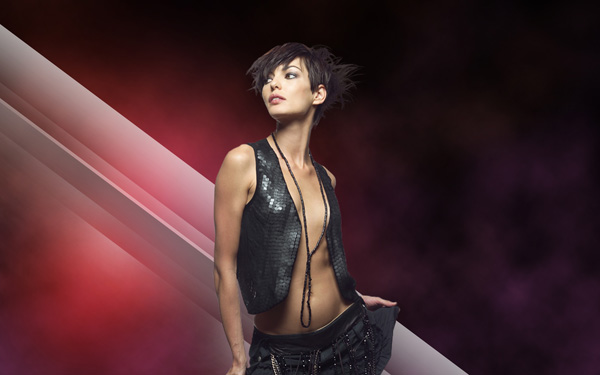
Final Image Preview
Create a new document (Ctrl+N) in Adobe Photoshop with the size 1920px by 1200px (RGB color mode) at a resolution of 72 pixels/inch. Select then the Paint Bucket Tool (G) to fill the new background layer with black color.

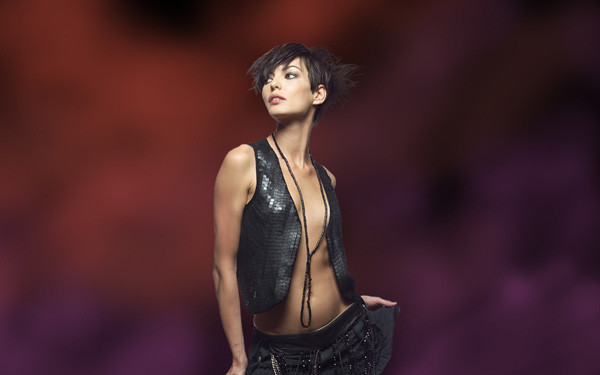
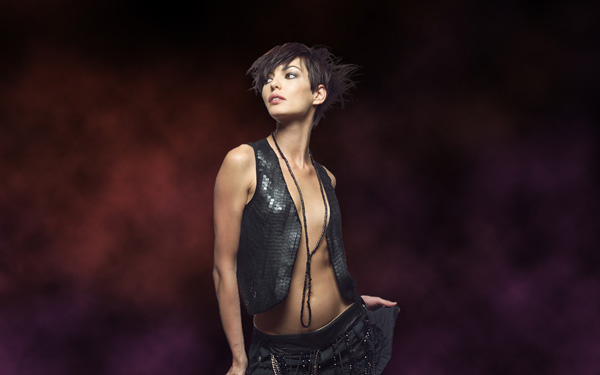
Find a stock photo with a model represented on it, I used this photo from deviantart. I would like to thank the author of this photo:
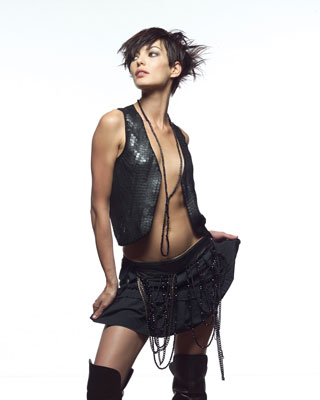
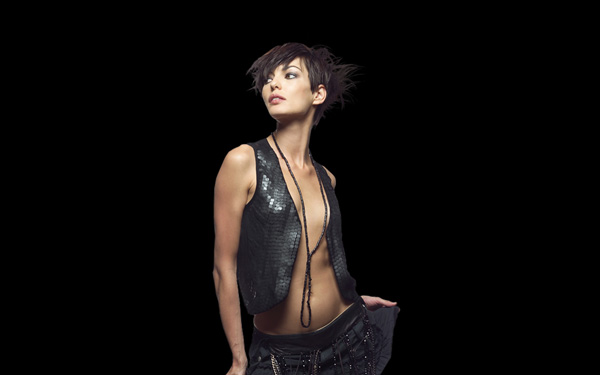
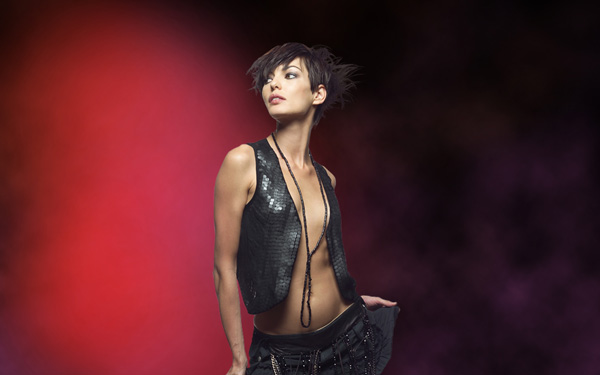
Remove the background using your favorite tools like Pen Tool (P), Magic Wand Tool (W), Magnetic Lasso (L) or even a simple Filter>Extract.
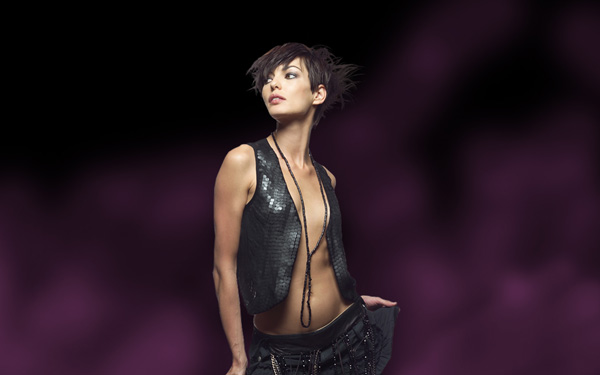
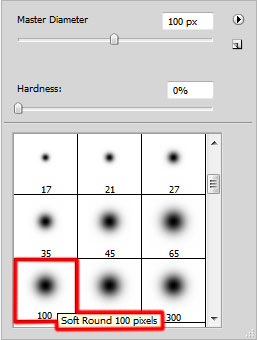
Create a new layer and choose a Soft Round brush to represent the background under the girl’s layer. The brush’s color is #FF00C5 (Opacity 20%).

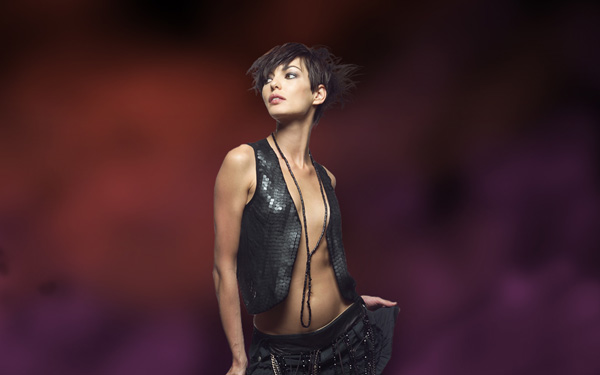
Make some brushstroke using Soft Round brush as shown. Place this layer under the girl’s one:

On the next new layer we’ll apply the brush mentioned above to continue representing the background. The brush’s color is #FE604D (Opacity 20%). Place this layer under the girl’s layer.
Create another new layer and choose for it the Soft Round brush too of black color (Opacity 15%) to dark out the upper part of the background.
Make some brushstroke using Soft Round brush as shown. Place this layer lower than the girl’s one.
Next we’ll create a new layer which must be filled with black color using Paint Bucket Tool (G). The layer will be placed lower than the girl’s layer.

Click on the bottom part of the Layers panel on Add layer mask icon, click the mask to make it active and apply Filter>Render>Clouds
Set for this layer Fill to 70% in Layers panel
Create a new layer and use here again the Soft Round brush of black color (Opacity 10%) to dark out more the upper part of the background.

Make some brushstroke using Soft Round brush as shown. This layer will be situated also lower than the girl’s layer.
Create a new layer and choose for it a Soft Round brush to paint the background on the girl’s left side. The brush’s color is #C33344 (Opacity 60%). Place this layer under the layer containing the girl:
Click on the bottom part of the Layers panel on Add layer mask icon, click on mask to make it active and use a Soft Round brush of black color (Opacity 15%) to clean out a little the red spot.

We’ve got the next result:

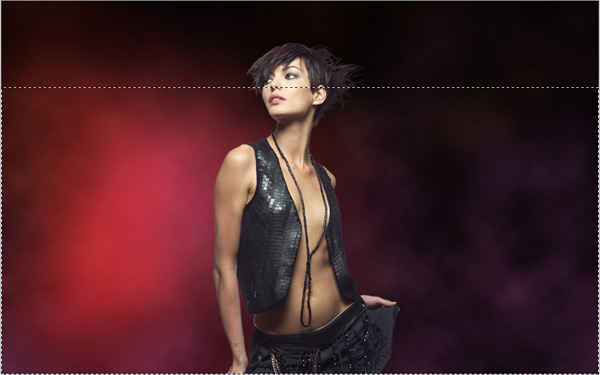
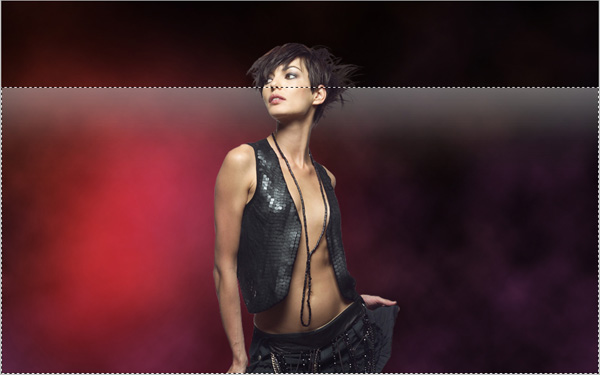
On the next new layer (Create new layer) we’ll select the Rectangular Marquee Tool (M) to make a selection demonstrated below.
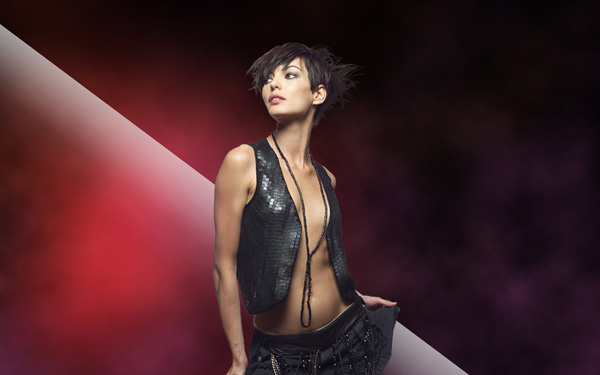
Choose again the Soft Round brush of white color this time (Opacity 10%) to paint the top part of the selected zone. This layer will be situated also lower than the girl’s layer.
We’ve got the next result:

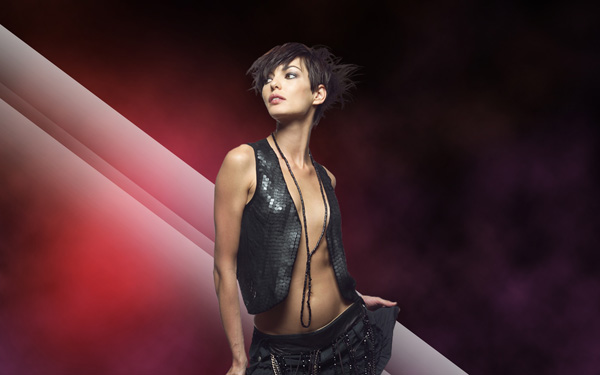
Using the Free Transform (Ctrl+T) command, try to incline a little the lines the same way demonstrated next picture:

Start copying the layer containing the line and apply Free Transform (Ctrl+T) command to place the copies as it is shown below:
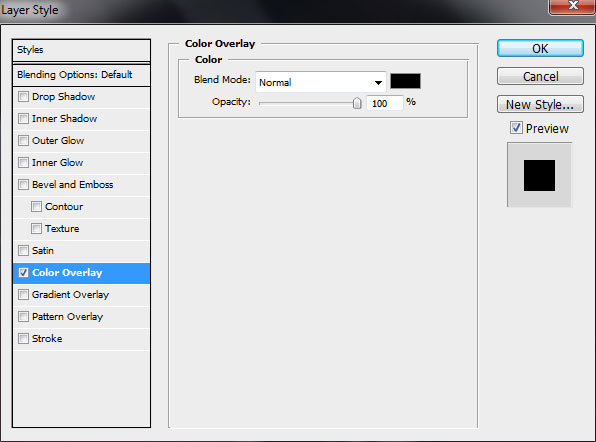
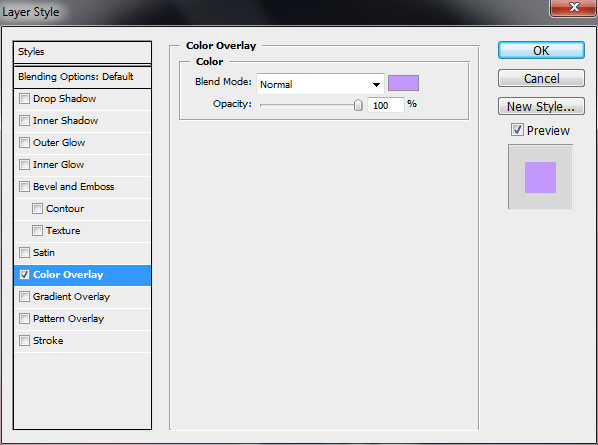
Add Layer Style > Color Overlay for the last made layer by clicking on Add a layer style icon from bottom part of the Layers panel and select Color Overlay:
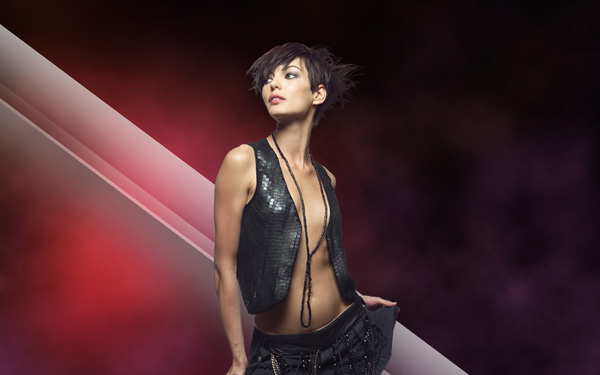
We’ve got the next result:
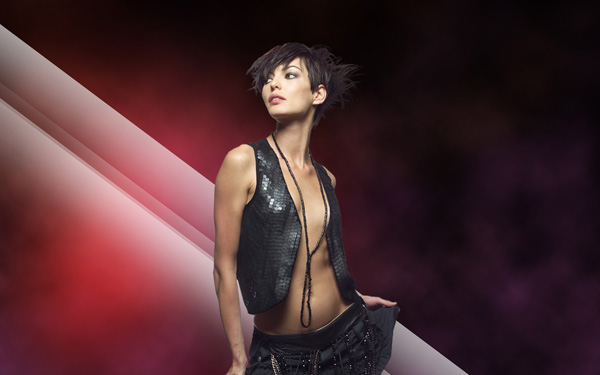
Make one more copy
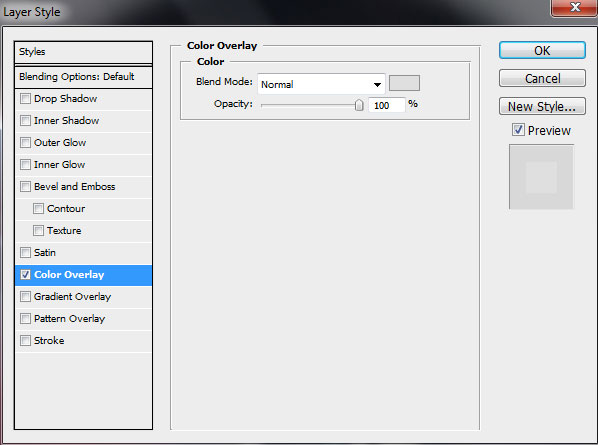
For this layer click on Add a layer style icon from bottom part of the Layers panel and select Color Overlay:
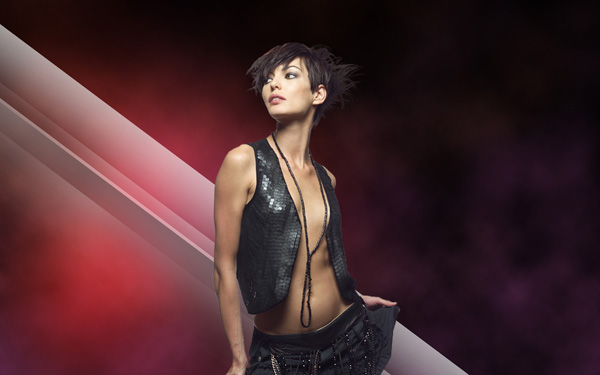
We’ve got the next result:

The next line’s copy will be cleaned out with the Eraser Tool (E) (Opacity 10%) and situated exactly like on the next picture.
For this layer click on Add a layer style icon from bottom part of the Layers panel and select Color Overlay:
Comments