
Create a Fuel Game Cover in Photoshop
In this tutorial, I’ll show you how to create cover art for a favorite video or computer game, using several Photoshop tools such as Brush Tool, different blending modes, and more. Let’s get started!
Final Image Preview

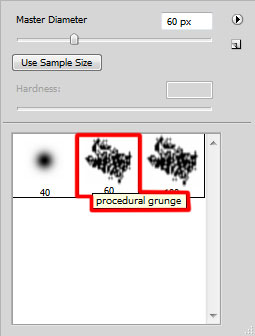
Create a new document (Ctrl+N) in Adobe Photoshop with the size 1920px by 1200px (RGB color mode) at a resolution of 72 pixels/inch. Then download a set of brushes for Adobe Photoshop, entitled: grunge procedural, pureanodyne – tribals2 and bloodbrushes2_invaynestock. Create a new layer, select the next brushes from grunge procedural set.

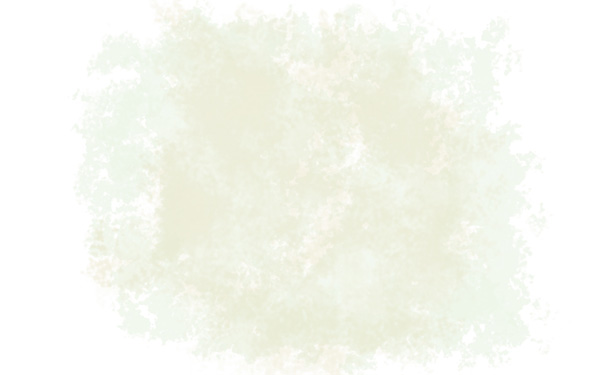
Make some brushstroke using grunge procedural brush as shown. The brush’s color is #F3F8EF

Next we’ll apply the same brush, only changing its color on #F4F2E3 and set Fill to 49%.
We’ll put some color of #E9F3F5 on the left side and on the right one.

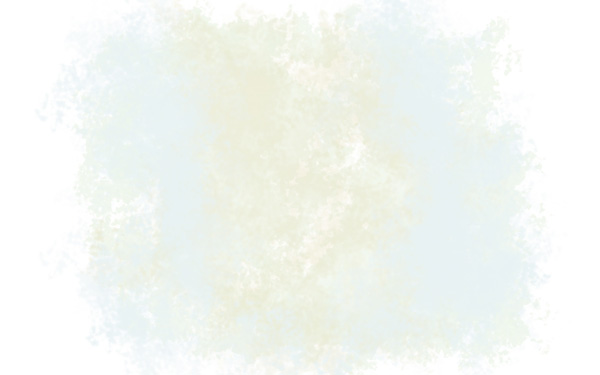
… and then the brush of the color #D4DAD6
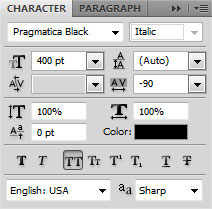
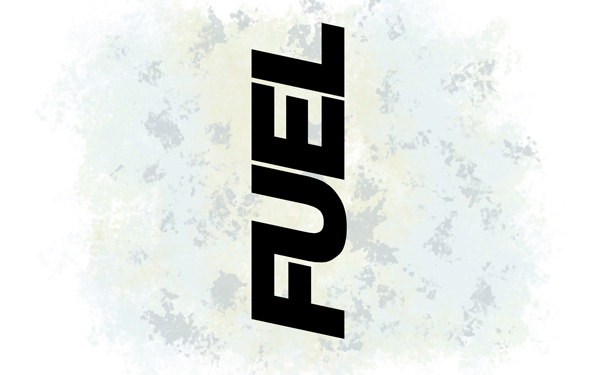
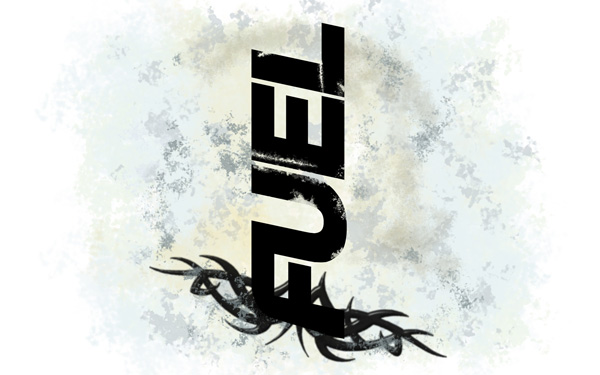
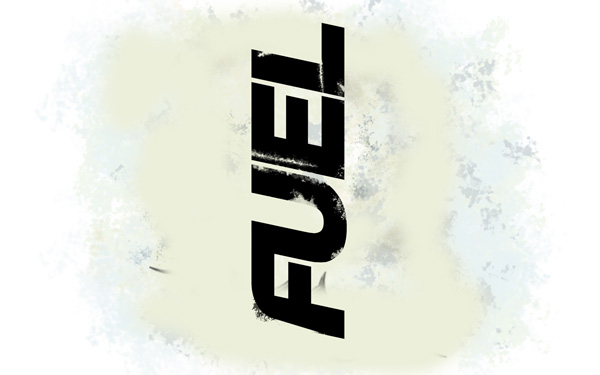
Next we’ll write the word FUEL and select the Free Transform (CTRL+T) command to turn it over by vertical position.
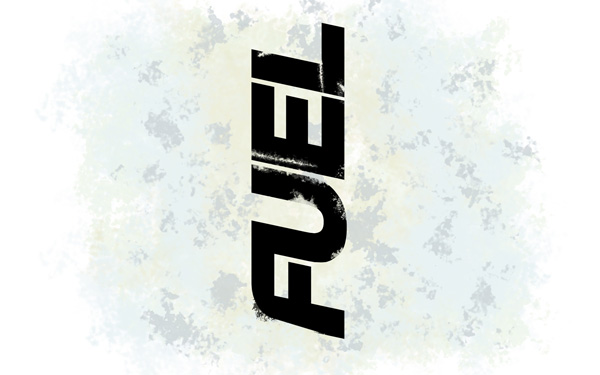
Let’s rasterize the text’s layer by clicking on the right mouse button on the layer in Layers panel and choose Rasterize Type. Click on the bottom part of the Layers panel on Add layer mask icon, click on mask to make it active and use a brush from grunge procedural set to clean out the letters’ edges. The brushes’ color is black.
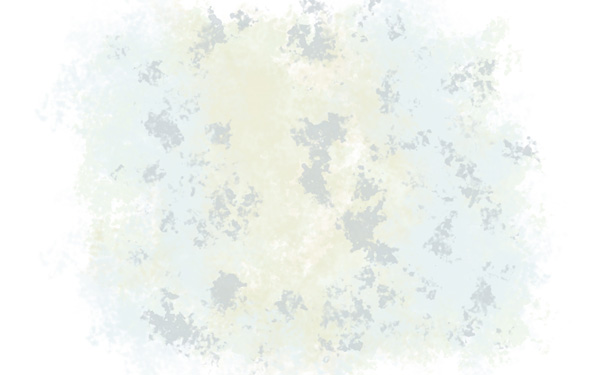
On the next new layer (Create new layer) we’ll apply the brush out of the same set of the color #D7D8C8.
This layer needs to be placed lower than the layer containing the word FUEL.

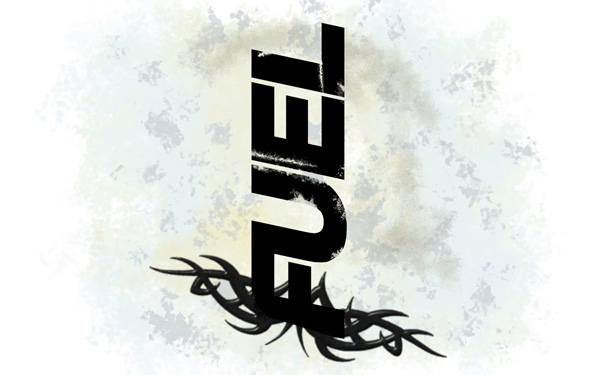
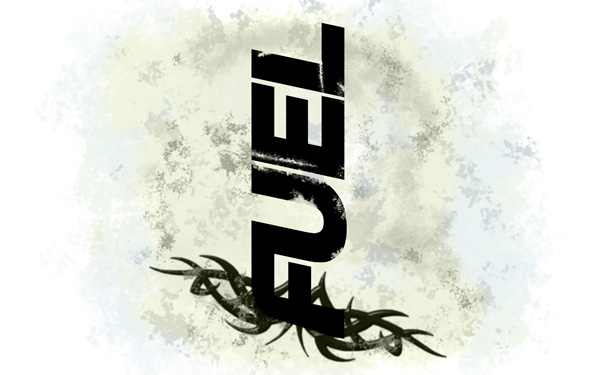
Create a new layer again, using here the brushes out of the set, named pureanodyne – tribals2.

The brushes’ color is black. Choose after that the Free Transform (Ctrl+T) command to incline a little the ornament. This layer needs to be situated lower than the layer containing the FUEL word.
Next we’ll apply on a new layer the earlier used brush out of the grunge procedural set, having this time the color #A6B1AF. This layer will be placed also lower than the FUEL word’s layer.
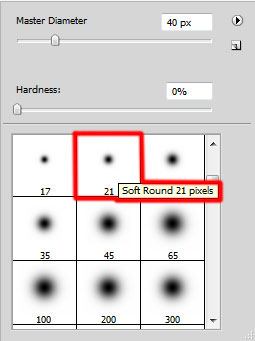
Create a new layer, select the Soft Round brush from Brush Tool (B)

paint the background around the word FUEL with the color #ECEFDA. Place it lower than the layer containing the word FUEL.
Set for this layer the Blending mode to Color
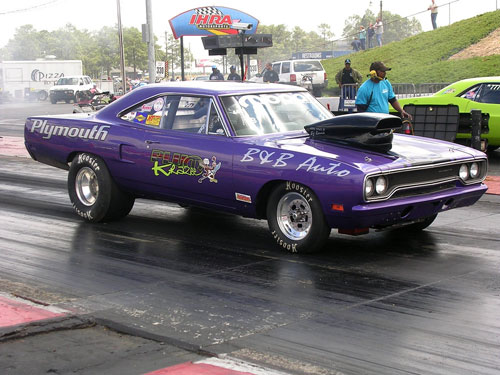
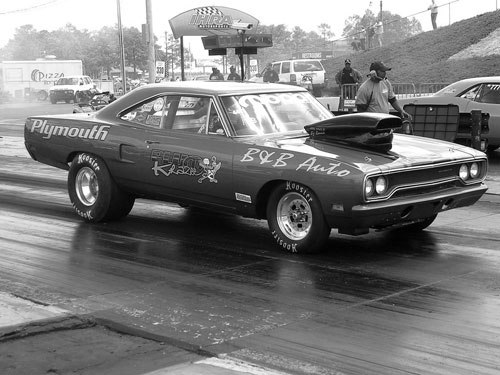
Find a photo with a muscle car represented on it, I used this photo from Flickr. I would like to thank the author of this photo:
Desaturate the photo by pressing (CTRL+SHIFT+U).
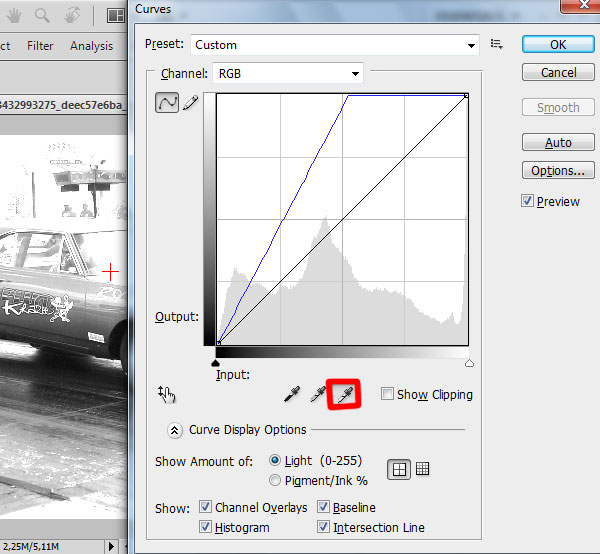
Select Create new fill or adjustment layer icon from bottom part of the Layers panel and click to Curves (Ctrl+M) to adjust the curve shape as shown. Select Sample in image to set white point and click on an area in the image that represents the white point and drag the white point slider along the axis as shown:
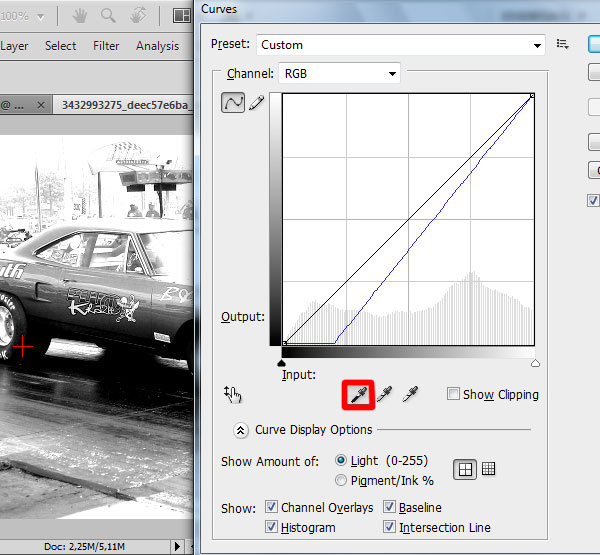
Press OK and one more time CTRL+M. Select Sample in image to set black point and click on an area in the image that represents the black point and drag the black point slider along the axis as shown:
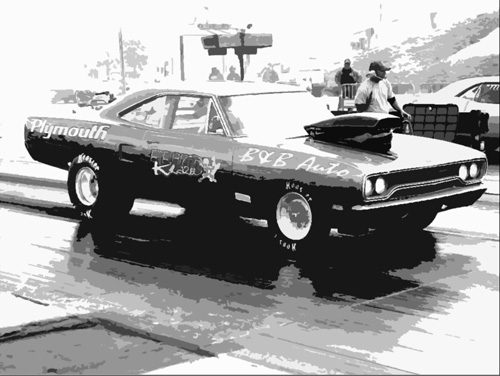
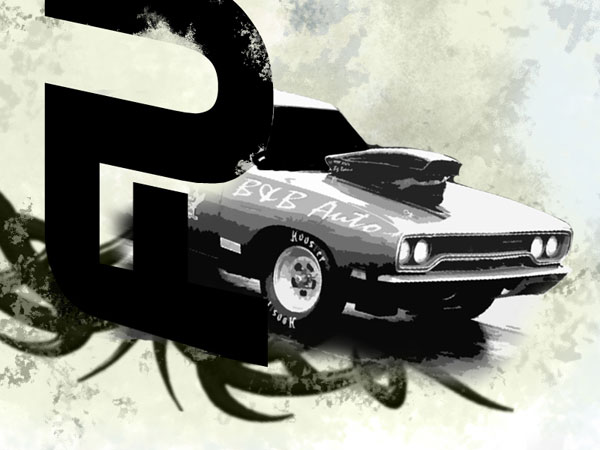
Select for the photo also Filter>Filter Gallery>Cutout

We’ve got the next effect:
Remove the background using your favorite tools like Pen Tool (P), Magic Wand Tool (W), Magnetic Lasso (L) or even a simple Filter>Extract. Insert it on a new layer and place it under the layer containing the FUEL word.
On the next new layer (Create new layer) select the Hard Round brush of black color

paint very accurately the auto’s windshield.
Create a new layer again and select here a Soft Round brush (Opacity 20%) with color – #F6DB86
Comments