
Create colorful background for Valentine’s Day
In this tutorial I’ll show you how to create a colorful background for Valentine’s Day, using Custom Shape Tool, Layer Styles, gradients, and other Photoshop tools. Let’s get started!
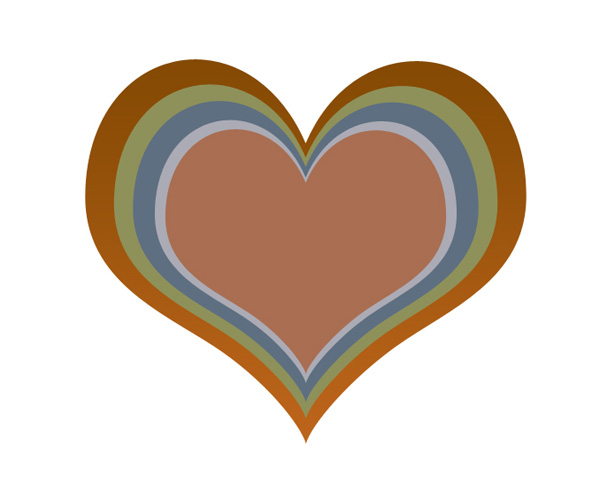
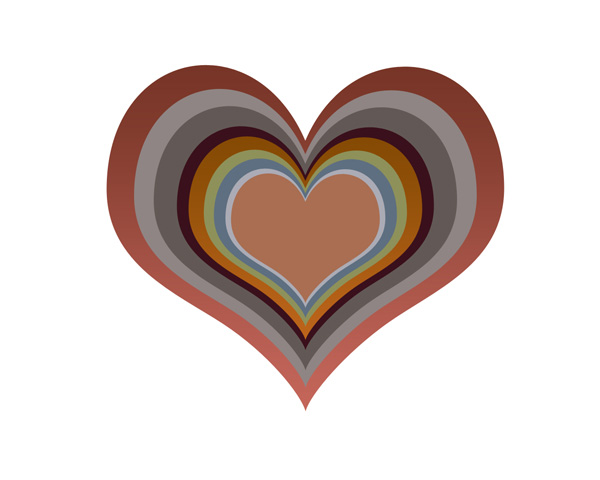
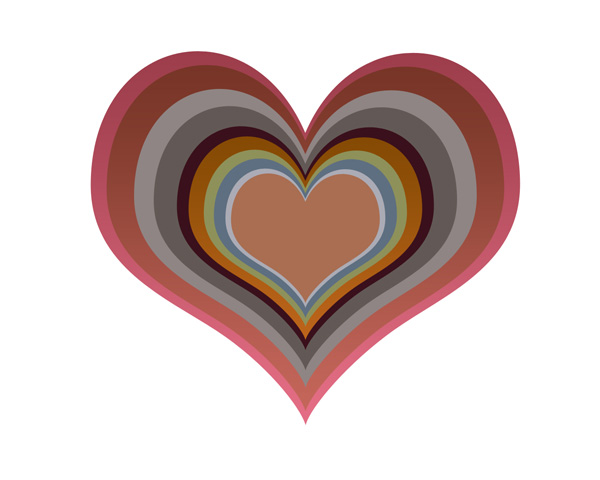
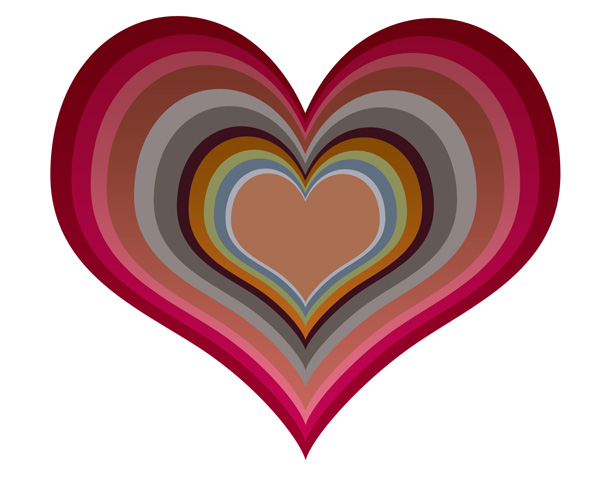
Final Image Preview

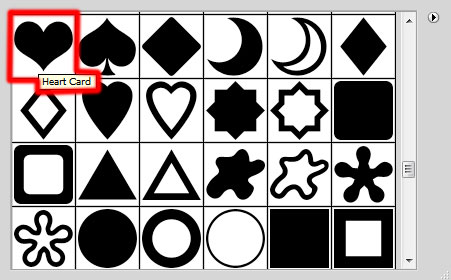
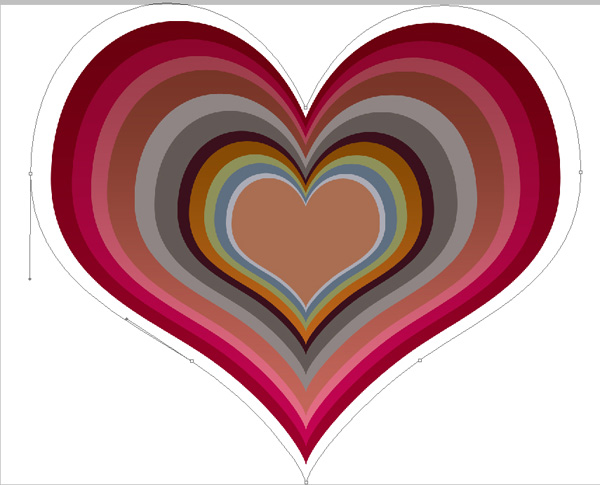
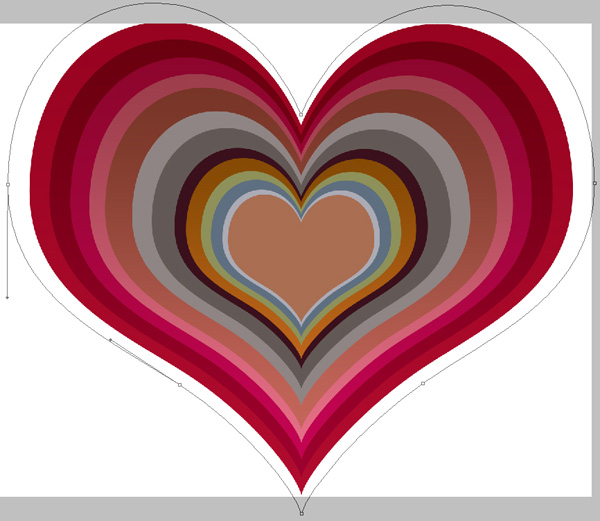
Create a new document (Ctrl+N) in Adobe Photoshop with the size 1280px by 1024px (RGB color mode) at a resolution of 72 pixels/inch. Select the Custom Shape Tool (U) in the Tools bar, in the Options bar click the Shape to open the selection menu. Find Heart Card shape at the bottom of the menu, then double-click a shape thumbnail to select it.
Click and drag to draw the shape. The Foreground color is #A96E52.


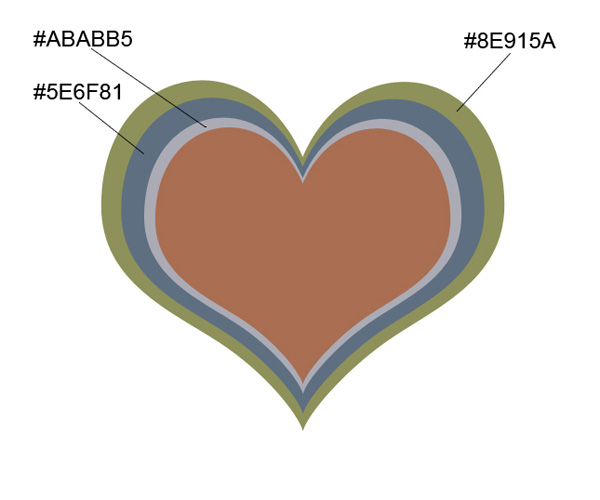
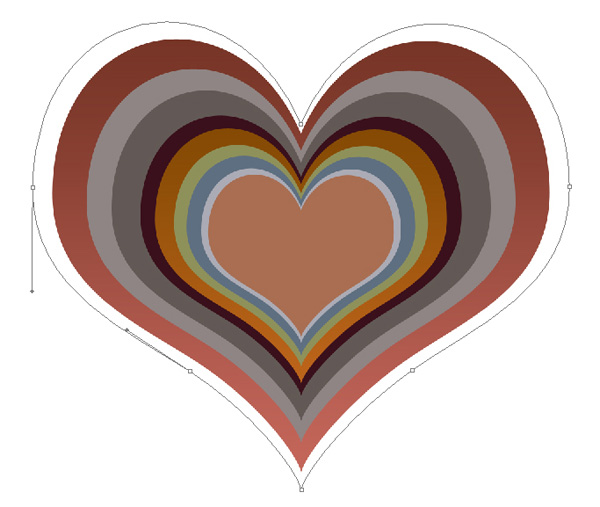
Now we have to make many copies of the last drawn shape and select after that the Free Transform (Ctrl+T) command (click the Maintain Aspect Ratio button in Options bar) to enlarge each next copy, changing their colors too. Each next copy should be situated under the previous one.

Continue making copies of the heart shape.
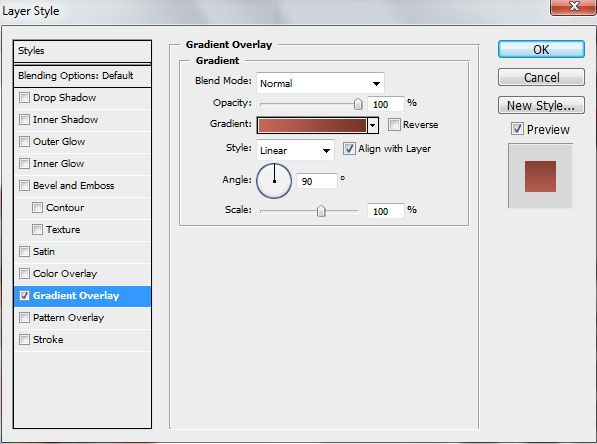
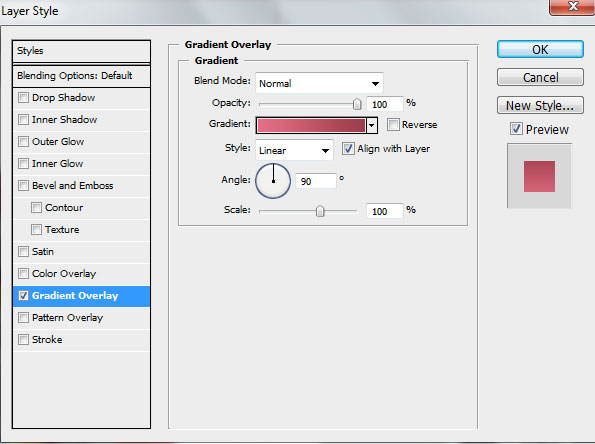
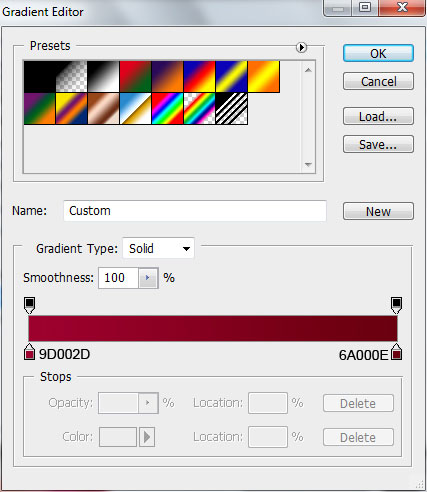
For this shape click on Add a layer style icon from bottom part of the Layers panel and select Gradient Overlay:
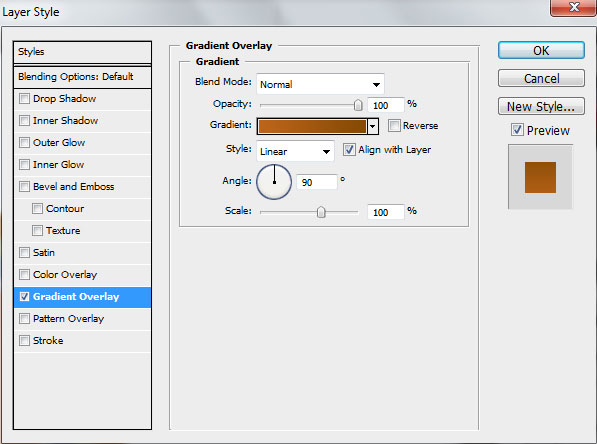
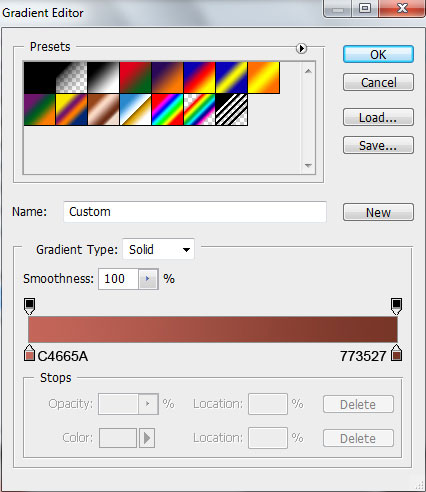
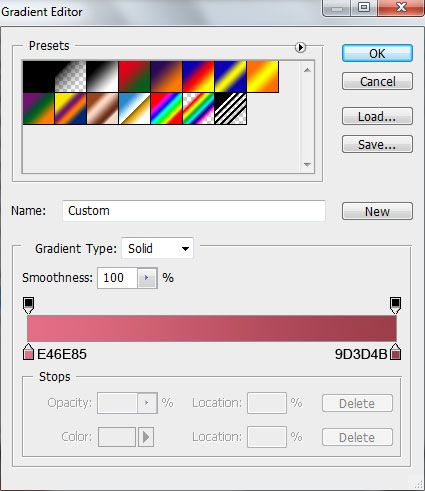
Click in the color bar to open the Gradient Editor and set the color stops as shown. Click OK to close the Gradient Editor dialog box.
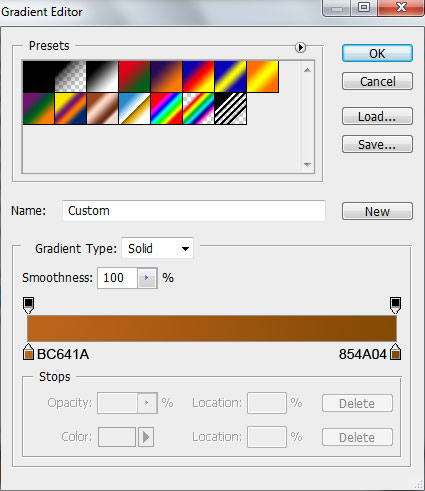
We’ve got the next gradient on the shape.
Make another three copies, the color are indicated:
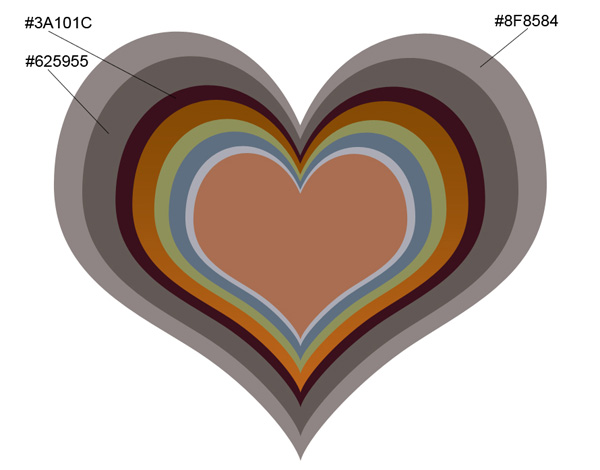
Continue representing the heart’s copies.
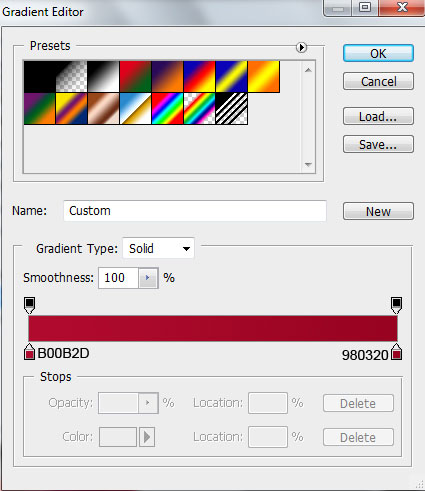
For this shape click on Add a layer style icon from bottom part of the Layers panel and select Gradient Overlay:
Click in the color bar to open the Gradient Editor and set the color stops as shown. Click OK to close the Gradient Editor dialog box.
We’ve got the next gradient:
Another one
Click on Add a layer style icon from bottom part of the Layers panel and select Gradient Overlay:
Click in the color bar to open the Gradient Editor and set the color stops as shown. Click OK to close the Gradient Editor dialog box.
We’ve got the next result:
Another one:
Add Layer Style > Gradient Overlay:

Click in the color bar to open the Gradient Editor and set the color stops as shown. Click OK to close the Gradient Editor dialog box.

We’ve got the next result:

Another one

Click on Add a layer style icon from bottom part of the Layers panel and select Gradient Overlay:

Click in the color bar to open the Gradient Editor and set the color stops as shown. Click OK to close the Gradient Editor dialog box.
We’ve got the next gradient on the shape:
Make another copy
Add Layer Style > Gradient Overlay

The settings for Gradient Editor:
We’ve got the next result:
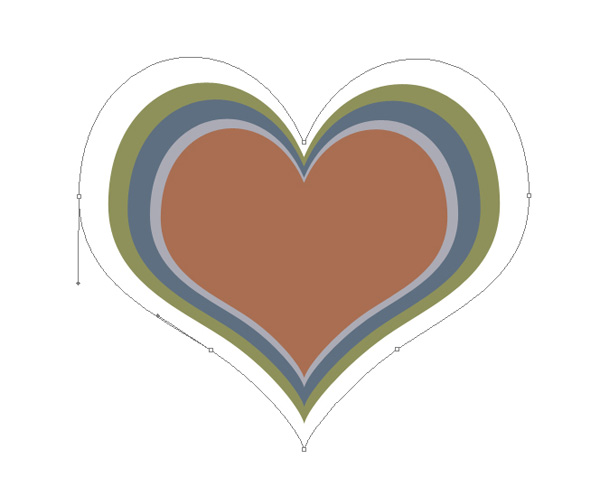
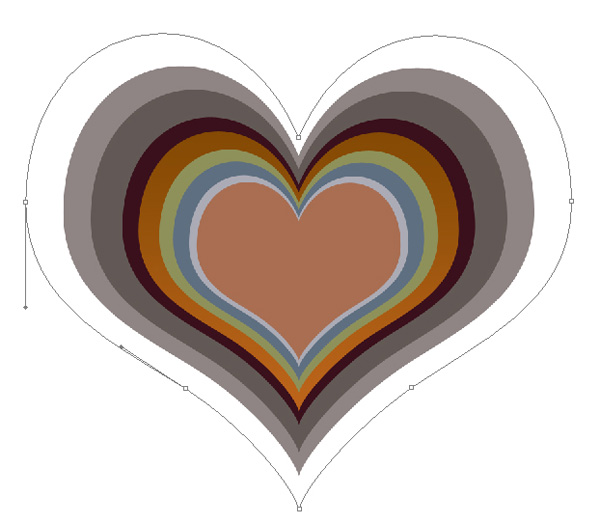
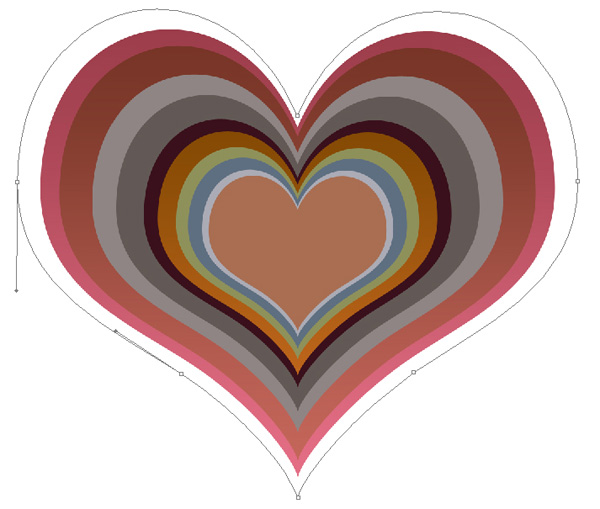
Make another copy and use Free Transform (Ctrl+T) command to enlarge the shape
Click on Add a layer style icon from bottom part of the Layers panel and select Gradient Overlay:

Click in the color bar to open the Gradient Editor and set the color stops as shown. Click OK to close the Gradient Editor dialog box.

We’ve got the next result:
Comments