
How to create waved Valentine background with hearts
In this tutorial, you’ll learn how to create waved Valentine background from scratch in Photoshop. We’ll be using Custom Shape, Pen Tool and Layer Style for creating Valentine illustration. Let’s get started!
Final Image Preview

Create a new document (File>New) in Adobe Photoshop with the size 1920px by 1200px (RGB color mode) at a resolution of 72 pixels/inch. Using the Rectangle Tool (U), let’s represent a big rectangle reserved for background we want to have.
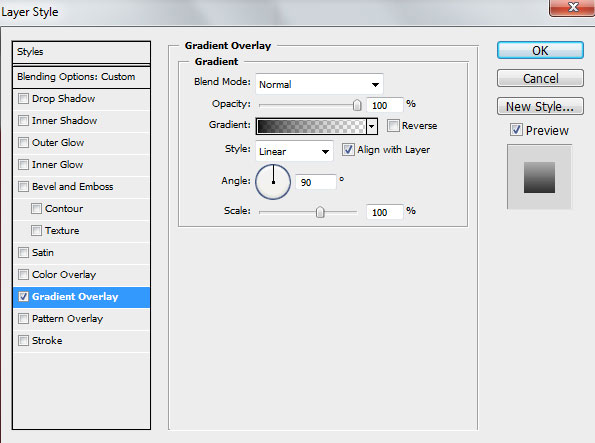
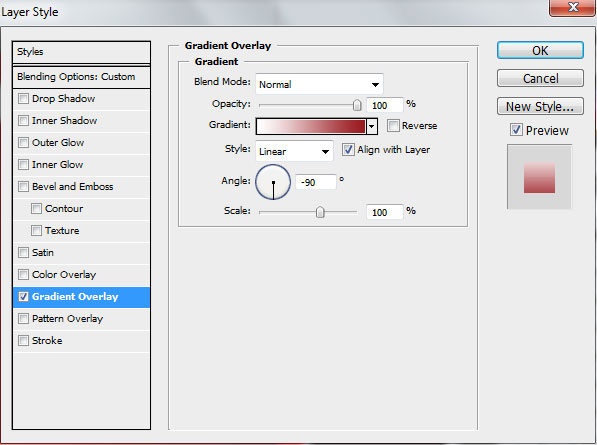
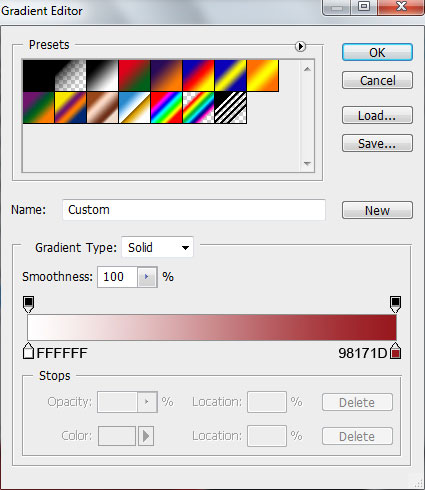
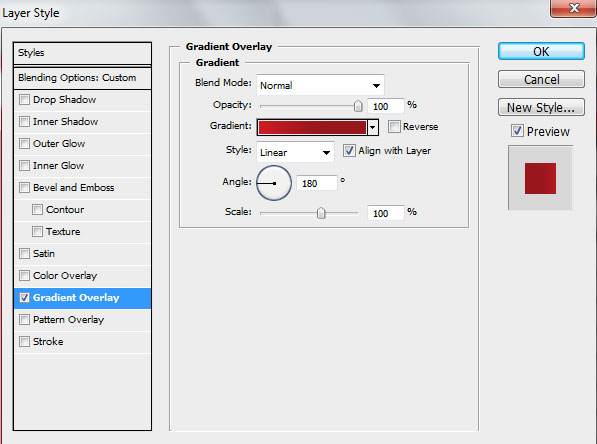
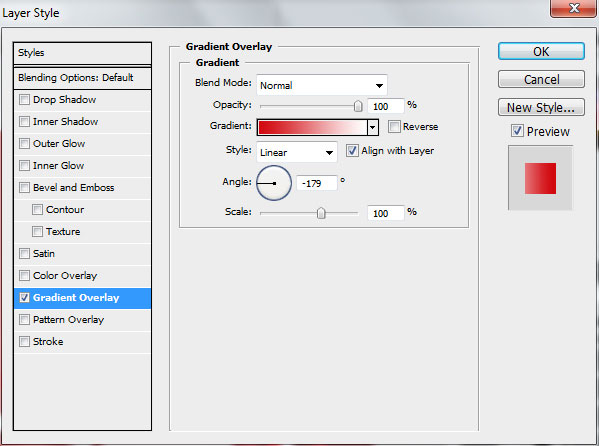
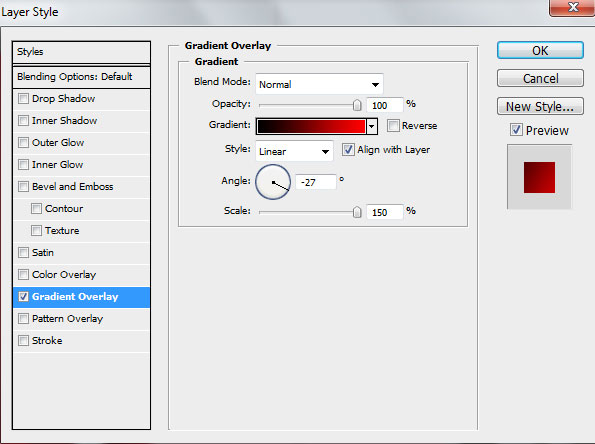
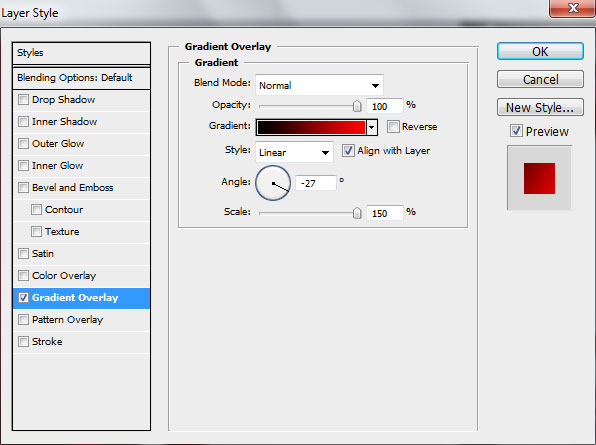
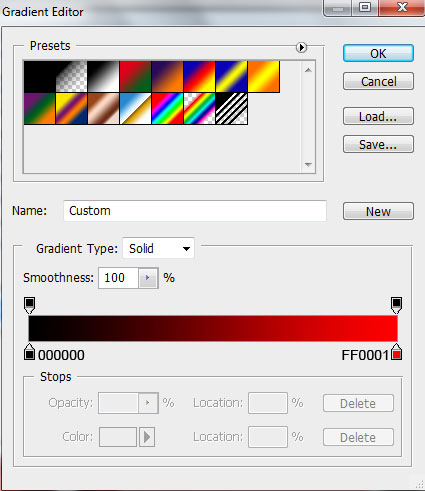
For this layer click on Add a layer style icon from bottom part of the Layers panel and select Gradient Overlay:
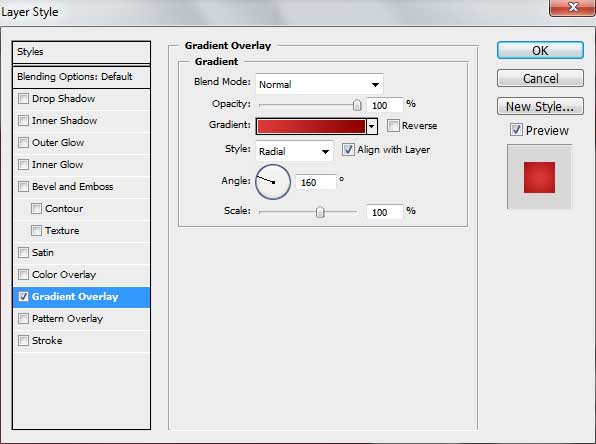
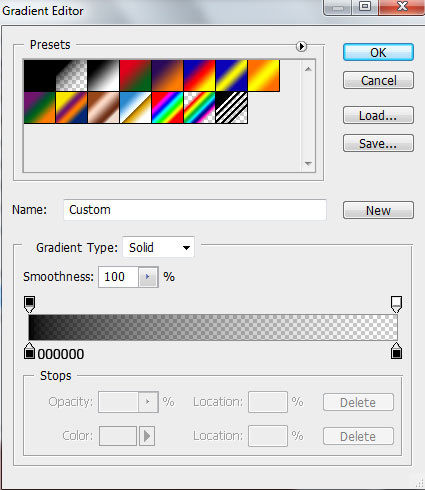
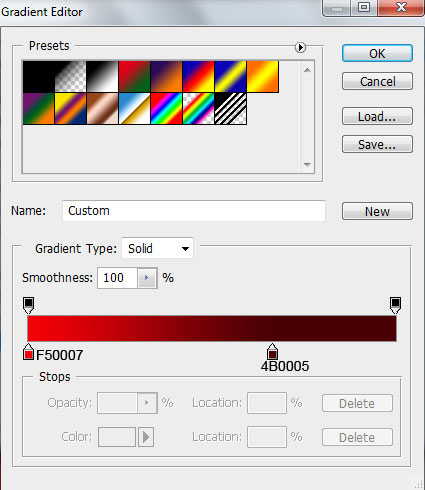
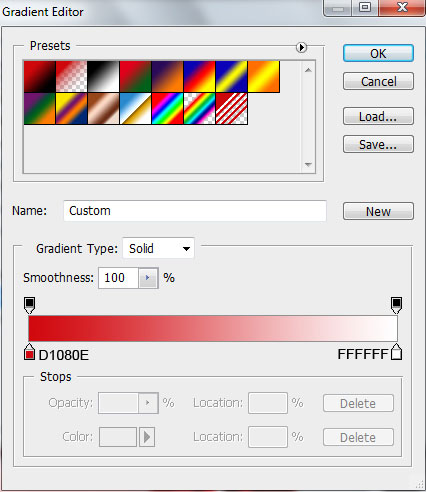
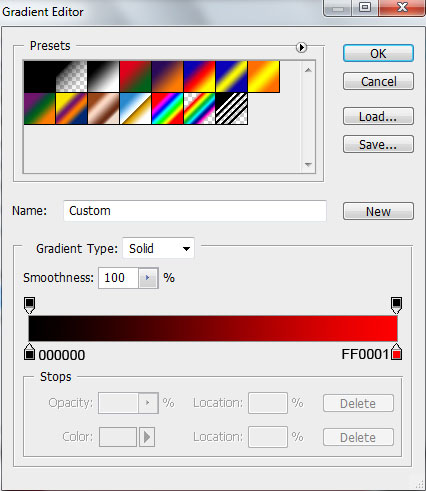
Click in the color bar to open the Gradient Editor and set the color stops as shown. Click OK to close the Gradient Editor dialog box.
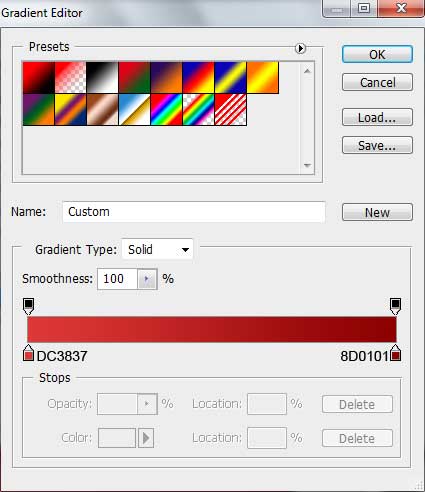
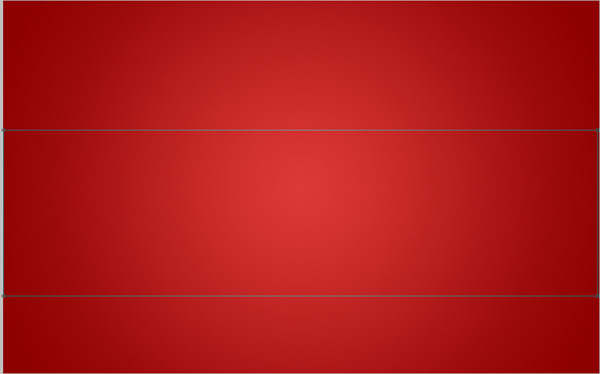
We’ve got the next background:

Now we have to draw a rectangle with the shadow. In this case we’ll use the Rectangle Tool (U) to create the next rectangle.

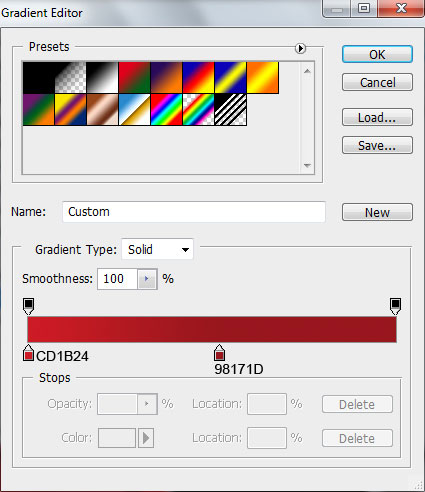
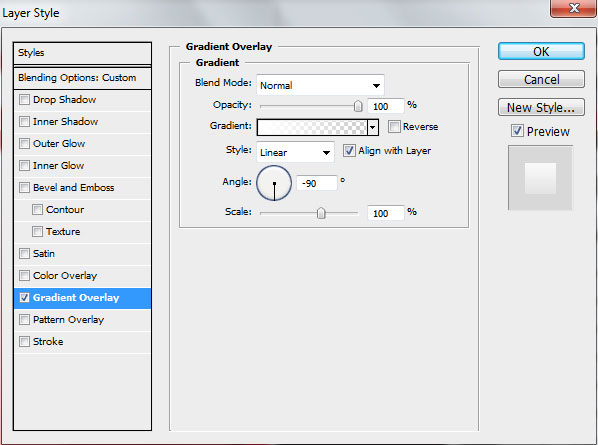
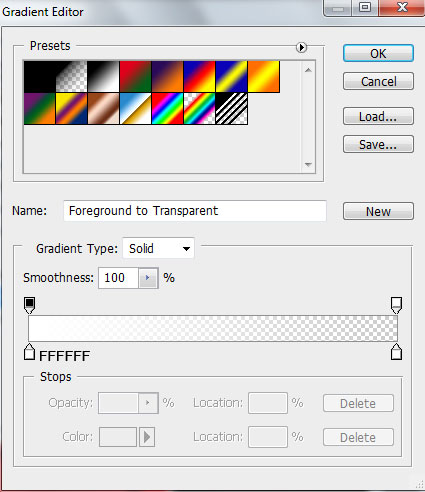
Set the Fill to 0% for this layer and click on Add a layer style icon from bottom part of the Layers panel and select Gradient Overlay:
Click in the color bar to open the Gradient Editor and set the color stops as shown. Click OK to close the Gradient Editor dialog box.
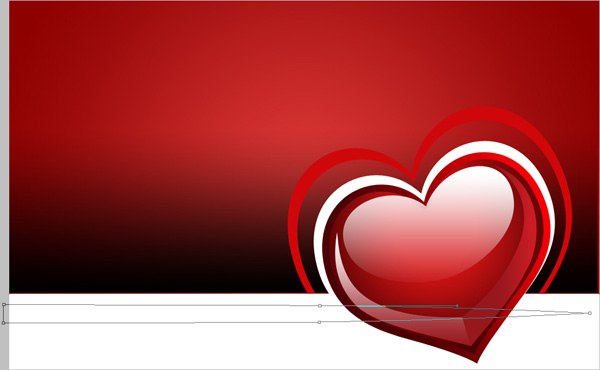
We’ve got the next result:

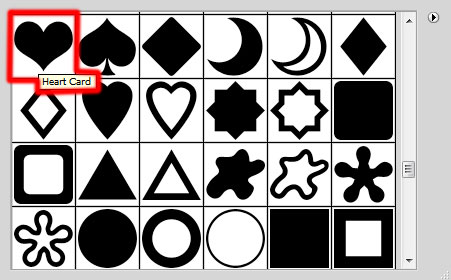
Let’s represent now on the right lowest corner a small heart. Select the Custom Shape Tool (U) in the Tools bar, in the Options bar click the Shape to open the selection menu. Find Heart Card shape at the bottom of the menu, and then double-click a shape thumbnail to select it.
Click and drag to draw the shape, then use Free Transform (Ctrl+T) command for inclining the drawn shape.


Make a copy of the last made layer with the heart and choose Free Transform command to make smaller the copy

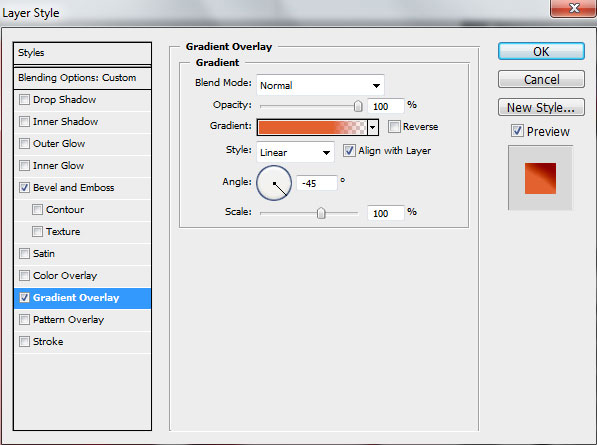
For this layer click on Add a layer style icon from bottom part of the Layers panel and select Gradient Overlay:
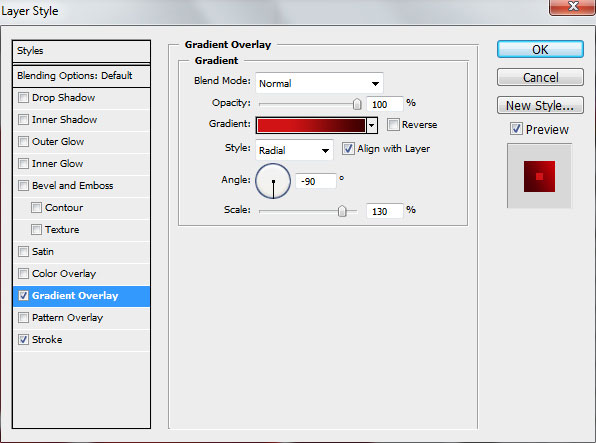
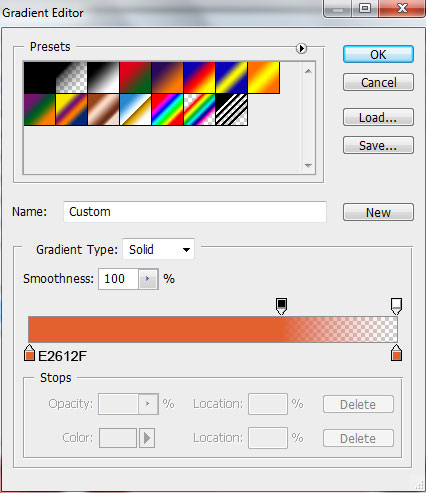
Click in the color bar to open the Gradient Editor and set the color stops as shown. Click OK to close the Gradient Editor dialog box.
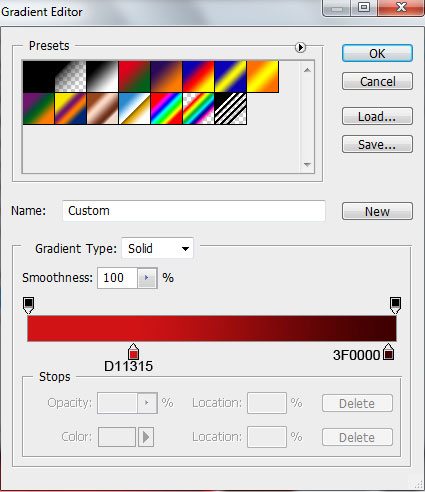
Add also the Stroke
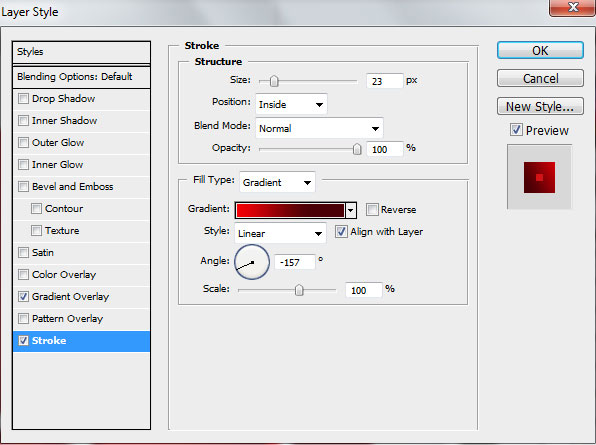
Select the Fill Type – Gradient and click in the color bar to open the Gradient Editor and set the color stops as shown. Click OK to close the Gradient Editor dialog box.
We’ve got the next effect on the heart shape:

Choose now the Pen Tool (P) to represent a highlight on the heart.

Set the Fill to 0% for this layer and click on Add a layer style icon from bottom part of the Layers panel and select Gradient Overlay:
Click in the color bar to open the Gradient Editor and set the color stops as shown. Click OK to close the Gradient Editor dialog box.
We’ve got the next highlight on the heart shape

Make a copy of the layer containing the highlight and choose Free Transform (Ctrl+T) command to turn over the copy, you can correct the anchor points using Convert Point Tool.

Set Fill to 0% and go to Layer Style > Gradient Overlay
Open the Gradient Editor and set the color stops as shown. Click OK to close the Gradient Editor dialog box.
We’ve got the next result:

Take the Pen Tool (P) and draw a highlight on the top part of the heart.

Set Fill to 0% and click on Add a layer style icon from bottom part of the Layers panel and select Gradient Overlay:
Click in the color bar to open the Gradient Editor and set the color stops as shown. Click OK to close the Gradient Editor dialog box.
We’ve got the next result:


Make a copy of the very first layer with the heart. Choose Free Transform (Ctrl+T) command to enlarge the copy a little (fill it with #CF070A color).

Next we’ll choose the Direct Selection Tool (A) and holding CTRL + Alt button click on the path to select it

Then holding CTRL + Alt button press the left arrow key to duplicate this path

press SHIFT+A to select recently made path of the heart shape and click on Subtract From Shape Area (-) options from Options bar to remove the overlapping area from the existing heart shape.

Choose after that Free Transform (Ctrl+T) command to make smaller the path

placing it on the middle part of the heart shape.

We’ve got the next result

Click on the same layer on the bottom part of the Layers panel on Add layer mask icon and represent a rectangular selection with the Rectangular Marquee Tool (M) as shown.

Fill it with black color, using the Paint Bucket Tool (G). This way we’ll get the heart’s contour.

Let’s represent now a white rectangle with the Rectangle Tool (U) on the bottom part of the background and its layer will be situated under the heart’s layers.

On the next new layer there will be applied the Pen Tool (P) to draw the next shape. The layer will be situated under the heart’s layer.
For this layer click on Add a layer style icon from bottom part of the Layers panel and select Gradient Overlay:
Click in the color bar to open the Gradient Editor and set the color stops as shown. Click OK to close the Gradient Editor dialog box.
We’ve got the next result:

Select the Pen Tool (P) to represent a waved line on the left part of the picture. The line’s layer should be placed lower than the heart’s layers.

For this layer click on Add a layer style icon from bottom part of the Layers panel and select Gradient Overlay:
Click in the color bar to open the Gradient Editor and set the color stops as shown. Click OK to close the Gradient Editor dialog box.
We’ve got the next gradient on the waved line:

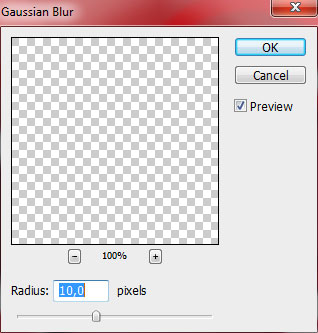
Make a copy of the recently made layer. Rasterize the newly made layer. But firstly create a new layer above and press CTRL button to select the layers and press CTRL+E to Merge Down. Apply the next filter on the rasterized layer: Filter>Blur>Gaussian blur
We’ve got the next effect:

Set Fill to 80% for this layer

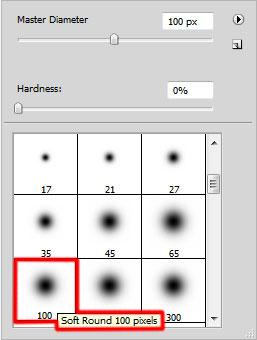
Create a new layer and select a Soft Round brush of black color from Brush Tool (B)
dark out with Soft Round brush the background situated lower than the ornament line.

Set the Blending mode to Soft Light for this layer

Make a copy of the earlier made layer (waved line), placing the layer above the darkening layer, but under the heart’s layers. Using the Free Transform (Ctrl+T) command, place the copy’s layer a little lower.

Set Fill to 0% for this layer and click on Add a layer style icon from bottom part of the Layers panel and select Bevel and Emboss
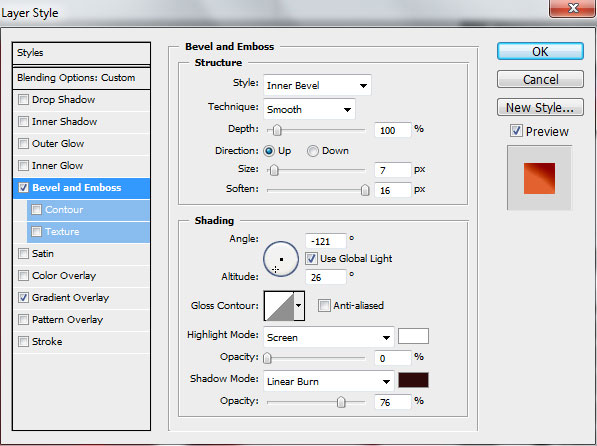
Apply also the Gradient Overlay
Open the Gradient Editor and set the color stops as shown. Click OK to close the Gradient Editor dialog box.
We’ve got the next result:

Make a copy of the waved line layer and place the layer under the heart’s layers. Using the Free Transform (Ctrl+T) command, it’s possible to move the copy’s layer lower.

Go to Layer Style and apply Gradient Overlay
Click in the color bar to open the Gradient Editor and set the color stops as shown. Click OK to close the Gradient Editor dialog box.
Page: 1 2
Comments