
How to create 3D Love text composition
In this tutorial, I will show you how to make a stunning 3D text effect using different textures to give it a unique look with Xsara3D & Photoshop.
Final Image Preview

Start by creating each letter separately in a 3D program, I use Xara3D (download the Xara3D 6 trial to your Desktop, run the installer file and follow the on-screen instructions), and import them into a Photoshop document.
Create a new file in Xara3D and represent here by turn the letters composing LOVE word.

Select for the beginning the text options by clicking on the Text Options icon:

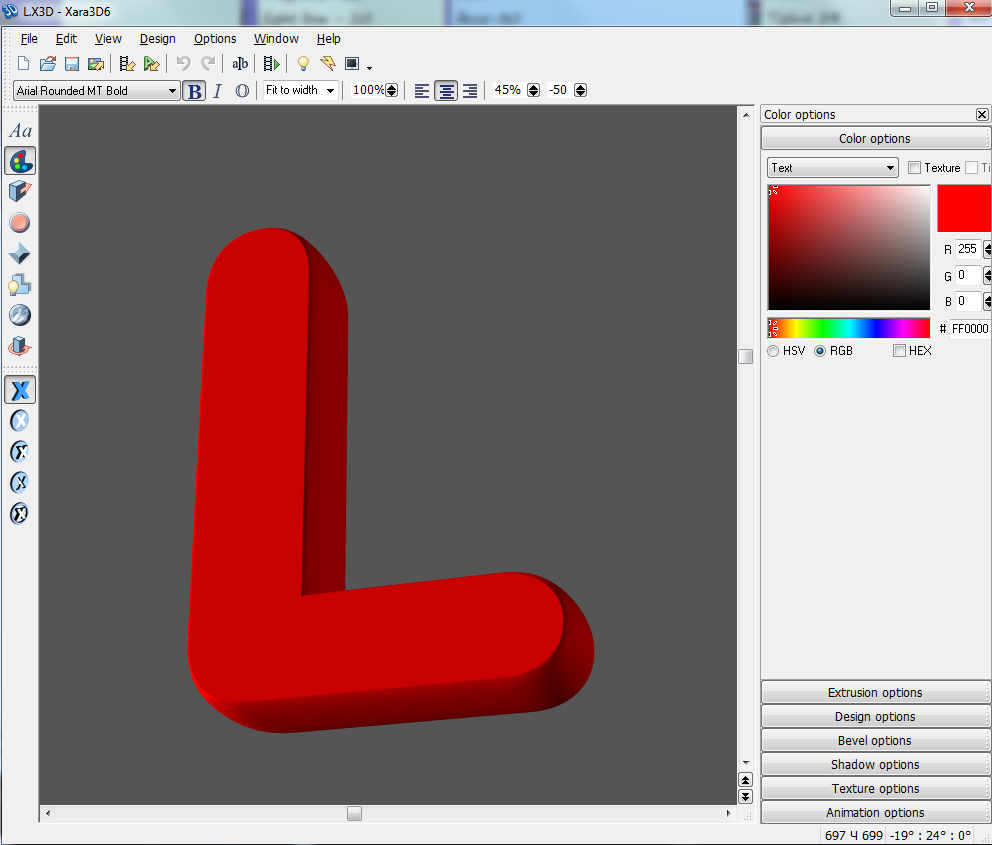
… and then the Color options:

… set the Extrusion options:

Also the Bevel Options

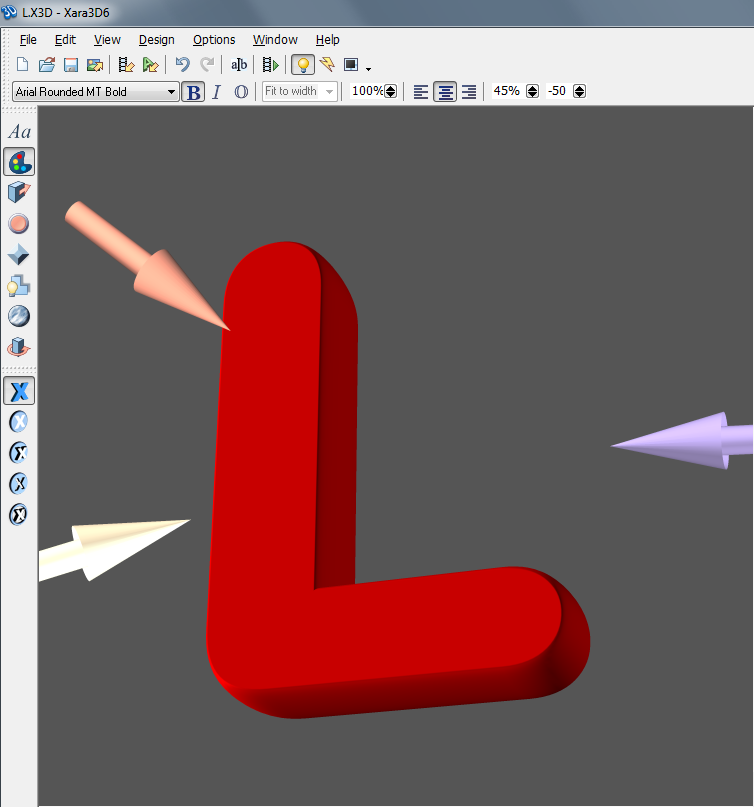
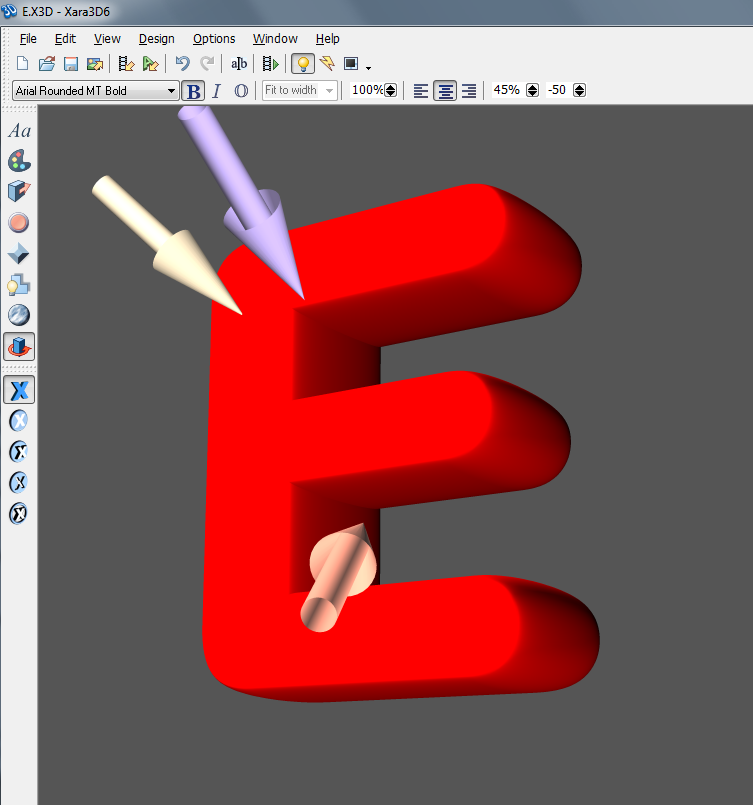
Then we have to set also the angle of the letters’ position on the file and the light:
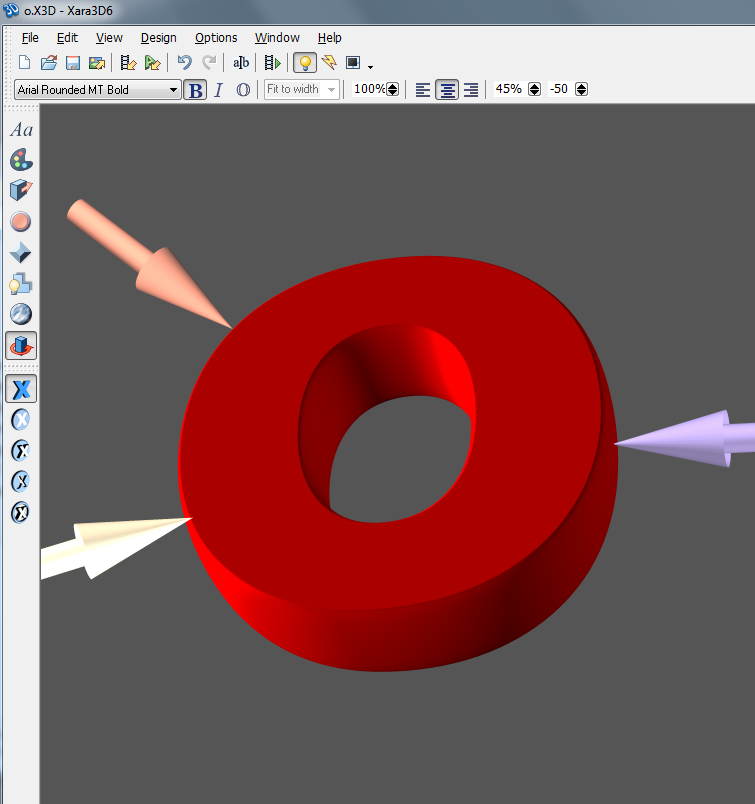
Set angle and the light for letter ‘O’:
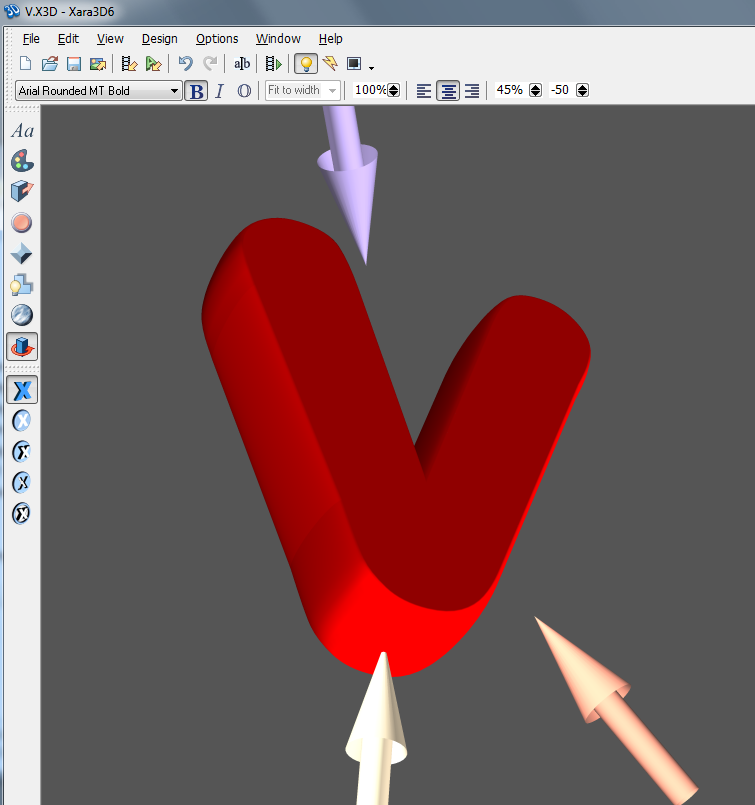
Set angle and the light for letter ‘V’:
Set angle and the light for letter ‘E’:
Choose now Export to File and save each letter. Create a new document (Ctrl+N) in Adobe Photoshop with the size 1920px by 1200px (RGB color mode) at a resolution of 72 pixels/inch. Use the Paint Bucket Tool (G) to fill with black color the new background layer.

Select the Custom Shape Tool (U) in the Tools bar, in the Options bar click the Shape to open the selection menu. Find Registration Target 2 shape at the bottom of the menu, and then double-click a shape thumbnail to select it.

Click and drag to draw the shape with #C00000 color.

We’ve got the next result:

Rasterize the entire layer contents, create a new empty layer below the layer with rays effects and Merge Down (Ctrl+E on Windows/Command+E on Mac). Click on the bottom part of the Layers panel on Add layer mask icon, click on mask to make it active and select a Soft Round brush of black color

click several times on the middle part of the document using Soft Round brush.

Press CTRL+I to Invert the colors and click once again on the middle part of the picture.

Set Fill to 59% for this layer

Rasterize the layer by creating a new empty layer below the layer with rays effects and Merge Down (Ctrl+E on Windows/Command+E on Mac). Choose for the layer the next filter: Filter>Blur>Gaussian blur

We’ve got the next result:

Set Fill to 55% for this layer in Layers panel:

Create a new layer and apply the Soft Round brush to make lighter the central part of the document. The color is #FF0000 (Opacity 50%).

The layer will be situated under the rays’ layer.

Set Fill to 59% for this layer in Layers panel:

Create a new layer and apply the Soft Round brush mentioned above to paint the central part of the document with the color #C00000

Set Fill to 44% and change the Blending mode for this layer to Vivid Light

Insert the earlier saved letters of the LOVE word. Keep each letters in its own layer, and then arrange them around each other, in whatever way looks good to you.

Go to Layer Style to add Stroke for each layer containing the letters.


Next we need to create new layer and using the Pen Tool (P) in Path Mode draw the next path on the frontal part of the letter ‘L’.

Set Fill to 0% and click on Add a layer style icon from bottom part of the Layers panel and select Gradient Overlay:

Click in the color bar to open the Gradient Editor and set the color stops as shown. Click OK to close the Gradient Editor dialog box.

Add also the Stroke

We’ve got the next effect on the letter

Using the same Pen Tool (P) in a new layer we must represent the frontal part for letter “O”. Firstly we need to draw the outer shape of the letter “O” and close off the path, then select the path in Paths panel, go to Pen Tool (P), choose Subtract from shape area option from Options bar and draw in where the hole should be.

Set Fill to 0% for this layer and go to Layer Style to add Gradient Overlay

Click in the color bar to open the Gradient Editor and set the color stops as shown. Click OK to close the Gradient Editor dialog box.

Also set the Stroke

We’ve got the next result:

Create new layer and using the Pen Tool (P) in Path Mode draw the next path on the frontal part of the letter ‘V’.

Set Fill to 0% and click on Add a layer style icon from bottom part of the Layers panel to select Gradient Overlay:

Page: 1 2
Comments